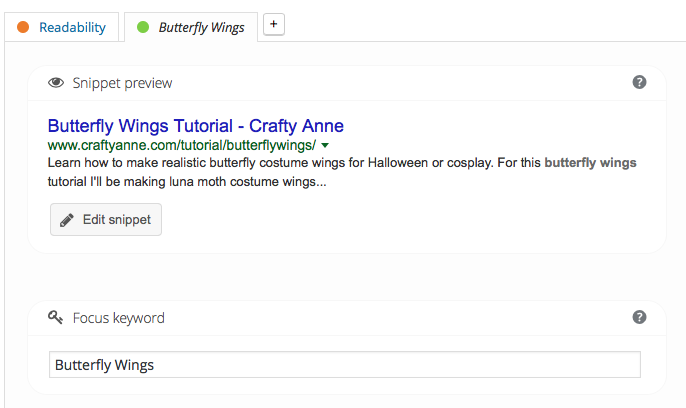
Searching for "Tutorial"

Beauty and the Beast Rose Centerpiece Tutorial


Learn how to make a “floating” Beauty and the Beast rose centerpiece or decoration in this tutorial! When I was little I loved Beauty and the Beast, and was completely transfixed with the enchanted rose.

beauty and the beast rose centerpiece tutorial

I’m so excited for Disney’s new Beauty and the Beast movie coming out March 2017, I’m ready to see the magic!

The petals are overlaid with the original French text from Gabrielle-Suzanne Barbot de Villeneuve’s original La Belle et la Bête, published in 1740. I’ve also added texture to the background using photographs of an actual rose.

Nothing can compare to the luminescence of an actual rose. I found a shimmery paper that mimicked the natural glow. When you print out the black and gray-toned petals over the red shimmery paper you get a neat effect.
beauty and the beast enchanted rose centerpiece tutorial

These would be perfect Beauty and the Beast wedding table centerpieces, and would look gorgeous surrounded with scattered rose petals. Affiliate links within this post. If you’re not the crafty type I’m selling the finished centerpiece in my Etsy store.


Materials

  • Red paper for the rose petals. I found red shimmery printable paper on Amazon; the iridescence adds depth.

    Find it here
  • A glass cloche or bell jar. Sometimes you can find these at thrift shops with dried flower arrangements.
  • To purchase the glass cloche I use, visit here
  • Scissors, a Cricut, or another cutting machine.
  • Hot glue gun, preferably high-temperature mini size
  • Glue sticks for hot glue gun
  • Wire
  • Transparent thread or fishing line
  • Needle-nose pliers
  • Floral tape, the skinnier kind
  • E6000 glue, only a little bit so a small tube

  • Mini battery-powered fairy lights if you want to go the extra distance!


Files

  • If you’re cutting out the petals by hand, download the file HERE <— click
  • If you’re using a Cricut or Silhouette machine, you can download the free SVG flower file from my Crafty Library. The SVG file is a downloadable file that tells your cutting machine what to cut. I also have a plain template (just outlines) in my Crafty Library. To access the free SVG file, sign up for my Crafty Library and infrequent newsletter. The Crafty Library is a free resource center with downloadable files, templates, and images.

    Access the Crafty Library


    You will receive an exclusive password via email.


Instructions to Make a Beauty and the Beast Rose Centerpiece

  1. If you want to use the printable sheet with the text, print out the sheet of rose petals. Make sure your printer options are set to “do not scale” or “100%”. If there is a box next to something that says “scale to fit media”, make sure it is not checked. If there are any options asking if you want it centered, choose no. It’s important that your printer doesn’t change the size of the petals.If you’re using the SVG file, don’t use the printable file because it won’t align with your cutting machine.
  2. If you’re using the printed petals, cut out the enchanted Beauty and the Beast rose petals using scissors. I hand cut my printed petals. You can make plain petals with the free SVG file in my Crafty Library.
  3. Measure about a 12 inch section of wire and cut. Make a small loop at one end with your needle nose pliers. The wire might be a little long but it’s better to have a little extra.
  4. Wrap your piece of wire with floral tape. The narrow kind of tape is easier to work with.
  5. Measure around 12 inches of clear thread (or fishing line) and thread it through the small loop of wire you just made in step 3. Tie a knot so the thread won’t fall off.
  6. The next few steps involve curling, folding, and shaping the petals. Smallest petals: curl the sides inward using your thumb and fingers to curl it. 
  7. Next smallest: Curl the petals in the same way, and add some tiny creases to the sides. I placed the creases towards the base of the petal so they be hidden when the rose was put together. The creases help add more shape to the flat paper.
  8. The remaining petals except for the largest ones: Curl around the top edges and sides and add some creases.
  9. For the largest petals, don’t do any creasing. Just curl and gently shape.

  10. Time to add the first petal! Dab a small amount of hot glue on the bottom of one of the tiny petals. Wrap the petal around your piece of wire. Repeat with 2-3 tiny petals.


  11. Add 3-4 petals of the next size up. It helps to experiment with petal placement before permanently gluing them.
  12. Repeat with the next few petal sizes. Make sure you keep a few petals to scatter around the base of your bell jar.


  13. Cut a tiny section from the bottom of your wrapped stem to make a little ring. You’ll be using this to build up the “hip” of the rose.
  14. Cut a few tiny pieces of flower tape to make the “sepals” of the rose, which are the little leafy fringes around the base of the rose. Glue them to the base of the rose.


  15. Slide on the ring and wrap floral tape around it until you’re satisfied with the shape.

  16. Trim off two short pieces from the bottom of your stem to make the leaf sections.
  17. Fold floral tape in half and then cut a leaf shape. Repeat for the other stem.
  18. Use a drop of glue and attach one stem to the other. The glue won’t hold it but it will keep it still long enough to secure it with flower tape.

  19. Optional: adding thorns. I made the basic shape by making a shallow puddle of hot glue (for lack of a better description), waiting for it to cool, and then cutting out the thorn shape. Glue to the flower stem and wrap with a very thin strip of tape.
  20. Bend and adjust the stem to your liking.
  21. Hold up the rose next to your glass bell jar and figure out how long you need the clear thread (to make it look like the floating Beauty and the Beast rose) needs to be. Tie a tiny loop at that length.
  22. Use your glue gun to make a tiny bead around the loop.
  23. The next part is a little tricky. Apply some e6000 glue to the inside top of your bell jar. Holding the jar upside down, slowly lower the rose inside until you see the ball of hot glue (added in step 19) make contact with the e6000 glue.
  24. Keep the jar upside down until the glue is fully dry. Let the glue dry in a safe place. If you have one of those stainless-steel tumblers that shall remain unnamed, they’re a good size to hold the cloche while it’s drying.
  25.  Enjoy your fancy Beauty and the Beast rose!

See More Crafty Posts: 
 

Dried Flower Jewelry Tutorial with Faux Resin Alternative


I’ve seen some absolutely gorgeous dried flower jewelry lately. This dried flower jewelry tutorial will teach you how to create a beautiful pressed flower pendant with the look of resin without the hassle. If you want to learn how to make pressed flower jewelry, read on!

Pendant showing the light filter through

I love the look of dried flower jewelry using resin. Unfortunately, resin can be hard to work with. There are several factors can potentially set you up for a resin disaster: temperature or humidity that will prevent the resin from curing correctly, mis-measured mixture of the resin (some can be mixed by weight, some need to be mixed by volume).

This method of using UV cured gel lets you build up layers and have more control over the depth and placement of the flowers. This post contains affiliate links. As always, feel free to blame any purchases on me.

All the supplies gathered up

Materials

  • Rubbing alcohol
  • Tweezers
  • Cotton Swabs
  • LED lamp and clear gel. This little kit below has an LED lamp, clear gel nail polish, and tiny bottle of rubbing alcohol (a.k.a. gel cleanser). It also has an opaque polish too.
    Sensational Polish Essentials
  • Clear glass locket pendant. They are sold as floating lockets for small metal charms but the space inside gives them a lot of creative potential.
    Silver Heart Locket
  • Dried pressed flowers. I found some small dried flowers on Amazon. They are marketed to be used for nail art but they work really well for jewelry.
  • Acetone or nail polish remover

Directions

  1. Plan your dried flower placement in the pendant. I took a picture of it with my phone so I could look at it later on. Remove the flowers and set them to the side.
  2. Use the rubbing alcohol to clean the glass locket pendant, especially on the inside. It’s important to remove any oil, fingerprints or dust.
  3. Brush the first layer of clear gel into the base of the pendant. Coat enough so you don’t see any brush marks but don’t add too much.first coat of clear gel before adding the dried flowers
  4. Carefully place your first flower (using your tweezers) in the pendant. Put a drop of clear gel over the flower. Make sure there’s enough on the brush so it will drip easily on to the flower. If there isn’t enough the flower might accidentally stick to the brush.
    Carefully arranging the small dried flowers with tweezers
  5. Cure / dry the gel in your LED lamp. Use a Q-tip with alcohol to remove the moisture layer that will form on the top after curing.
  6. Repeat steps 3-5 with the other flowers you wish to add to your pendant.
  7. When you’re finished adding dried flowers, add a few coats of the gel polish until the surface is smooth and there aren’t any bumps or petals that break the surface.
  8. You can also add more pressed flowers to the front of the locket too.
    Front view of the dried flower locket
  9. When you’re finished, use a cotton swab with nail polish remover to carefully clean any smudges or accidental drops of gel.

close up of my finished glass pressed flower pendant

pressed flower jewelry tutorial

And you have your finished pendant! Your finished pressed flower jewelry piece should be fairly durable but I would recommend removing it for showering or swimming. I’ve come across a lot of vintage jewelry pieces using dried flowers, and some really interesting pieces that aren’t actually real flowers.

The piece above is a clear piece of lucite (plastic) that was carved and painted. This neat technique is called reverse carved lucite.

Other Favorite Posts:


Keepsake Photo Charm With UV Gel Tutorial

two sweetheart necklaces one vintage and one handmade

Last year my fiance gave me a beautiful WWII locket, which I save for reenactments and special occasions. I wanted to create a photo charm I could wear daily and keep close to my heart, so I made a tiny photo charm using a picture of us from a reenactment. I’ve learned a lot about sweetheart jewelry since I’ve started reenacting with my fiance.
During WWI and WWII soldiers would give their loved ones jewelry. These keepsakes would let their loved ones feel connected even if their soldier was thousands and thousands of miles away.

If you DIY everything (like I do) you might have a gel manicure kit. I was able to use the UV lamp from my kit. I was amazed at how durable the gel coating was! This post contains affiliate links. As always, feel free to blame me for any purchases.

Learn how to make a photo charm or pendant using your UV gel manicure kit!

Photo Charm Materials:

Directions:

DIY photo charm

  1. Print out plenty of copies of your photo. It took me a few tries to get it cut out just right. I used a quick coat of Krylon gloss coating to make sure the photo wouldn’t smear when the gel coat was applied. If you don’t apply a clear coat the image can smear or get fuzzy when your gel is applied.
  2. Clean your charm with rubbing alcohol to remove any oil.
  3. Make a small dot of super glue in the middle of your charm. Keep a paper towel nearby in case the drop ends up being too big. If you use too much glue it will seep around the edges of the photo.
  4. Carefully position your photo on the charm and wait for the superglue to dry.
  5. Take a close look and make sure your charm and photo are both free of dust and debris.
  6. Use a fairly thick layer of gel and apply. Cure your photo charm with your UV lamp.
  7. Using your rubbing alcohol and a paper towel, gently remove the moisture layer that has formed on top of your charm.
  8. Do another thick coat of gel and cure, then remove the moisture layer again. Repeat until you feel that your charm is finished.
  9. Enjoy your keepsake photo charm!


how to make a photo charm


DIY Dress to Skirt Refashion Tutorial, Shark Edition

Ever find a dress and think “this would look so good as a skirt”? Or purchase a dress and realize the front is too low?

sourpuss shark bait dress

Yikes!

I had my eye on this awesome shark bait skater dress by Sourpuss clothing for some time now and couldn’t help it when I saw it for $25.00 and free shipping on Amazon (the seller was Ruby’s Red Ribbon-Sidecca, they are out of stock now). I glanced over the reviews and didn’t pay much attention. However when I got it I realized that the reviews were not exaggerating… the top was pretty low. For some reason I was reminded of lederhosen when I tried it on. Shark lederhosen. If I wasn’t 5’1″ the skirt would definitely be too short.

357

Time to turn this dress in to a skirt! Because this is a lightweight (stretchy) knit dress I didn’t need elastic. One less step! I’m all about making things easier on myself.

What you will need:

  • Ruler
  • Pins
  • Fabric marking pen
  • Sewing machine
  • Thread

Notes

  • You will be using the fabric from the bodice (top part of dress) to make a waistband for the skirt (bottom part).
  • A serger is awesome for this. Go buy one and blame it on me 🙂

Directions

    1. Separate the top and bottom of the dress.

366 367

    1. Place the bodice (top part) flat and mark a straight line across the bottom, then cut. If you have a fabric rotary cutter this is an awesome time to use it.369370
    2. Put the edge of your ruler flat along the line you just cut (making a 90 degree angle / perpendicular). Use a marking pen and mark on each side. I used a blue sharpie because I live dangerously.

371372

    1. Sew along the lines you just made. You are making a tube for the waistband. You’ll end up with something like this:375
    2. Decide how wide you want the waistband to be. I chose a 1 inch waistband (but could have gone larger). What is your seam allowance? Determine that measurement. Plug the two measurements into the equation below to figure out how wide your waistband should be cut:Waistband Cut Width = 2 x desired waistband width + 2 x seam allowance

      Measure and cut. My desired finished waistband width was 1 inch, seam allowance .25 inch, so I cut a strip 2.5 inches wide. It gets folded in half and the seam allowance disappears when sewed so I was left with a 1 inch waistband.377
    3. Fold your waistband in half (wrong side in). When you pin to the skirt match the side seams of the skirt and waistband together.The waistband is probably going to be smaller than the skirt. That’s good! It helps it stay up. Stretch the waistband piece to match the width of the skirt and pin. It might look strange. When you sew you will stretch the waistband piece to match the skirt.
      Before folding waistband in half.

      Before folding waistband in half.

      Waistband folded in half. About to pin to skirt. Match the side seams!

      Waistband folded in half. About to pin to skirt. Match the side seams!

      Side seams matched

      Side seams matched

      Fully pinned

      Fully pinned

    4. Sew waistband to skirt.
    5. Enjoy!

      shark skater skirt

      Shark skirt!

dress into a skirt tutorial diy


Spoonflower Clothing Label Tutorial

diy clothing label tutorial

When I was little I haaaaated labels. Hated them. Not a single label existed in my little person wardrobe. I became an expert on picking or cutting them out. Now that I’m older I’m able to mostly ignore clothing tags. Now I’ve become the enemy: the sadistic label installer >:)

I designed my fabric labels in Photoshop and had them custom printed on fabric by the awesome fabric printing website Spoonflower.

When I designed the labels I thought a lot about my particular needs, what did I need them to show, where were they going to be put, what would be the best size for where they are being attached, would they serve any other purpose?

One thing I thought about: where are my customers going to store their costume butterfly wings when they aren’t in use? I ended up designing them so they would be able to double as a loop to hang them from. Either the hook from a hanger could be threaded through or they could be carefully hung from a nail.

I cut them horizontally with a rotary cutter and ruler to ensure straight (ish) lines, then sewed the strips together as shown below. Sewing the strips together allows you to make your clothing tags in a large batch, no pausing to sew strip after strip.

image3-1024x1024 image4-1024x1024

If you have a serger you could use a narrow rolled hem for the edge. If you don’t have a serger (or have your serger threaded and balanced perfectly for another stitch and don’t want to disturb it) you can use a zig-zag stitch on your regular machine.

I used the zig zag…

image5-1024x1024 image6-1024x1024

Next I cut apart a few labels and ironed the side edges over. Another thing I wanted to avoid was having to do a lot of precision ironing. This only required me to press the two edges.

image7-1024x1024

If you’re worried about the unsewn ends fraying use a little fray check. Make sure you’re careful though, fray check is flammable when wet!

image10-1024x1024 image9-1024x1024

For storage, since I sewed the label tape together I can roll my super awesome custom printed labels up and dispense as necessary. A small pin at the end helps the label ribbon from coming undone.

spoonflower clothing label

Pin at either end. Sew. Enjoy your label!

diy custom printed clothing label image15-1024x768

Lula-Who? Learn How to Sew Leggings and Fill Your Wardrobe!


After learning about the whole Lularoe holes in leggings fiasco, I wanted to dedicate a post on the art of legging-making. Do you want a drawer filled with leggings that fit you perfectly? Learn how to sew leggings and save a little money while enjoying your higher-quality leggings.

The anatomy of a pair of leggings:

  • Stretch knit fabric: Knit fabric is made of several fibers “knitted” together with loops. Because of the loops, the fabric is able to stretch. The fibers also contain stretchy material such as Lycra or Spandex, which lets them stretch out and bounce back to their original size.”What are Lularoe leggings made of?”, you may ask. They are made of a knit composed of polyester and spandex fibers. Their fabric is very soft because they use a process to “brush” it, sometimes it is referred to as “brushed poly or polyester.” Sometimes the brushing / softening process can weaken the fibers and cause the fabric to be prone to more holes.
  • Seams/Sewing: The seams are either sewn with a serger or a regular machine. If you use a regular machine, you need to use a narrow zig-zag. Straight seams break when stretched. The zig-zagged seams are able to stretch (like an accordion)  without breaking.
    When you sew knit fabric it’s best to use a ball-point sewing machine needle. Regular sewing machine needles are sharp and punch through the fabric and tear fibers. Ball point needles push the fibers out of the way without ripping or tearing. The little rips and tears a regular needle makes can cause the fabric to start to unravel and make the seam weak.

    Ball-Point Needles

Where to Find Legging Fabric or Fabric for Leggings

These are the types of fabric you want to be searching for: cotton spandex knit, cotton lycra knit, or a polyester spandex knit. Your fabric needs to have 4-way stretch. 4-way stretch means that the fabric can stretch from side to side and up and down.

Legging Sewing Patterns

The ultimate legging sewing pattern is also free! Patterns for Pirates released a free sewing pattern a few years ago: their “Peg Leg Leggings.” Their directions will teach you how to sew leggings that you will love.

To get the free leggings pattern, head over to their website, link: Patterns for Pirates.

When you’ve signed up for an account, visit the Facebook group: Facebook Group.

Once you’ve joined, you can find the code for the free leggings pattern in the comments on their pinned post: Pinned Post. You might have to scroll up and click on “view more comments” to find the code, it’s in the picture, Picture with Codes.

You can now download the peg legs leggings pattern for free from their website. There’s also a code for their free pencil skirt pattern, which looks similar to a Lularoe Cassie skirt but with way more options for different lengths.

Leggings Fabric

Wondering where to find fabric for leggings? I’ve rounded up a few good fabric sources below.

how to sew leggings

More Posts:


Recent Posts

  • Hopscotch Pond Rug - Fun Learning – Institutional quality kids rug designed to teach children while sitting at home playrooms, daycares or schools  Certified and Safe – CRI Green Label Plus Certified for lowest emitting carpet on the market; Class 1 Flammability Rating  Durable and sturdy backing to maintain its appearance in high traffic areas.  Treated with Stainless, a […] Read more...
  • Protected: Butterfly Sewing Tutorial - There is no excerpt because this is a protected post.
  • Helpful Resources -  Read more...

My Tenth Etsy-Versary: Growing Up With Etsy

Intro

I joined Etsy in 2008 almost immediately after I was the required age: 18. I’ve grown with Etsy, starting as a teenager and now almost pushing 30. I’ve learned so many new skills and improved the ones I have. The Etsy I use now is almost unrecognizable from the old Etsy I started with. The knowledge I gained from learning how to sell on Etsy has helped me in countless ways in my life both on and off Etsy.

Photography, post-processing photographs and Photoshop, SEO, writing effective descriptions, interpreting data from Google analytics, customer care, packing and shipping, more about the post office than I ever wanted to know, Quickbooks, and some business-related legalese.

I apologize in advance if I get any of this wrong; please correct me if I do! This is based on things I remembered and dates I managed to track down. Warning, this will be a long post. Be prepared for major awkwardness.

Year 2005

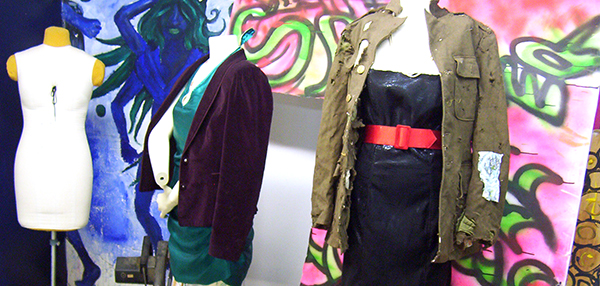
Etsy launches. I turn 15 and have no idea what an Etsy is. I’m languishing in highschool and hoping there’s something better in the future. The green jacket you see on the right  was found in the attic. of an abandoned house, guarded by an angry vulture.

… three years pass…

Year 1: 2008

Views: N/A
Orders: 4
Favorites: N/A

ETSY:

  • Etsy flourishes despite the recession. An exponential number of people are drawn to Etsy’s innovate selling platform.
  • Etsy rival Artfire launches in 2008

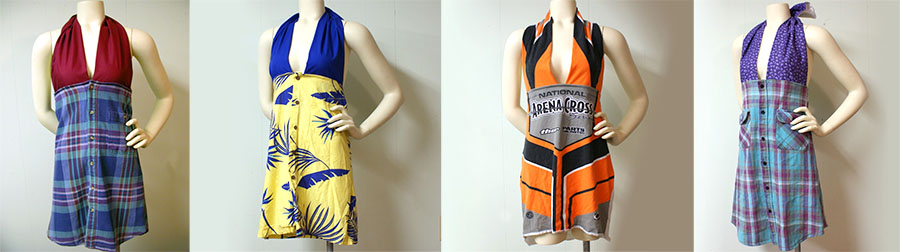
ME: I start my Etsy shop in the shadow of the Recession, listing a couple odds and ends. I’ve been somewhat crafty all my life but this is the year that I brought my craftiness online. I’m inspired by all of the “DIY” upcycled clothing I see on eBay (especially those band tee shirts), completely smitten with Smarmy Clothing. (http://smarmy-clothes.deviantart.com)

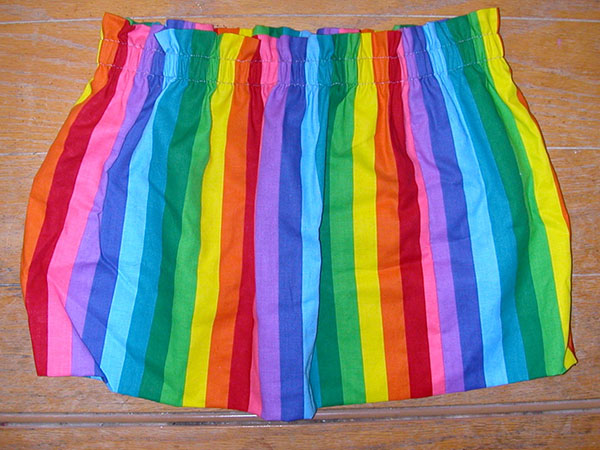
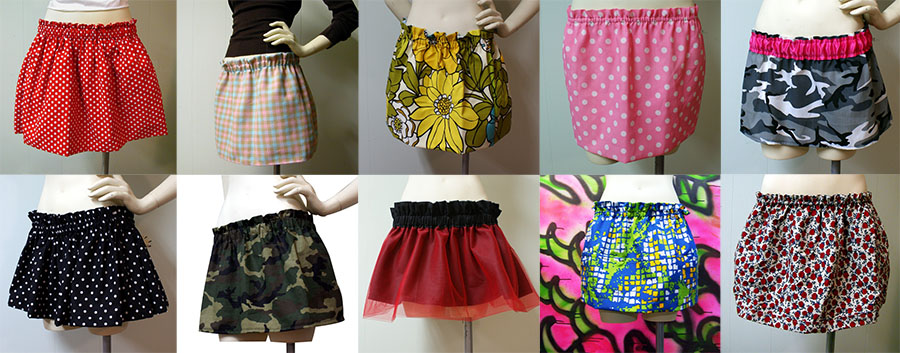
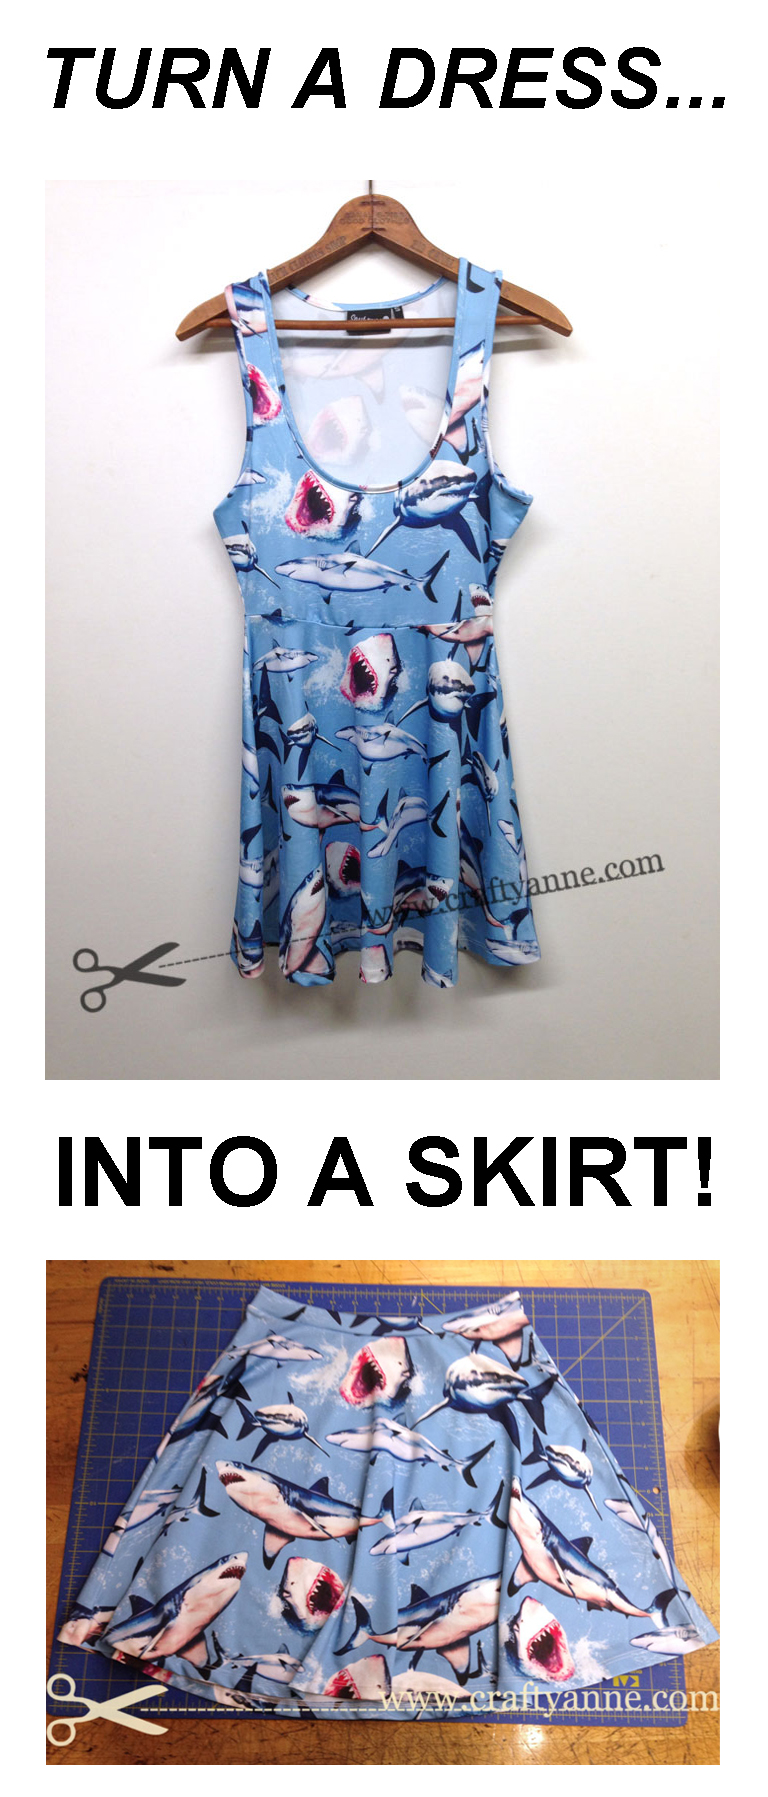
  • My first offering to the public is a short rainbow printed skirt. I almost have a heart attack when I receive the email that I’ve made a sale. The buyer informs me that they will wear it during roller derby. My skirt had found the perfect home.
  • I begin my community college career of indefinite length and begin to learn about Photoshop.

Year 2: 2009

Views: N/A
Orders: 212
Favorites: N/A

ETSY: I think this is the year Etsy adds the ability to connect with Google analytics to track page views and traffic sources. Nifty! April Winchell launches Regretsy, which promptly goes viral. Etsy-ians read and laugh, but anxiously check to make sure they aren’t the newest featured craft-tastrophe.

  • Etsy publically launches its Developer community and API. Developers are now able to connect with Etsy and collect data about product listings and favorited items.
  • Zibbet launches their beta site.
  • Etsy sellers are now able to submit their product data RSS feeds to Google’s Product search via their Merchant center. This allows their products to be indexed in Google’s product search. Yay!

ME: Four days a week (sometimes more) I haunt thrift and antique stores, looking for treasures of all kinds. Some of my sewing projects find new homes.

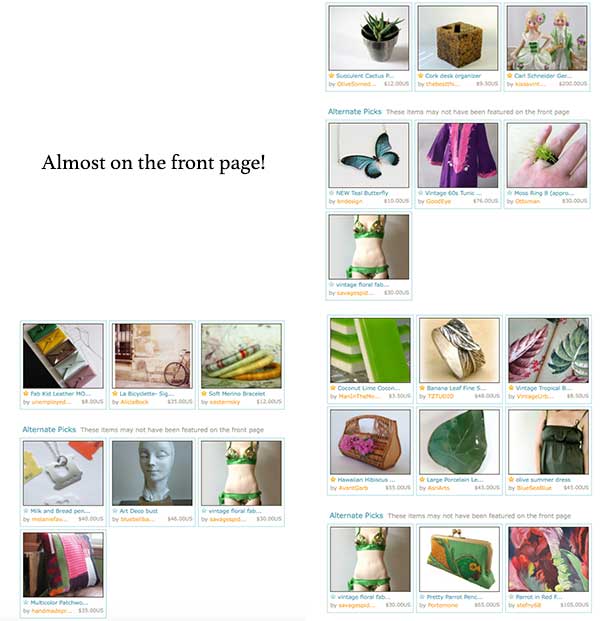
    • I make Etsy’s front page for the first time with my bikini assembled from random fabrics. Well, maybe not the front page exactly, I’m chosen as an “alternate” in case one of the featured items sells and a spot needs to be filled. I make “alternate choice” for the front page three times this year.
    • I acquire my first DSLR camera and manage to fill an entire memory card in a day. I subsequently become fused to my new camera for several months.


      Seriously. Pictures of everything.
    • I master the Photoshop pen tool.
    • My oil painting career starts and ends quickly.
    • I completely master the art of the “elastic waist poufy skirt”

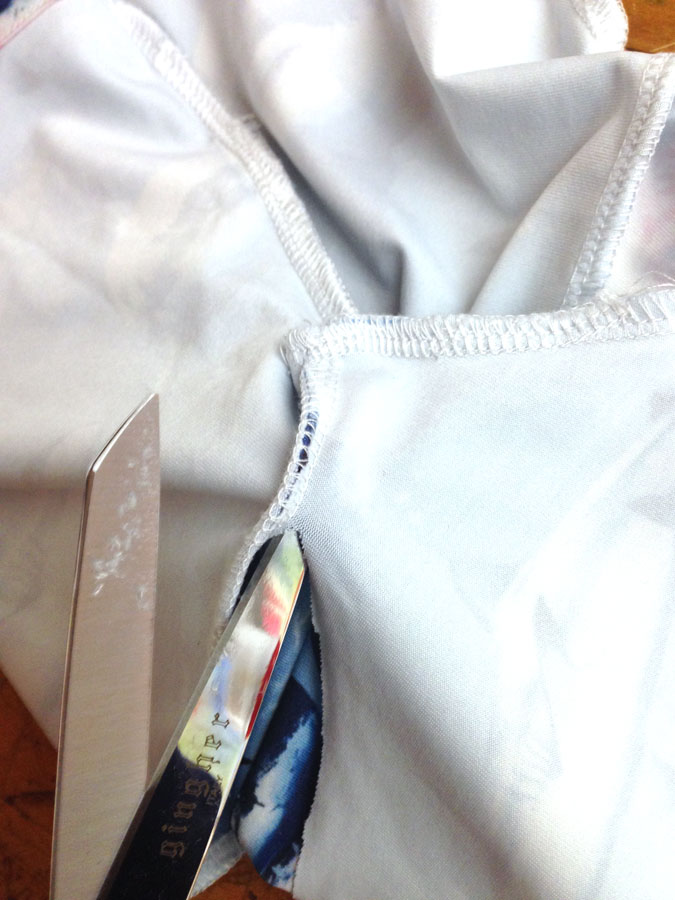
  • And the “upcycled halter dress”

Year 3: 2010

Views: N/A
Orders: 354
Favorites: 1,164

ETSY: A few new nifty features are rolled out this year in Etsy history.

  • Sold listings are now able to be renewed! Sellers rejoice! Before this any “hearts” you get on a listing are lost every time the item is sold (at least, I think that’s how it works).
  • Etsy lets students from MICA work on its website; I sulk inwardly and question my life choices, wishing I went to MICA.
  • Etsy sellers are no longer able to submit their product data feeds to Google Shopping, and Etsy announces their plan of Google product search syndication. Google now requires marketplaces like Etsy (Amazon, Ebay) to submit feeds on behalf of their merchants.
  • Coupon codes are introduced, shop owners can create discount codes for their customers.

ME:

  • This might seem irrelevant at first but bear with me. I find a large snail and keep it as a pet. Snaily the snail is immediately beloved by everyone he meets. I decide it would be cute to take Christmas-themed photos of him to send out as Christmas cards. It sounds cute to me, but I guess cuteness is subjective. I can’t knit so I decide to outsource and create an Alchemy request on Etsy. The minute I begin measuring the snail for a sweater is the minute I start to realize how crazy this idea is.
    My Alchemy request for a “festive knitted snail sweater” is spotted and featured on Regretsy. I see it, and am unsure whether to laugh or be mortified.
    Snaily tries on his sweater, says “NOPE!”, and refuses to come out for photos. Sweater is put away, Snaily rejoices.
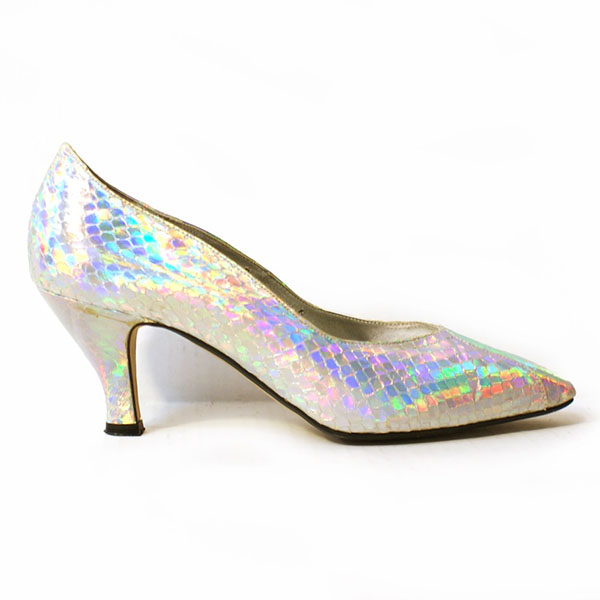
  • I make Etsy’s front page with an awesome pair of vintage snakeskin hologram high heels (yes, you read that correctly) made from an indeterminate species of snakes that evidently subdue their prey by being fabulous.
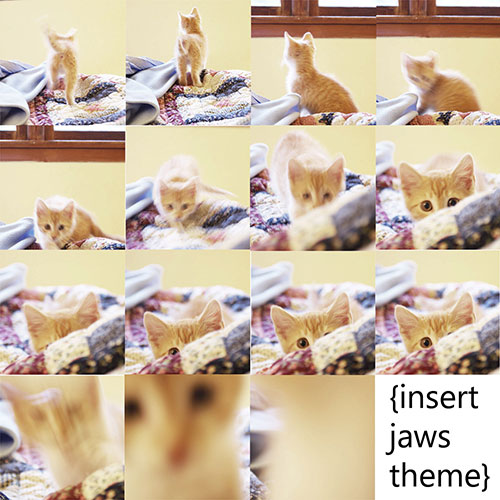
  • My kitten Oy debuts on Etsy’s front page. Cuteness abounds.
  • I’m officially able to add this coveted badge to my listing:
  • It took a little over 16 photos to capture that one angelic image.
  • I master the art of the animated .GIF
  • I become better at Photoshop.
  • I sell my first vintage sewing pattern and my obsession with vintage sewing patterns begins.

Year 4: 2011

Views: 151,275
Orders: 1,111
Favorites: 14,077

ETSY: 2011 is an extremely busy year in Etsy’s history, many changes are made to their selling platform.

  • Alchemy (Etsy’s feature which connected buyers with sellers– wanted-ad style) “takes a rest” and disappears indefinitely. I feel ambivalent but secretly sad, I never manage to win any of the Alchemy requests I “bid” on.
  • Etsy implements its new shop statistics system; users can access their shop views and view charts with other statistics. After following a very long and complicated tutorial, users can find their very own google “UA”, copy and paste it into Etsy, and wait impatiently to see the magic of Google Analytics.
  • Etsy changes its search default from recency to relevancy, which helps to level the playing field between sellers who would relist. And relist. And relist again.
  • In an attempt to increase accountability with feedback, Etsy makes buyer’s real names and their buying history public. Not very many are happy with this release of information. I double-check my past purchases, looking for anything I might need to have an explanation for. Etsy promptly changes buying histories back to private after everyone gets scared.
  • The time machine, recently listed, and pounce features on the front page are discontinued.
  • Promoted listings (ads) on Etsy starts. This ties in with the search default change from recency to relevancy. Etsy anticipates that sellers who relists their products for exposure will now purchase ads instead.
  • Etsy now allows sellers to change their shop names, with admin approval, on a case-by-case basis.
  • Etsy releases its very first iPhone app!

ME: This is my best year (by far) on Etsy. I swim in a sea of vintage sewing patterns, there are boxes everywhere and I spend many hours counting pattern pieces, watching the X-Files, and making sure I don’t prick myself with rusty pins and get tetanus.

  • Some of my pattern listings are featured on a blog about pattern pricing: http://hand-quilter.blogspot.com/2011/03/whats-value.html .
  • One day I walk outside and encounter a pile of cardboard boxes taller than me. I get excited initially since my birthday is right around the corner. Maybe they’re awesome presents? Maybe my boyfriend remembered my birthday this year? No. I apparently misjudged the amount of space that the $200.00 worth of bubble mailers that I ordered would take up.

Year 5: 2012

Views: 214,456
Orders: 677
Favorites:  11,849

ETSY: People grow increasingly uneasy on Etsy in 2012, unhappy with Etsy’s inconsistent rules regarding what constitutes a handmade item. Etsy introduces “circles” which let you follow (or stalk) your favorite customers and Etsy sellers. People figure out how to exploit this feature and make bots to add EVERYONE to their circle. Favorite spam bots also make their rounds.

  • Etsy debuts its new “Direct Checkout System”, stepping up as a payment processor and providing buyers an alternative payment method to Paypal.
  • Shipping labels!! Sellers are now able print shipping labels directly off Etsy! Sellers do a happy dance.
  • Heartsy closes in 2012. Heartsy was a third-party website which featured different handmade sellers each day with discounted vouchers for their shop, like Groupon. Heartsy was a prickly topic: sellers would overextend themselves and lose money, buyers who purchased vouchers sometimes did not receive shipment of their projects. Some felt that Heartsy devalued handmade, while others saw it as a chance to grow and gain exposure. The co-founder of Heartsy goes on to create Tophatter.
  • Etsy for iPad is released.
  • Etsy purchases Trunkt, a wholesale marketplace that connects artisians with buyers. Trunkt becomes Etsy Wholesale.

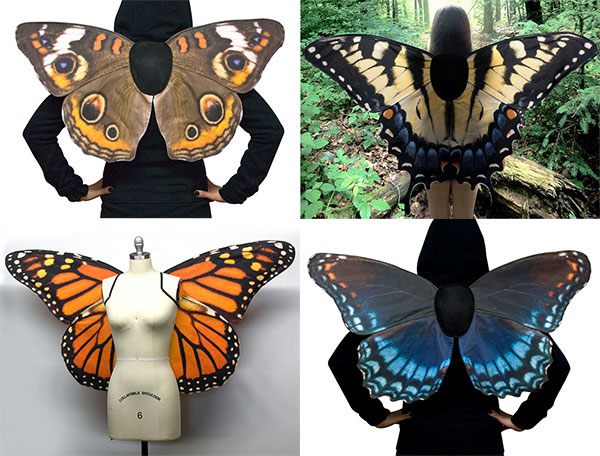
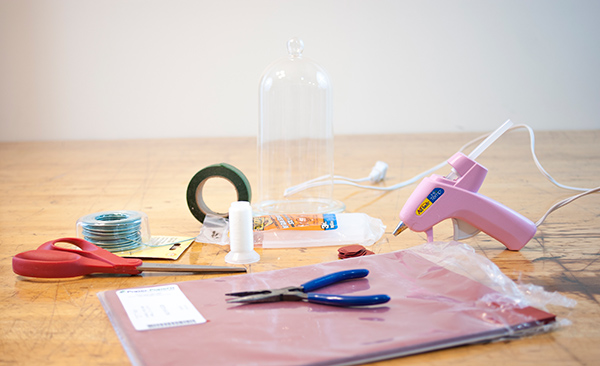
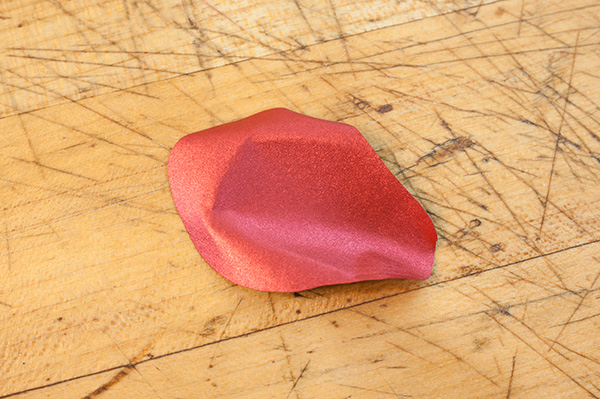
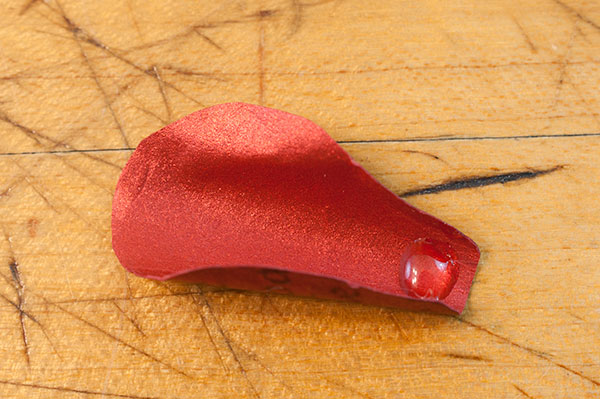
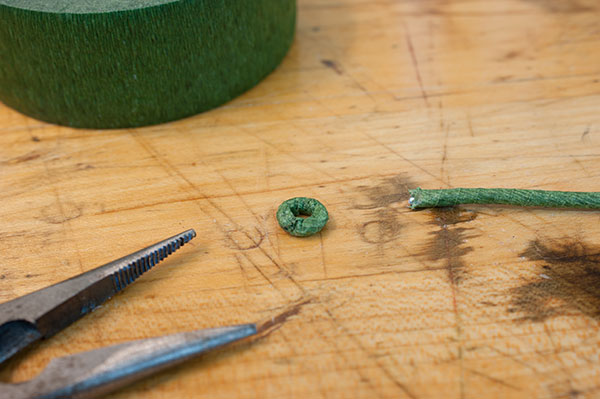
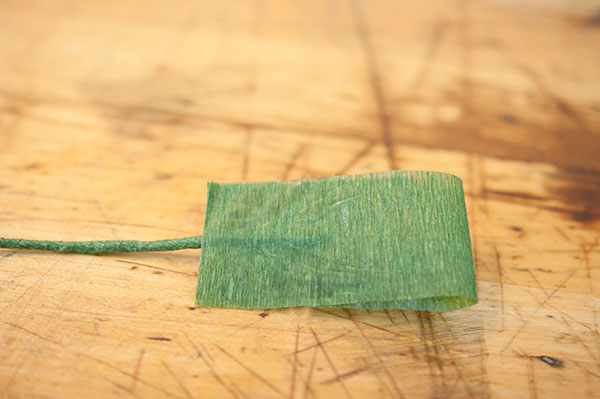
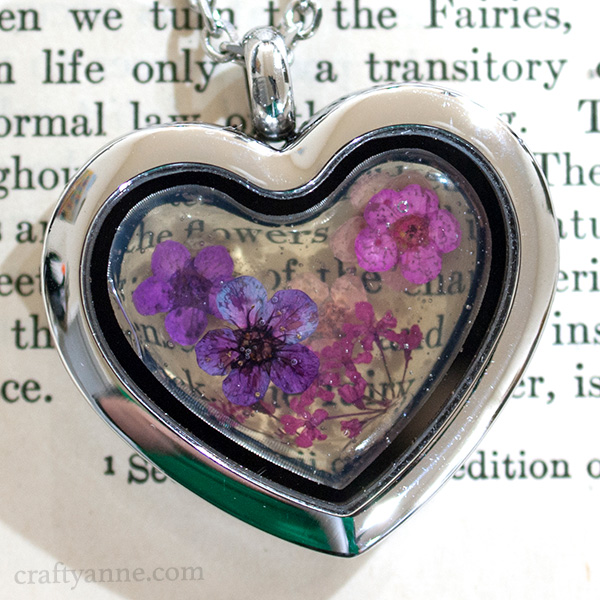
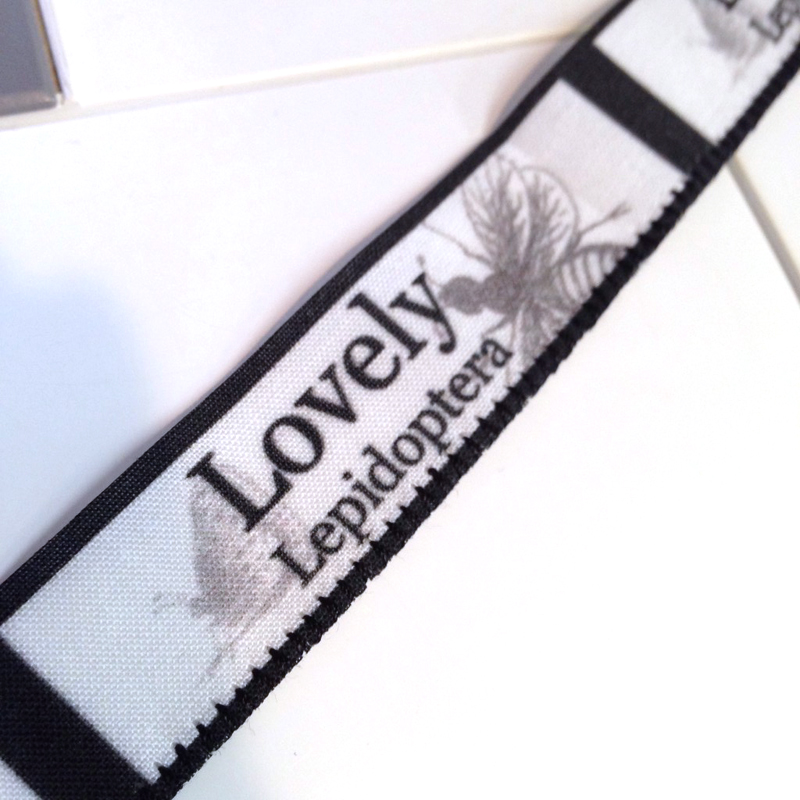
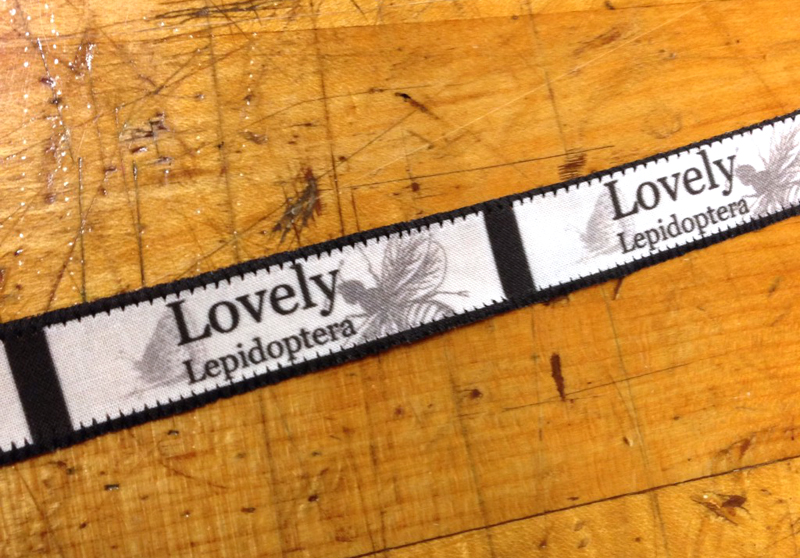
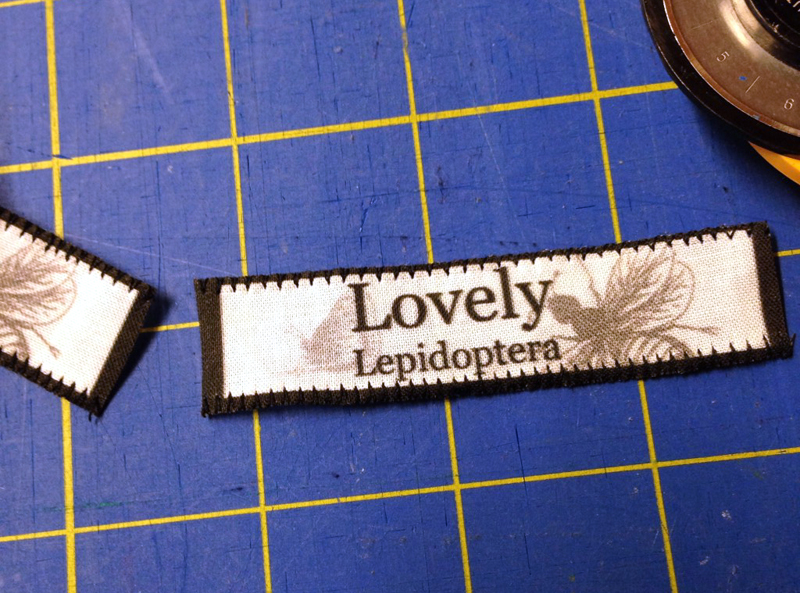
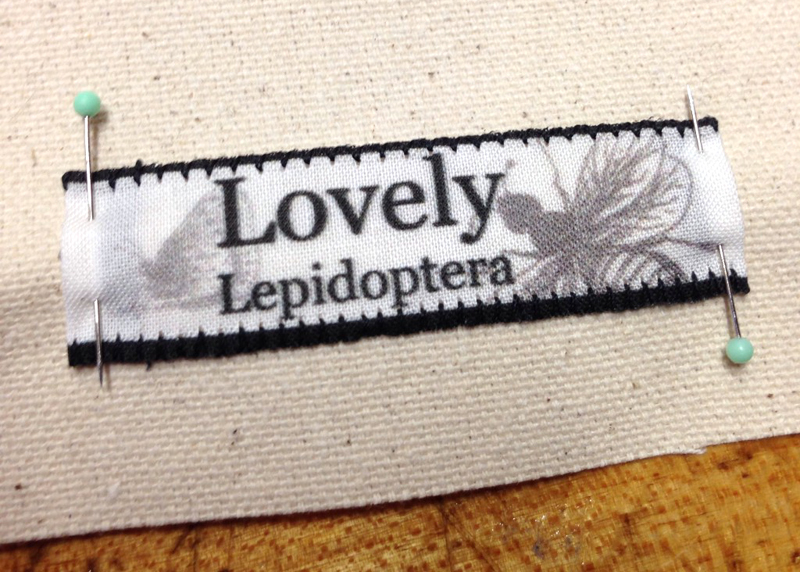
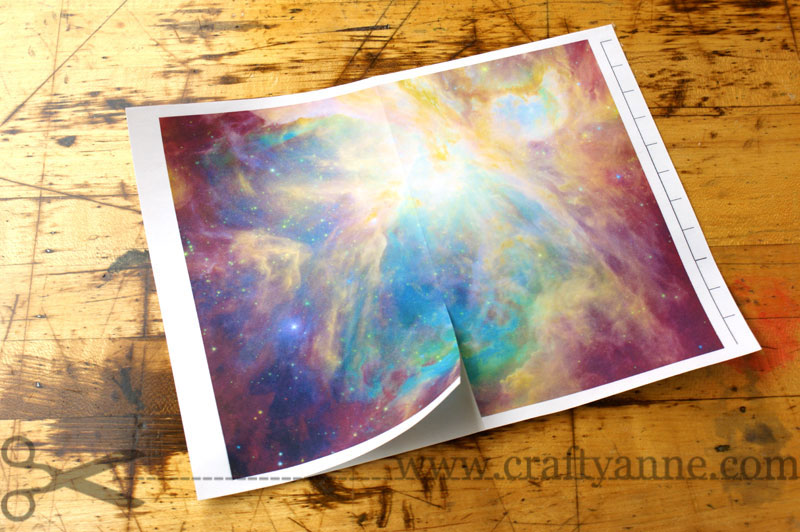
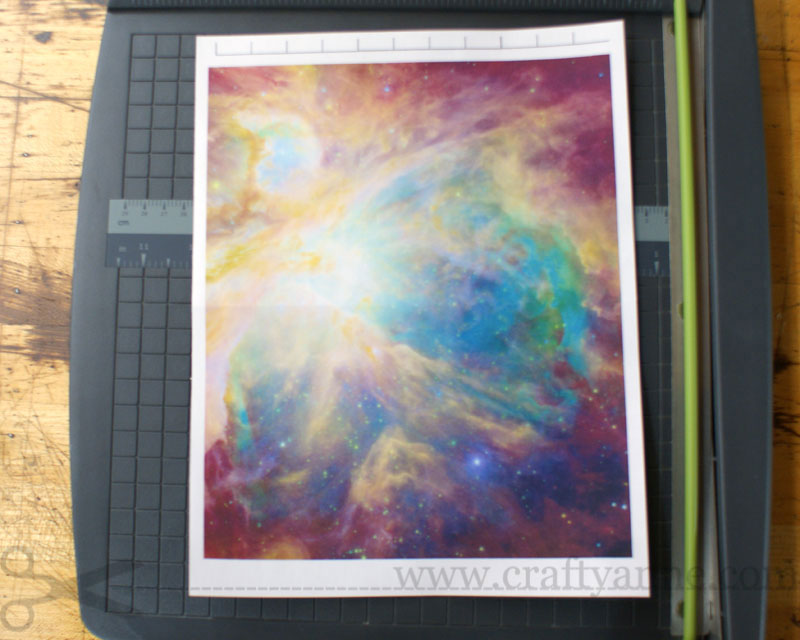
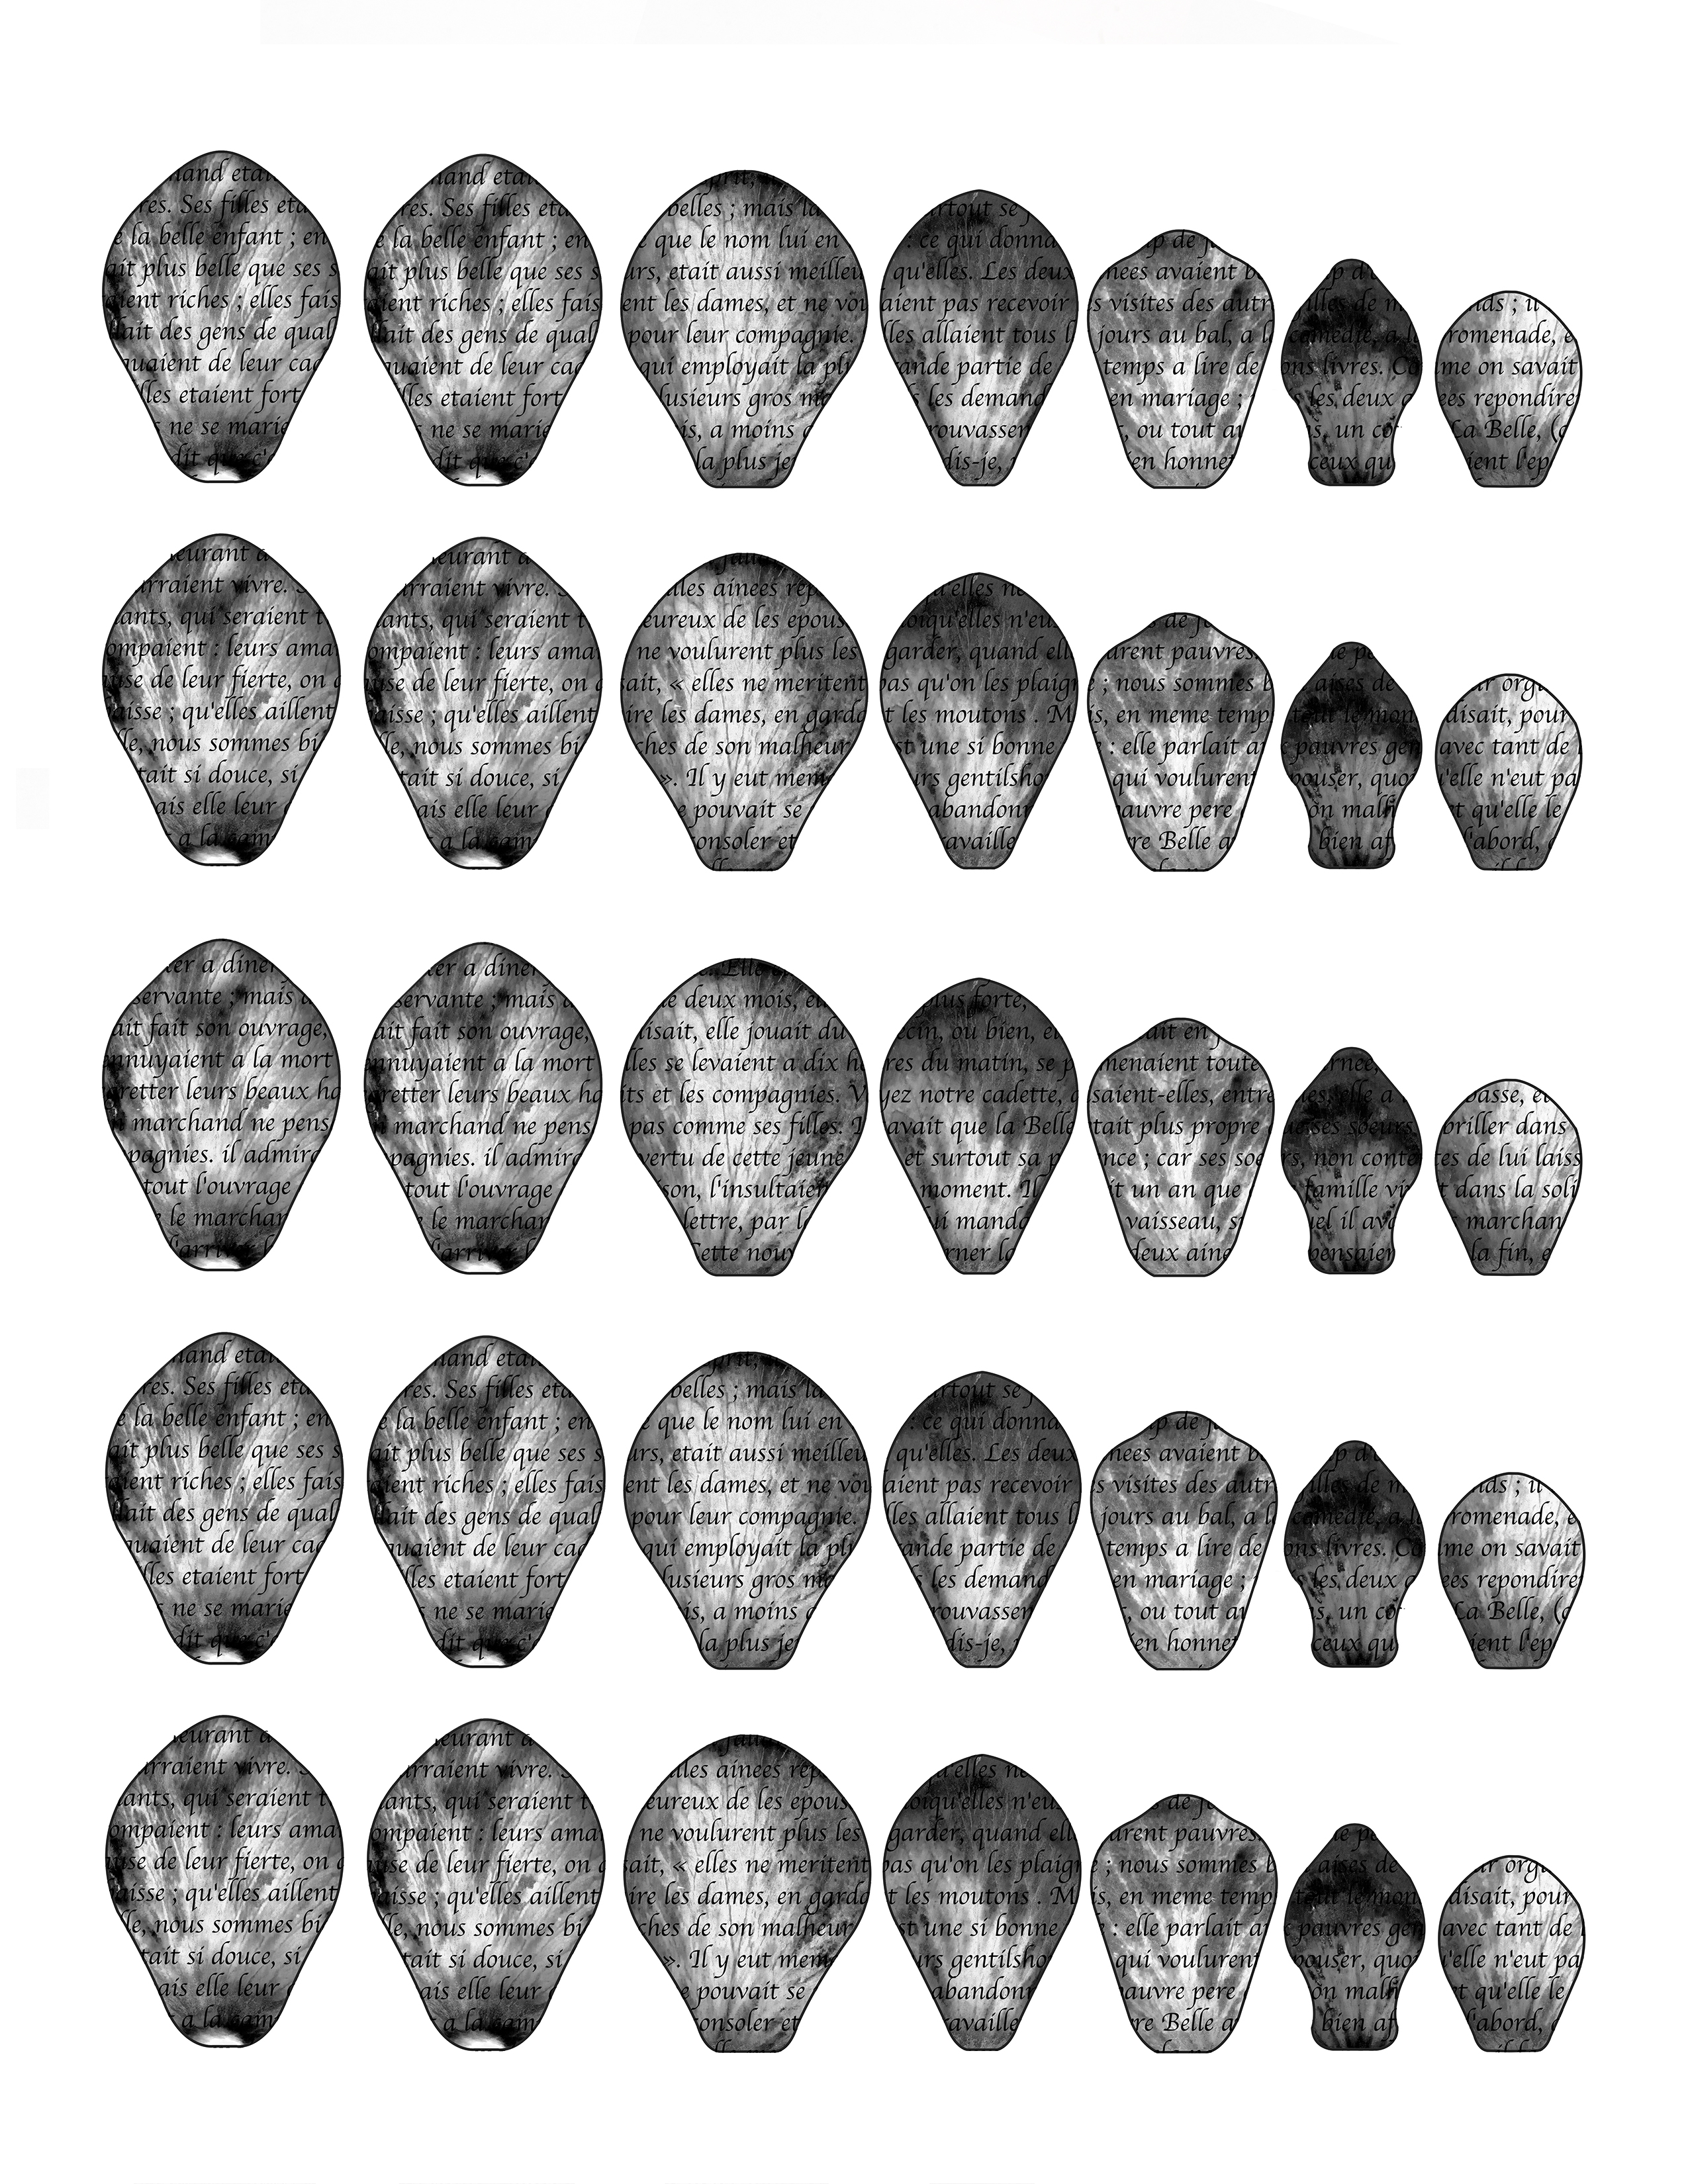
ME: Early spring I begin developing a new project: my butterfly wings.

  • I’m referred to as a respected seller who knows her patterns. I get so excited when I read that!!! http://afewthreadsloose.blogspot.com/2012/08/vintage-bra-patterns-and-what-theyre.html
  • I officially retire my clothing mannequin. A high school theater teacher buys her for their stash of props.
  • I change my shop name to vtgsewingpatterns, a name change is long overdue.
  • Although my views increase substantially, my sales decrease by almost half.
  • I sell my first pair of butterfly wings. Well, actually they were luna moth wings.


Year 6: 2013

Views: 60,618
Sales: 142
Favorites: 2,779

ETSY:

  • Etsy: Etsy changes its policies about outsourcing and manufacturing.
  • Etsy completely revamps their feedback system. Sellers cannot leave ratings for buyers anymore.
  • The sort of  patronizing “kiss and makeup” feature is discontinued. The kiss and makeup feature let sellers offer to rectify any problems to buyers who left negative feedback.
  • Shipping profiles are enabled; sellers can create shipping profiles for different items and update costs in bulk.
  • The five-star feedback begins– no longer is feedback just positive, neutral or negative. Seller anxiety skyrockets.
  • Etsy sellers are now able to sell digital items directly on Etsy. Customers can download their files from Etsy immediately after payment. Sellers of PDF patterns, clip art, and other digital items rejoice.
  • Adobe switches over to a subscription service only model, many experience mixed (@#$$@#@# RAGE!!!) feelings.

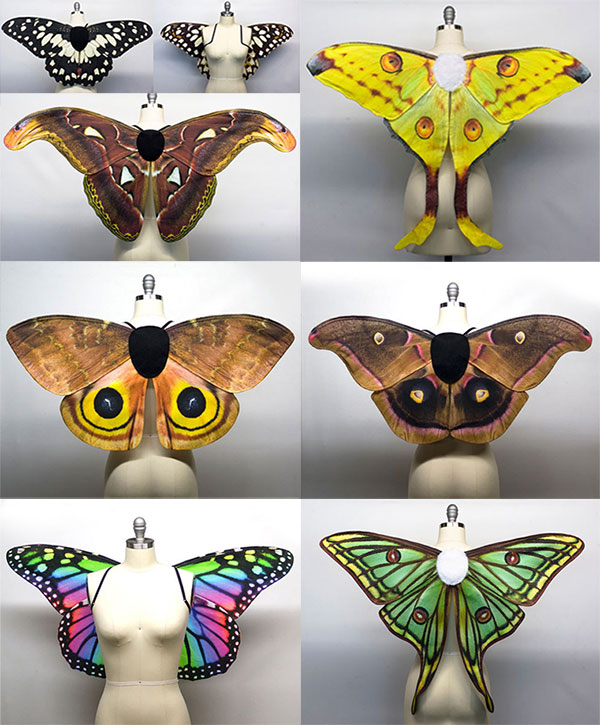
ME: I am almost officially burnt out on my vintage pattern obsession and decide to focus on school for a change. I add a few new types of wings.

Year 7: 2014

Views: 31,436
Orders: 120
Favorites:  2,091

ETSY:

  • Etsy changes the structure of its forums. A new section called “chitchat” is added for non-Etsy related discussions, a section for “Promos” is also added.
  • The “Sell on Etsy” iPhone application is released
  • Etsy changes search ads to CPC (cost per click).
  • Etsy introduces a card reader that synchs with their website, like Square and Paypal credit card readers.
  • Etsy wholesale is (finally) launched.
  • Etsy clarifies its guidelines regarding outside manufacturing. For years Etsy-ians have fought about what a handmade item is, and how handmade is enough to be “Etsy legal.” Etsy now requires sellers who use components manufactured by a third party to complete an application for outside manufacturing.

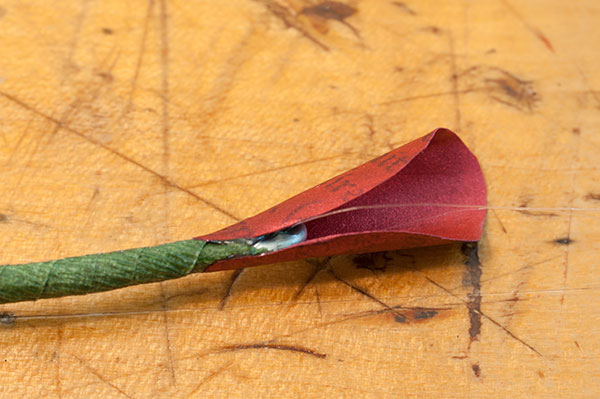
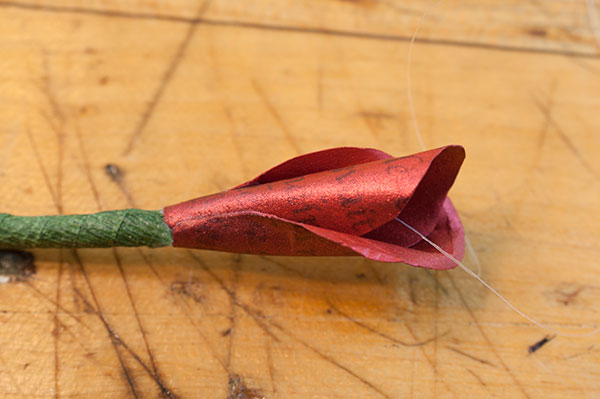
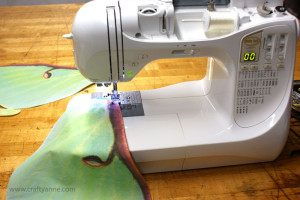
ME: I make and sell over 70 pairs of wings. So. Many. Wings. I purchase a new mannequin/dressform.

  • I learn enough about InDesign to become dangerous.
  • 2014 is a rough year for me outside of Etsy. I only ended up adding two new kinds of wings.

Year 8: 2015

Views: ~30,884
Favorites: 2,595
Orders: 78

ETSY:

  • Etsy launches Etsy Manufacturing. Sellers are now able to search and network with Etsy-approved manufacturers.
  • Amazon unveils their new Handmade at Amazon marketplace, which is described by some as an “Etsy Killer.”
  • The new listing manager is launched.
  • Pinterest launches a new feature: “buyable pins”
  • Calculated shipping, a thing many sellers dreamed of, is finally launched. I do a happy dance.
  • The bulk listing editor BETSI is banned (sad face)
  • Etsy goes public this year, and investors are now able to buy stock! The initial IPO is priced at $16. The price rapidly rises, peaking at $31, then declines steadily.
  • Etsy introduces its new blue buy-it-now button to entice buyers to click.

ME:

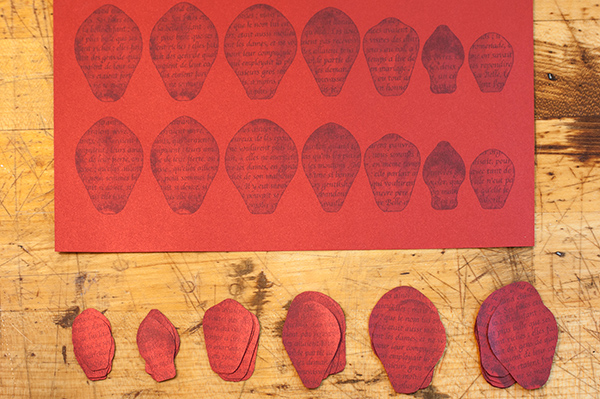
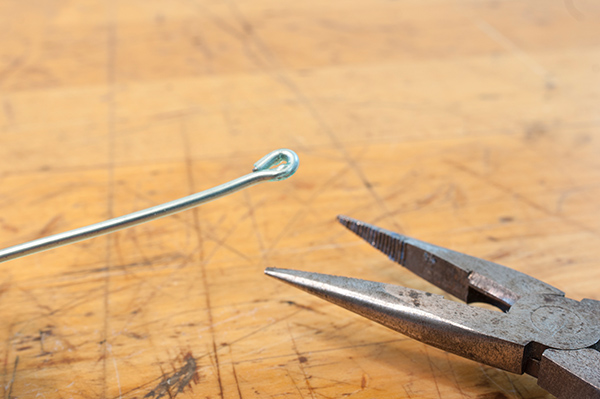
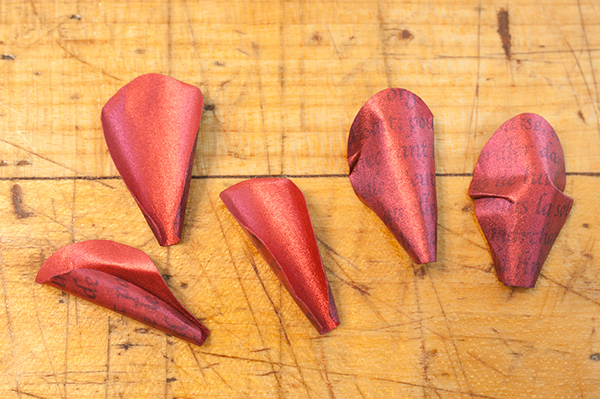
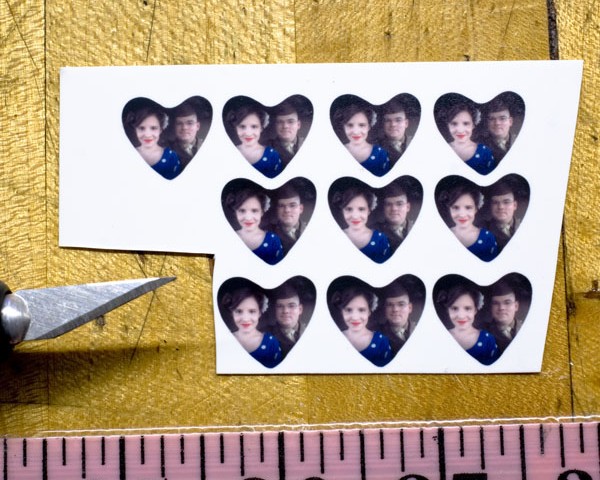
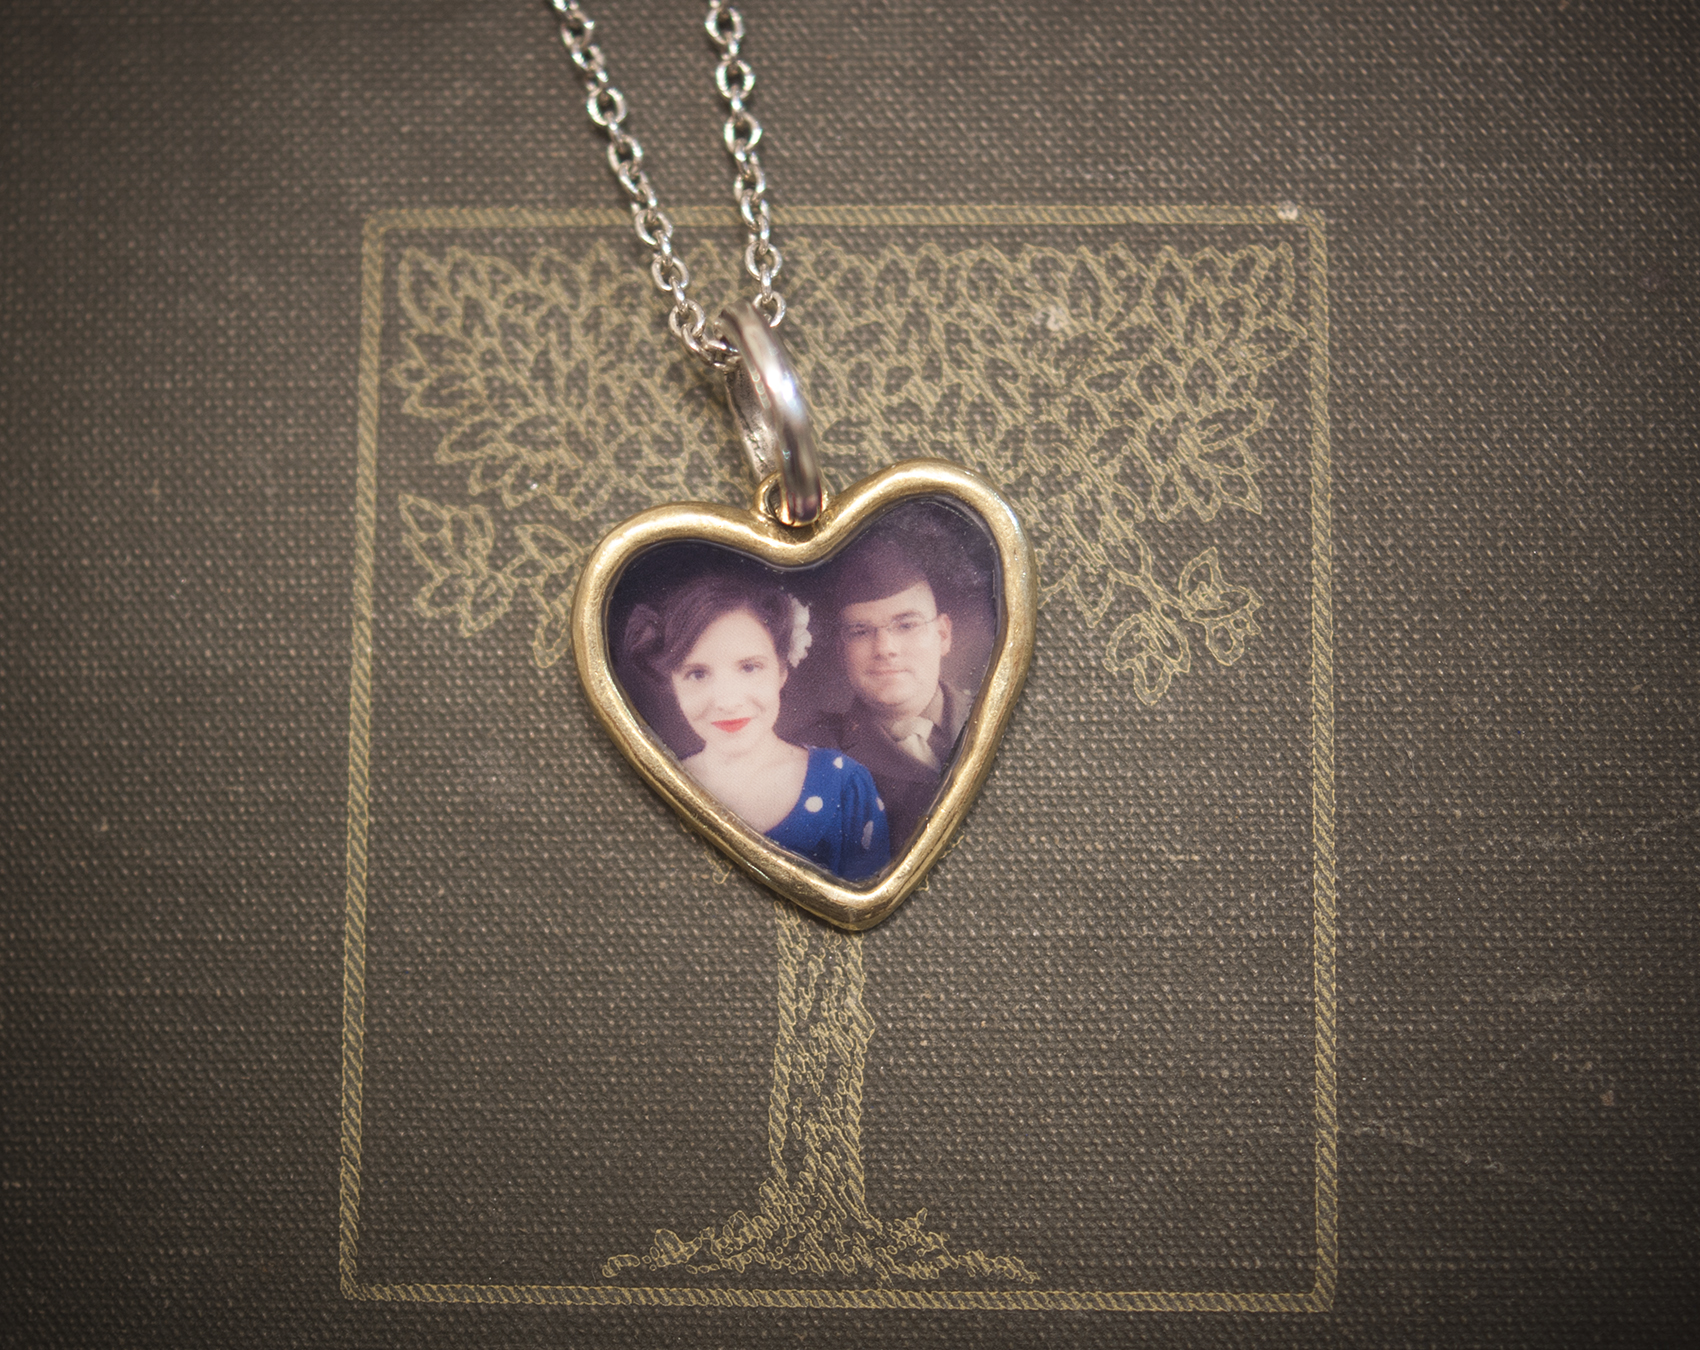
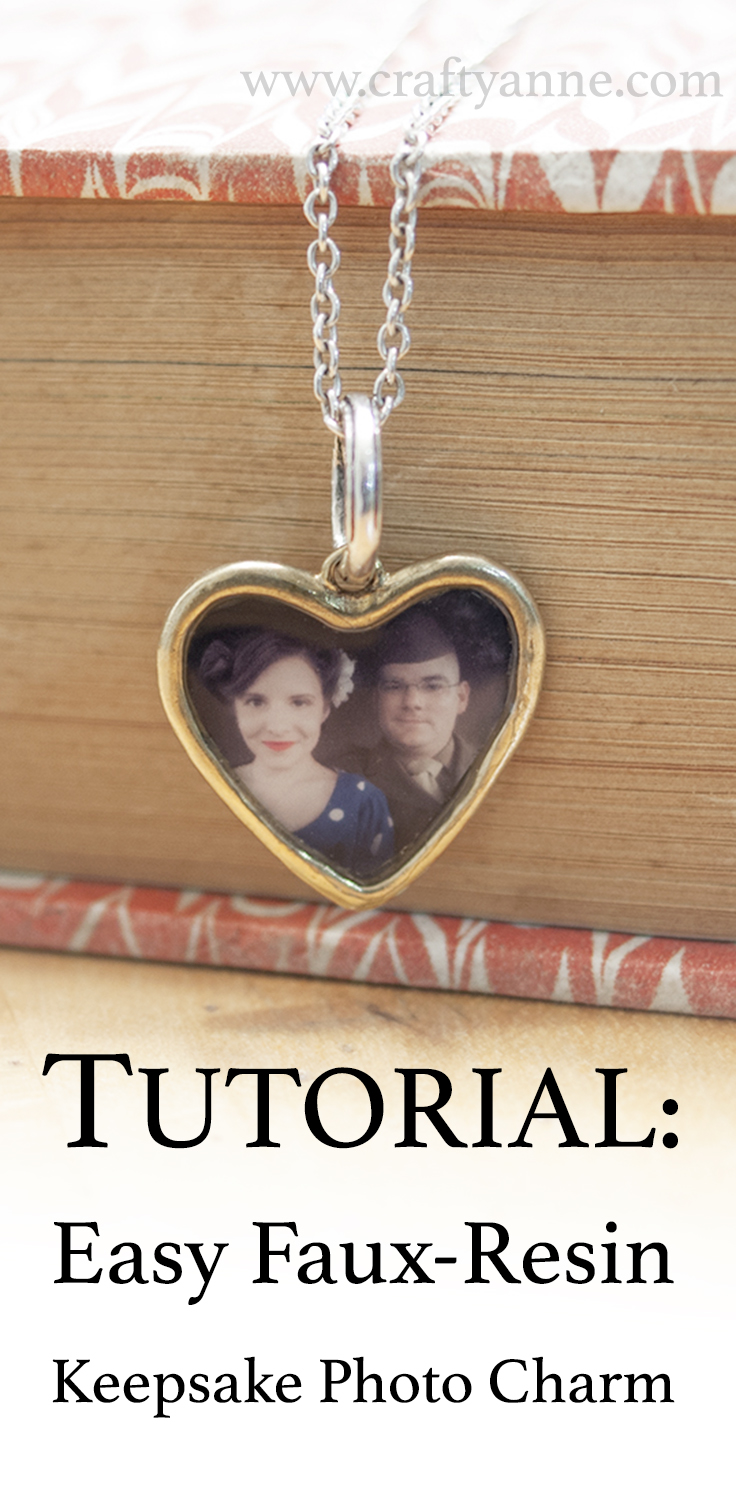
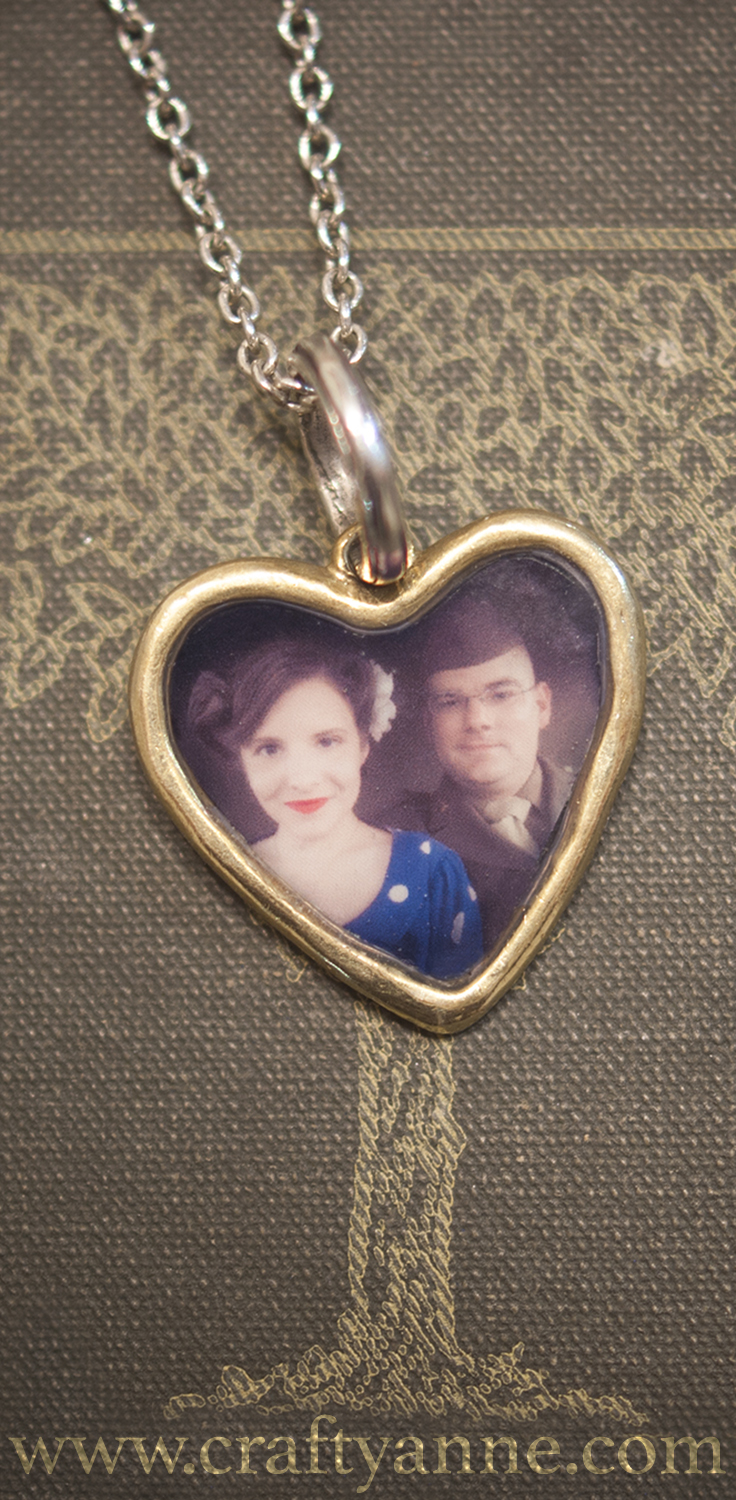
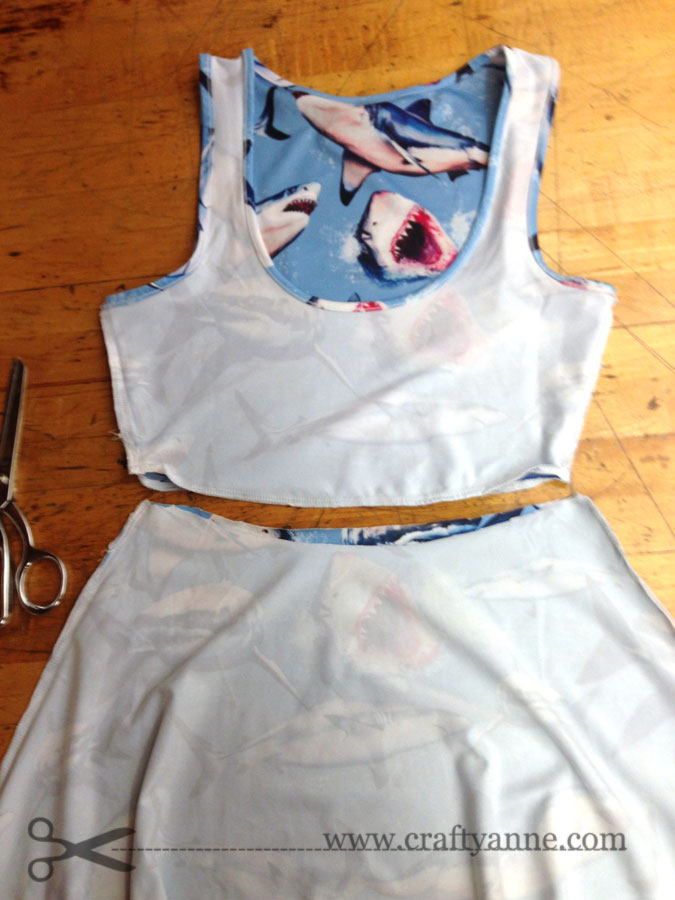
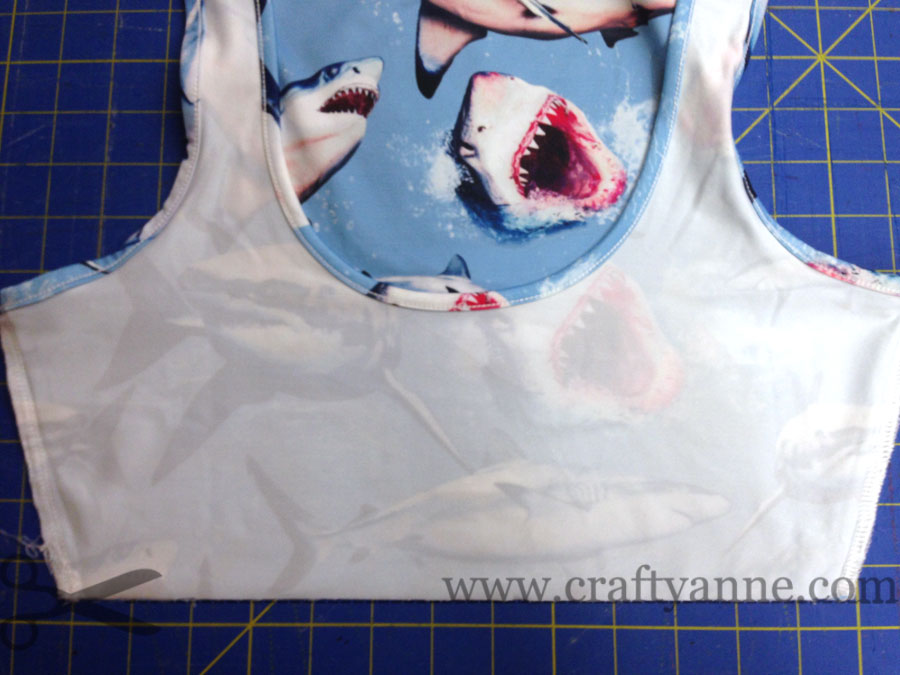
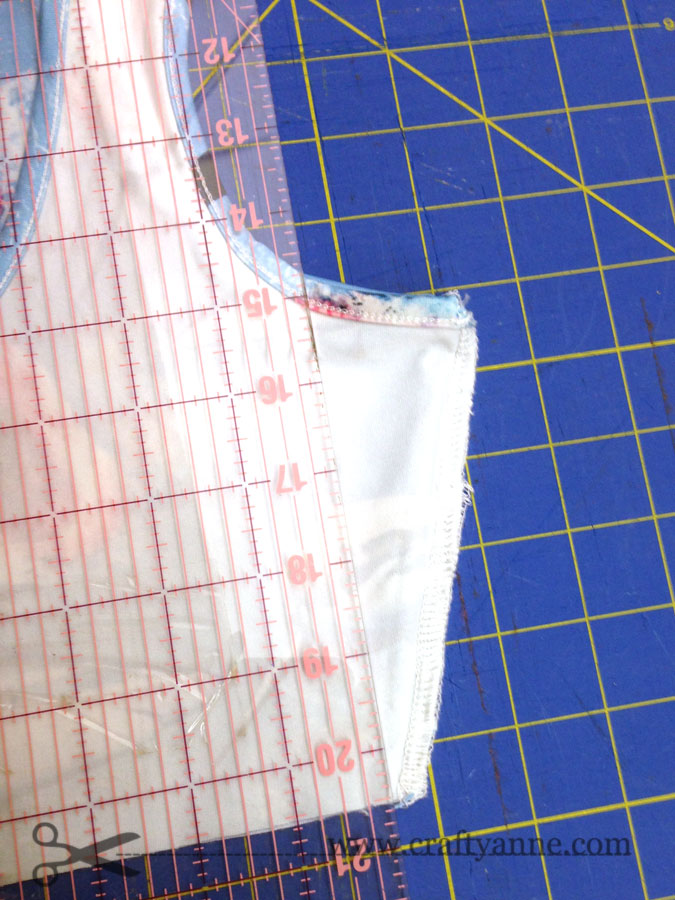
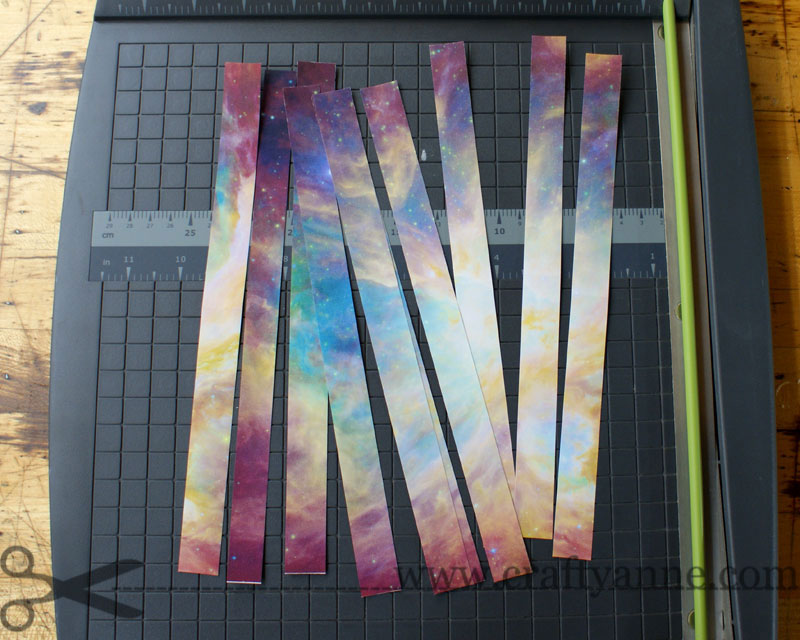
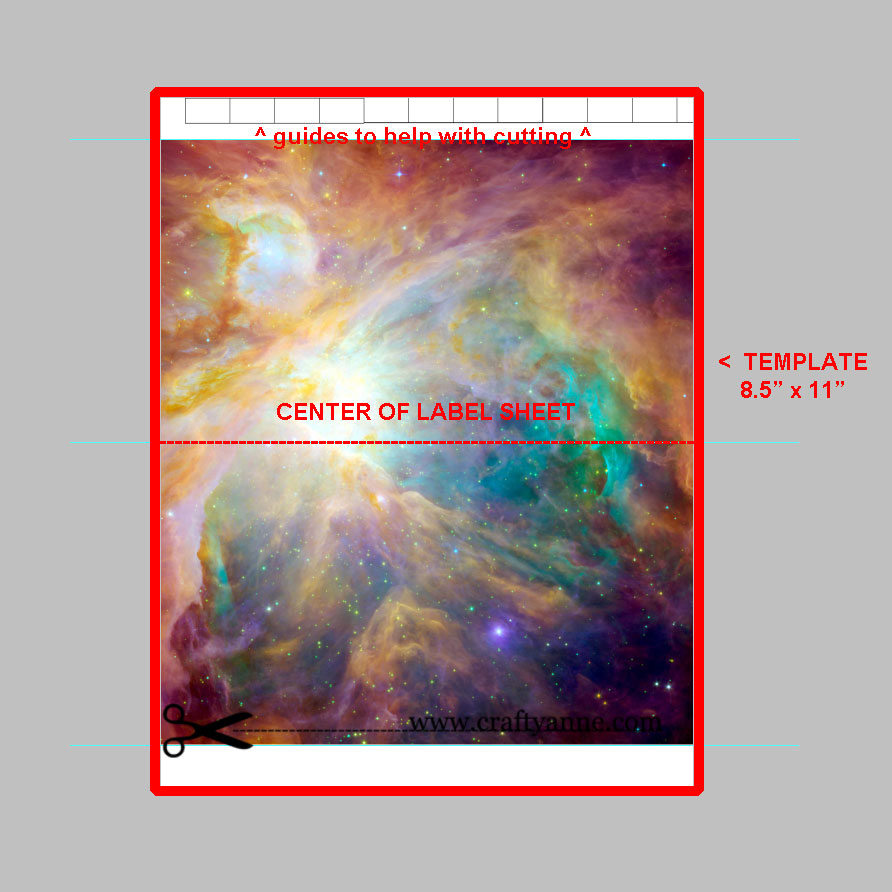
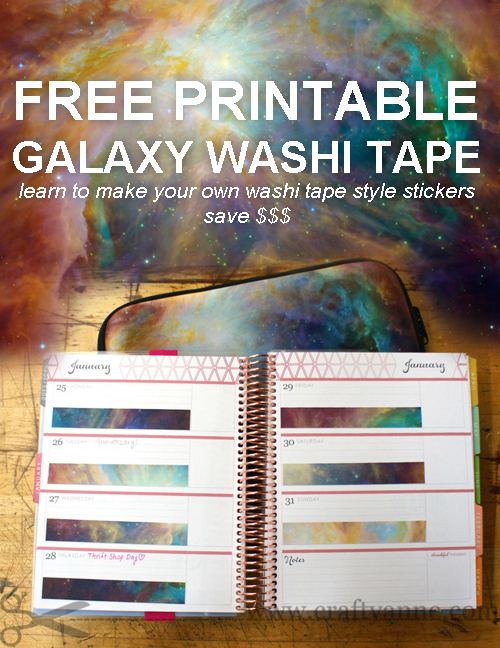
    • To try and prevent last year’s wing-making burnout I launch craftyanne.com and post my first tutorial on making butterfly wings.
    • My variety of butterfly and moth variations increases.
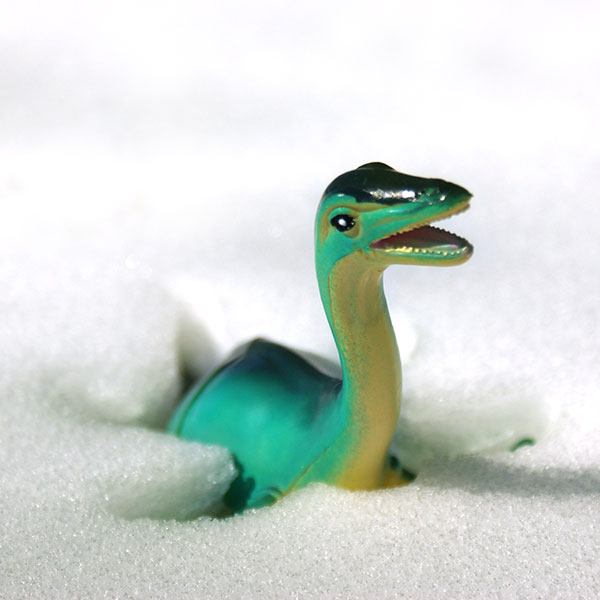
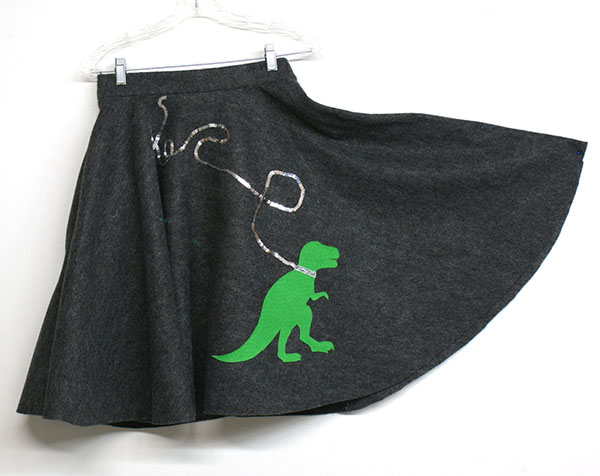
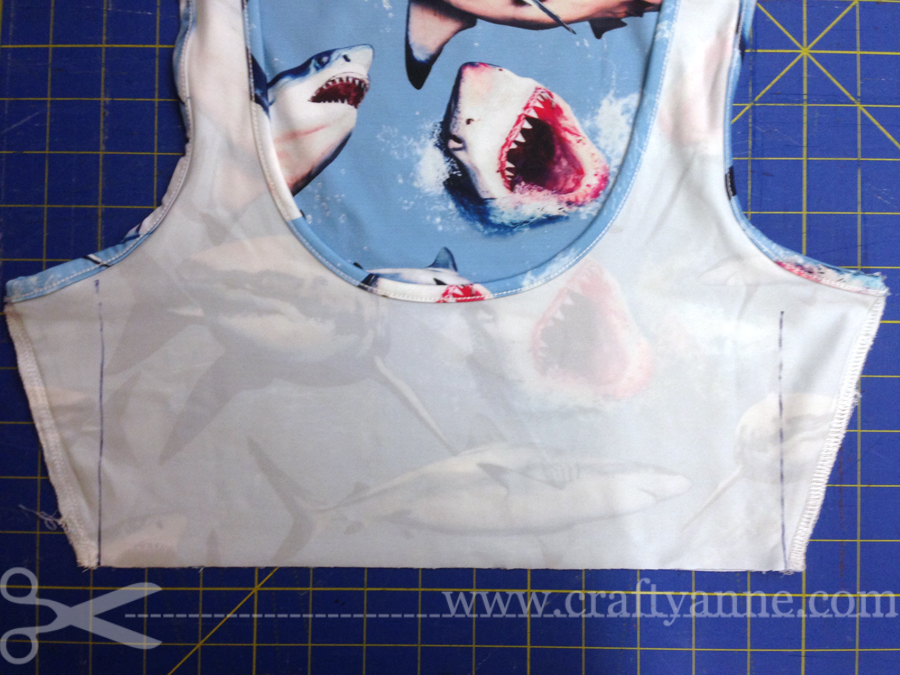
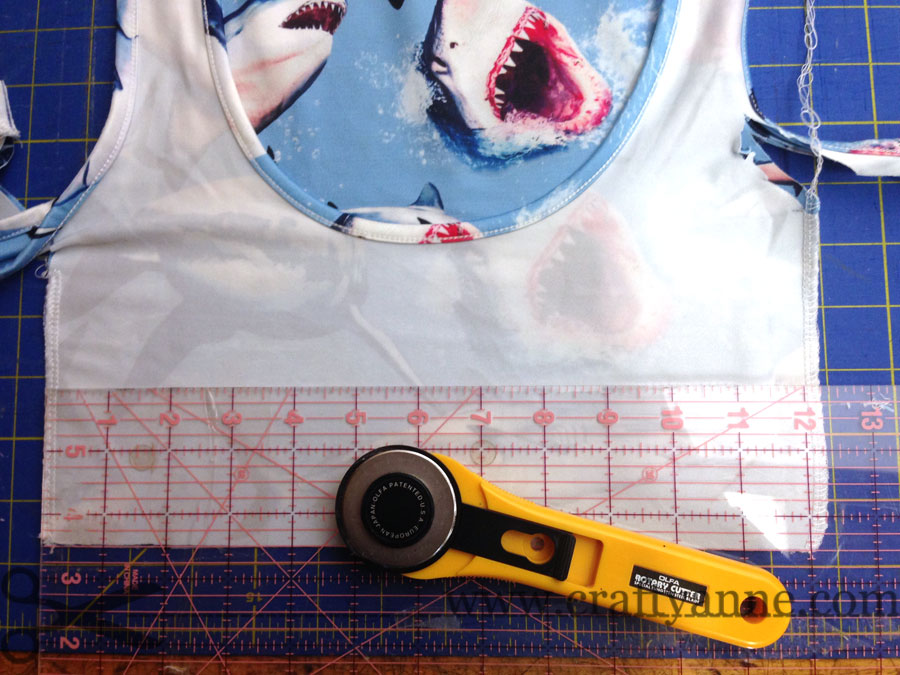
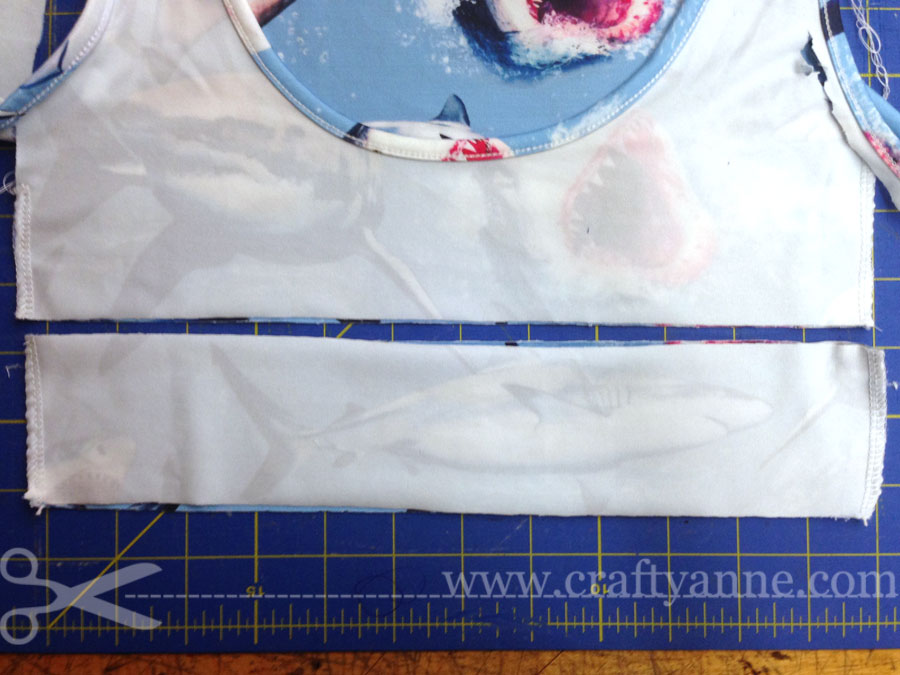
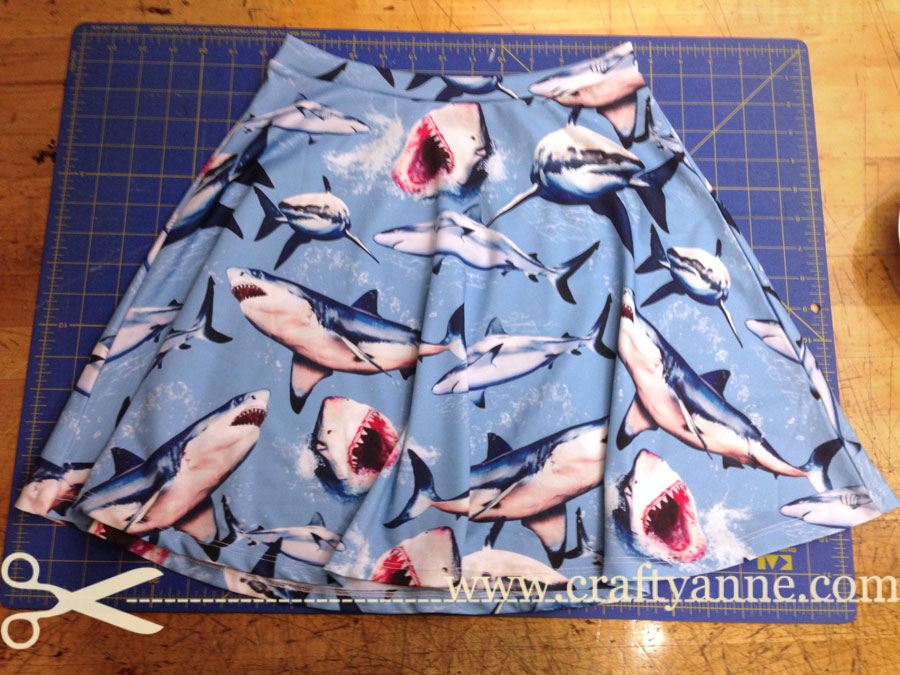
    • I release my awesome T-Rex Dinosaur Poodle Skirt

Year 9: 2016

Views: 50,000+
Orders: 199
Favorites: 5,368

ETSY:

  • Etsy discontinues featuring Treasuries (curated collections of handmade items) on the front page, instead replacing it with a more personalized experience for the buyer.
  • Etsy introduces Google shopping ads, where sellers can pay to promote their listings in google’s product search results.
  • Pattern, by Etsy, launches. Sellers can buy their own domain and have the look of a stand-alone website while utilizing the convenience of Etsy.
  • The bulk editor Vela is released, a viable alternative to BETSI. Vela lets users quickly edit their listing descriptions and titles, it also offers advanced functions like adding or removing text from multiple listings at once.

ME:

  • I apply for Etsy wholesale and am accepted (as of 2017, I am still working on my linesheet.)
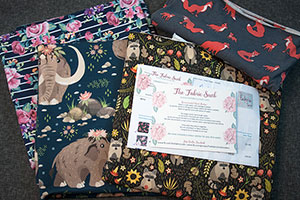
  • I submit my application for the approval of outside manufacturing, as required by people applying to Etsy Wholesale. If I were to purchase my fabric from a regular brick-and-mortar store (such as Joanns) I wouldn’t need to apply for outside manufacturing. But because I design my fabric and have it printed by someone else I was required apply. That same topic is discussed in more detail here: https://www.etsy.com/teams/7722/discussions/discuss/13808625/ Sometime in the future when I have a spare 20 or 30K, I might look in to printing my own fabric.
  • I get a Mac and rage when it constantly autocorrects Etsy to “easy”. I figure out how to add Etsy to the dictionary and stop raging.
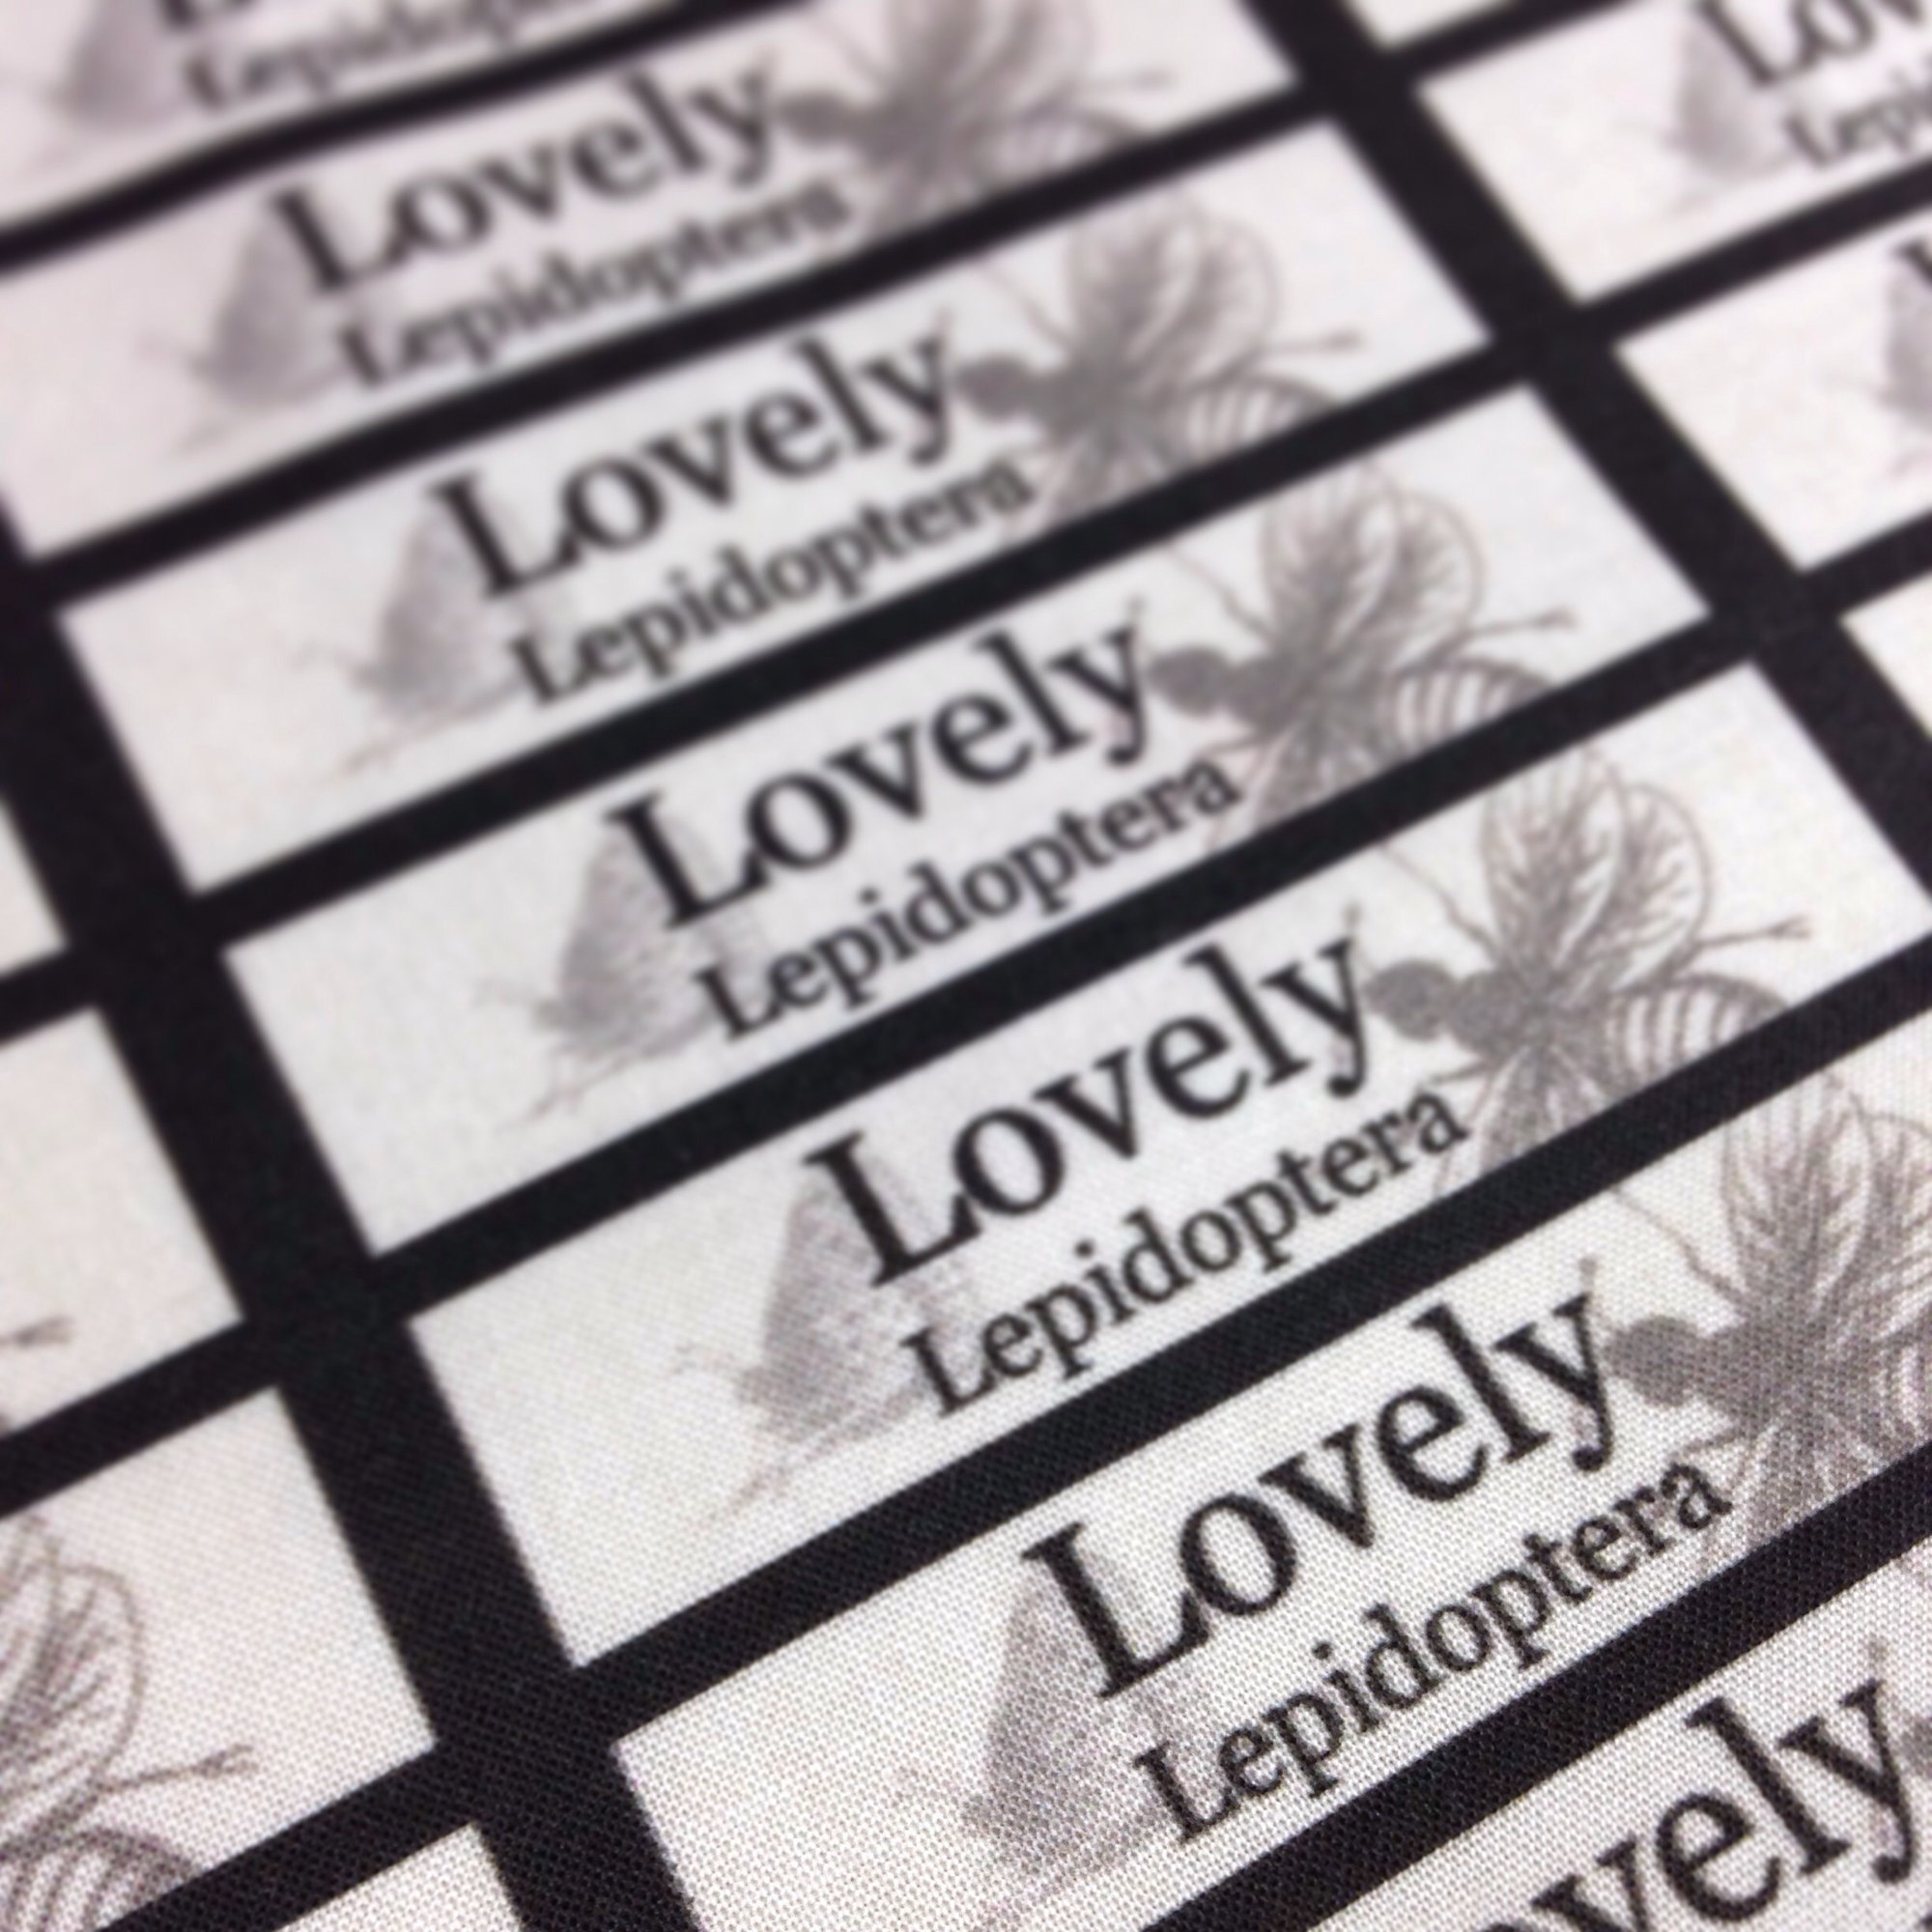
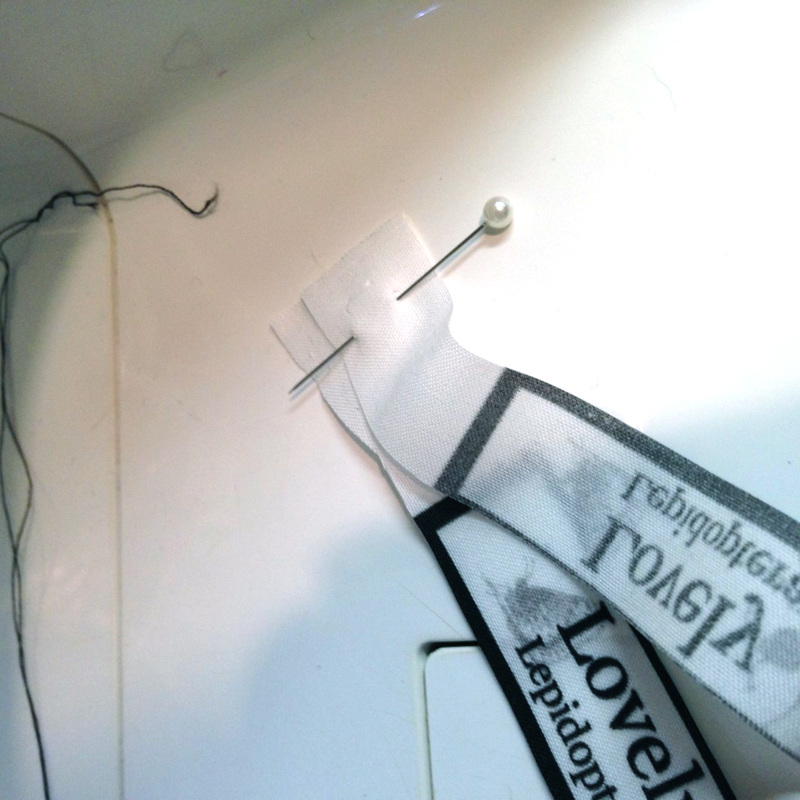
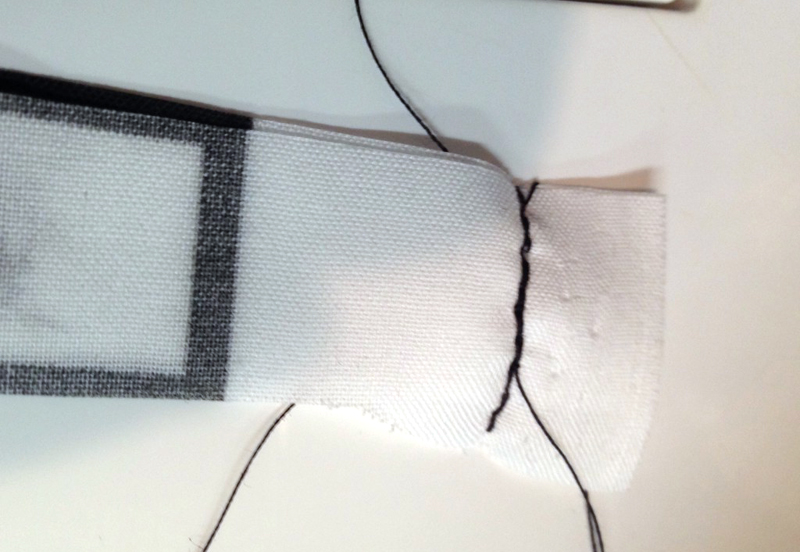
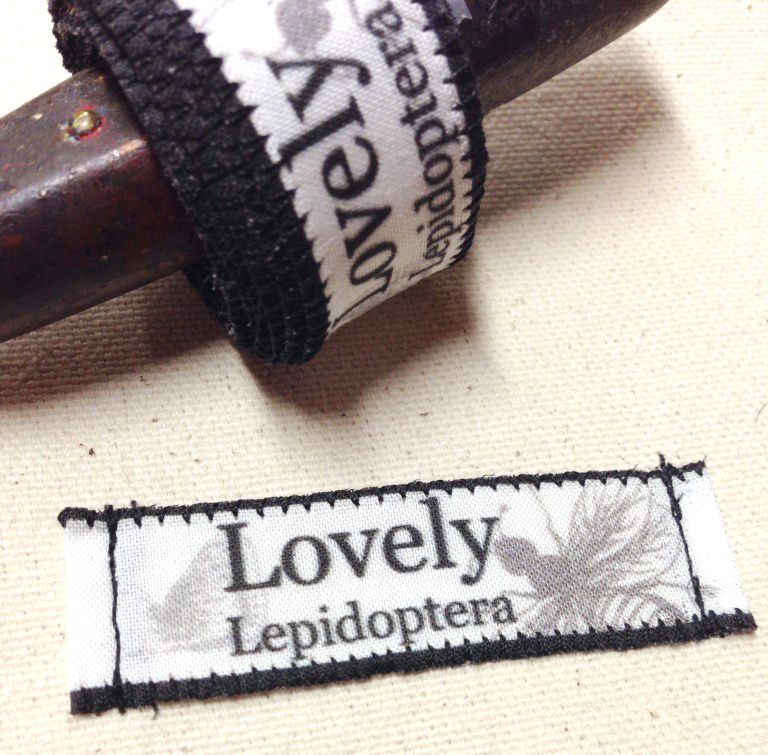
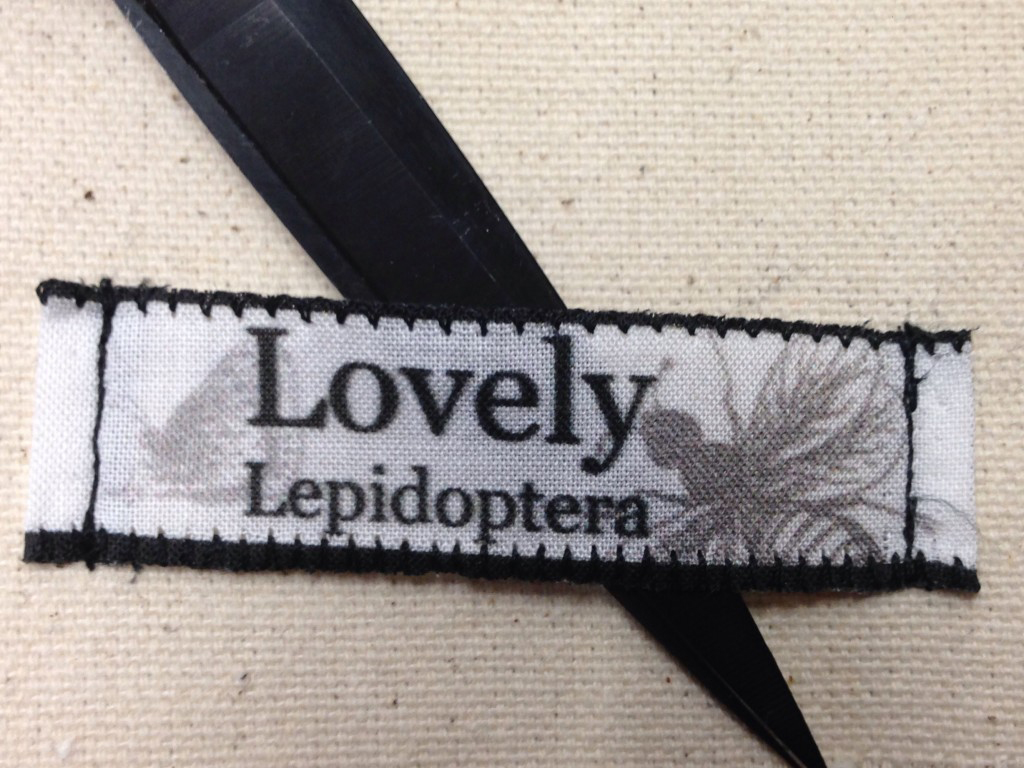
  • I realize my Etsy shop name LovelyLepidoptera is hard to spell and no one can pronounce it. I’m not sure if I’m even pronouncing it right. No one knows what it means and I’m starting to get embarrassed trying to explain it. Etsy approves my shop name change request; I am now known as “CraftyAnnesArtistry.”
  • Etsy takes the backburner for a few months while I get married and we move into our first home. I question my sanity for choosing an October (my busiest month of the year) wedding date. I make a few wedding decoration purchases on Etsy!
  • I begin offering butterfly scarves.
  • I add several new kinds of wings.

Year 10: 2017

The Future

ETSY:

  • (Wishful thinking…) space for more than 5 images? I’m usually able to condense my listing photos down to 5 but sometimes I wish I could add more than 5.

ME:

  • I would like to continue making crafty tutorials and connecting people with fun new projects to work on.
  • I would love to make about a billion pairs of butterfly wings and finish making my linesheet for Etsy wholesale.
  • I would also like to connect with other creatives and collaborate on projects.
  • I’m writing this post in Dreamweaver because I always seem to mess up the formatting in WordPress.

Conclusion

After all this time, I honestly still feel like I’m a work in progress and I’m always running. My brain is sort of like a jar of marbles, a jar that you accidentally dropped on the floor. When I started out I thought that I might get to a point where I could sit back for a minute and breathe. By now I realize that won’t happen. Partially because of my personality, and partially because that isn’t how owning a business works. You grow and adapt to what the market is asking for. And your brain will never rest, you’ll always be thinking of ideas and filling up sheets of paper with your frantic scribblings. And you wonder if (or when) you’ll get your laurels to rest on.

When you own a business you look back a lot, and wonder what you could’ve done better, and sometimes fear that you’ve put all your time and money into a large pile of useless rubble. And sometimes it does feels like you’re constantly rising out of the ashes and starting from square one.

I’ve experienced moments of extreme happiness and feeling fulfilled, and other times of terrible panic and fear. Sometimes feelings from my life outside Etsy and creating would pour in. Sometimes I could literally feel my sadness and longing, my heart felt like it was caving in, as I kept trying and trying again to create something that was good enough. Good enough is hard to quantify.Good enough is doing the best with the materials that you were provided. And sometimes you must get crafty with what life gives you. I have a few things I’m good at, but along with that I have some significant limitations I try to work around.

The existance of Etsy was the defining variable of the trajectory of my life. I’m not sure what would have happened if I didn’t find Etsy or Etsy didn’t exist.

DIY SEO Disaster, My Page Disappeared from Google


For the most part I’m a DIY type of person, I put together this website without much trouble, thanks to the user-friendliness of WordPress. I was ambitious and installed the Yoast SEO plugin to try some DIY SEO. After reading up on SEO I thought it couldn’t hurt to give it a try.

DIY SEO, Attempt 1

After installing and using the Yoast SEO plugin my traffic dropped off. I took a look to see what was going on. I searched Google and found my posts had been indexed by their tags or as archives, not by post or page titles like they used to be. My search result title would be “Butterfly” or some other random tag rather than the post title or page name. So confusing! Maybe my page views were down because the post and page titles were missing and only vague tags or archives showed up.

When searching for “Butterfly Wing Tutorial” my page showed up but the title was strange, just my archive was indexed, not my actual page title. Picture below:

DIY SEO problems

Archive title rather than post or page title.

Below is what I put in the Yoast SEO form below my post, hoping my page would show up like the plugin preview:

Screen Shot 2017-01-04 at 2.17.22 PM


I contacted support and they told me to take a look at the Titles and Metas section. Then select Post Types and Taxonomies and choose noindex. They attached the screenshot below to help:

DIY Seo

So I changed the Meta Robots for Posts to no index (like the picture above showed). I also changed archives and tags to no index.

And then my website disappeared. Horror!

Trying to Fix My SEO Fail

I panicked, looked over the changes and changed Posts back to index. It was the only thing I could think to do… Some pages returned, but still with strange titles. When I followed up with support I found out I misunderstood their directions. The graphic they sent me was just an example of how to change the Meta Robots to noindex. It wasn’t actually “Posts” I was supposed to noindex to fix the problem.

Fortunately I purchased the Yoast SEO premium version which comes with tech support. I found the tech support was very helpful; I felt really bad for annoying them. In hindsight I should have sought out an SEO expert and not tried to attempt DIY SEO.

I resubmitted my sitemap, now I wait and hope the random “tag” and “archive” pages will disappear from Google.

Tech support reminded me that there’s over 200 factors that Google considers when choosing your page rank. Maybe my website isn’t relevant. Maybe adding SEO caused it to be indexed and ranked (or ignored) by Google as it should be.

In Conclusion

My new goals for this year: provide relevant content and tutorials and seek an SEO expert before I try any other DIY SEO experiments!

DIY “Washi” Tape for Your Planner

Free diy washi tape style sticker printable, compatible with your Erin Condren planner.

printable galaxy washi tape

I have some pretty bad executive function issues and would lose my head if it wasn’t attached. After being bombarded with Pinterest ads I decided it would be a good idea to get an Erin Condren planner to help me be less scattered. The idea was cemented when I saw my friends planner and saw how awesome it was.

Suddenly I was plunged into the world of planners and planner accessories. I had no idea what washi tape was until two months ago (I was so naive).

I use a lot of shipping labels and realized that they would be awesome to print out designs on and cut up to make my own diy washi tape. The pre-cut line down the center of the label sheet makes it easy to peel off the sticker.

print washi tape with your printerDSC05516webprintable diy washi tape tutorial

The PSD (photoshop) template is sized so the stickers fill the width of the Erin Condren horizontal layout. I added cutting guides for .75 inch (19 mm) wide strips which cover 3 lines.

Download PSD Here (Google Doc)

Template Layout

Template Layout

Download Galaxy Pattern Here (Google Doc), Galaxy Photo via NASA

You could use an entire sheet label but it’s a pain to separate the backing without the pre-scored center line. It involves a lot of thankless picking with your fingernails. The matte paper finish is easy to write on. And cheap! I originally got them for shipping labels but I think it was about 25.00 for 500 sheets (5 cents per sheet).

This is a good option if 1. you don’t have a silhouette cameo (yet), 2. you have a paper cutter and 3. you have too much time on your hands like me and like to DIY things in the most long convoluted way possible.

I thought about ink cost and whether it would be cheaper to just purchase washi tape and found a website that calculated costs per page of printing for my printer model: http://www.redrivercatalog.com/cost-of-inkjet-printing-canon-pro9000-pro9500.html now these figures are using the expensive ink. With the cheapy ink the price is a fraction of that (about 30% of the cost with cheap ink for my printer).

Cost to print per page with expensive ink: 76 cents with OEM ink + cost of page: 5 cents = 81 cents

Expensive printer cartridges from the original manufacturer can be pricey, and for good reason. Some have promises of lasting over a hundred years in the right conditions. However, for my planning purposes I don’t require that longevity. I wince even thinking about someone a hundred years in the future looking at my ambitious exercise plans for this month.

diy washi tape for erin condren planner


1 2