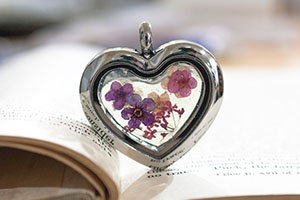
I’ve seen some absolutely gorgeous dried flower jewelry lately. This dried flower jewelry tutorial will teach you how to create a beautiful pressed flower pendant with the look of resin without the hassle. If you want to learn how to make pressed flower jewelry, read on!

I love the look of dried flower jewelry using resin. Unfortunately, resin can be hard to work with. There are several factors can potentially set you up for a resin disaster: temperature or humidity that will prevent the resin from curing correctly, mis-measured mixture of the resin (some can be mixed by weight, some need to be mixed by volume).
This method of using UV cured gel lets you build up layers and have more control over the depth and placement of the flowers. This post contains affiliate links. As always, feel free to blame any purchases on me.

Materials
- Rubbing alcohol
- Tweezers
- Cotton Swabs
- LED lamp and clear gel. This little kit below has an LED lamp, clear gel nail polish, and tiny bottle of rubbing alcohol (a.k.a. gel cleanser). It also has an opaque polish too.
Sensational Polish Essentials
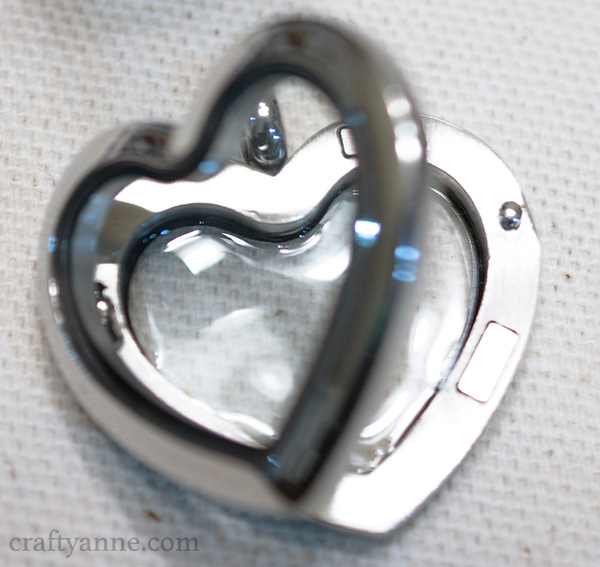
- Clear glass locket pendant. They are sold as floating lockets for small metal charms but the space inside gives them a lot of creative potential.
Silver Heart Locket - Dried pressed flowers. I found some small dried flowers on Amazon. They are marketed to be used for nail art but they work really well for jewelry.
- Acetone or nail polish remover


Directions
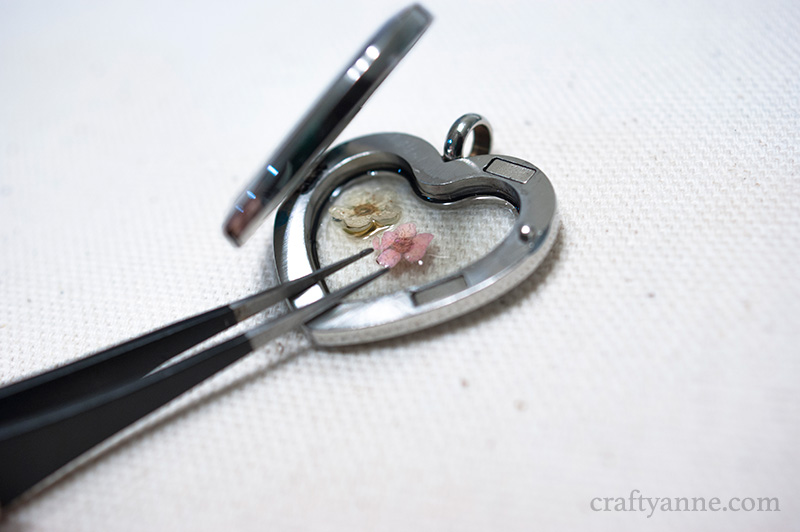
- Plan your dried flower placement in the pendant. I took a picture of it with my phone so I could look at it later on. Remove the flowers and set them to the side.
- Use the rubbing alcohol to clean the glass locket pendant, especially on the inside. It’s important to remove any oil, fingerprints or dust.
- Brush the first layer of clear gel into the base of the pendant. Coat enough so you don’t see any brush marks but don’t add too much.
- Carefully place your first flower (using your tweezers) in the pendant. Put a drop of clear gel over the flower. Make sure there’s enough on the brush so it will drip easily on to the flower. If there isn’t enough the flower might accidentally stick to the brush.
- Cure / dry the gel in your LED lamp. Use a Q-tip with alcohol to remove the moisture layer that will form on the top after curing.
- Repeat steps 3-5 with the other flowers you wish to add to your pendant.
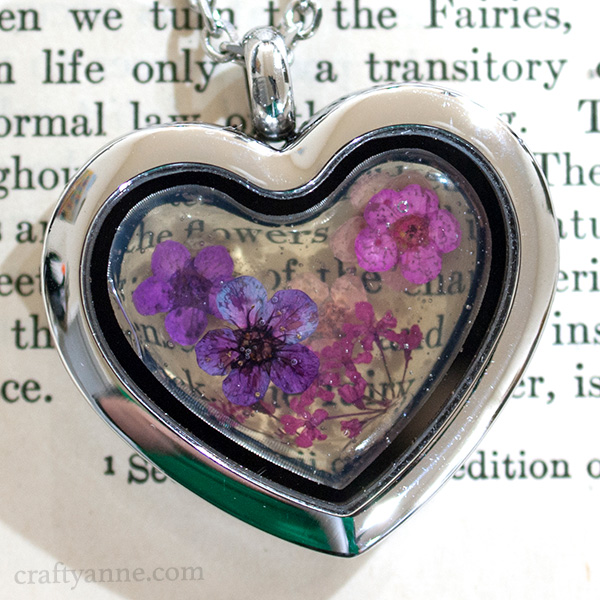
- When you’re finished adding dried flowers, add a few coats of the gel polish until the surface is smooth and there aren’t any bumps or petals that break the surface.
- You can also add more pressed flowers to the front of the locket too.
- When you’re finished, use a cotton swab with nail polish remover to carefully clean any smudges or accidental drops of gel.
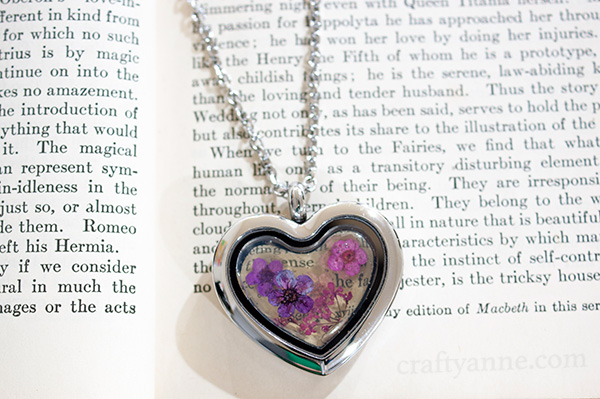
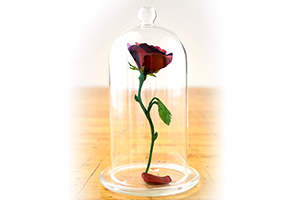
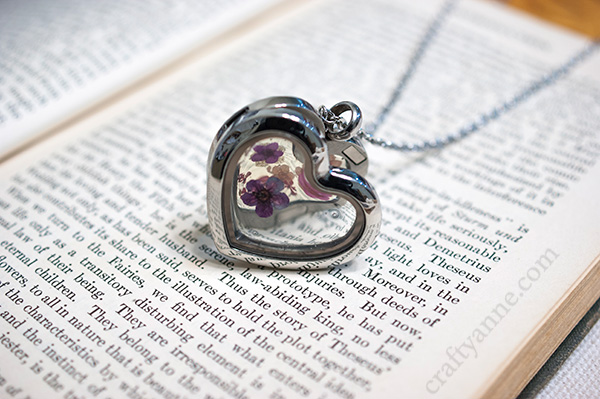
And you have your finished pendant! Your finished pressed flower jewelry piece should be fairly durable but I would recommend removing it for showering or swimming. I’ve come across a lot of vintage jewelry pieces using dried flowers, and some really interesting pieces that aren’t actually real flowers.
The piece above is a clear piece of lucite (plastic) that was carved and painted. This neat technique is called reverse carved lucite.
Other Favorite Posts:
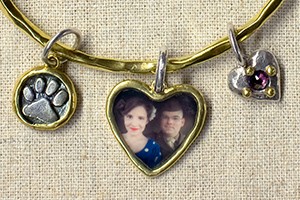
Photo Charm with UV Gel Tutorial
 Knit Fabric Haul