
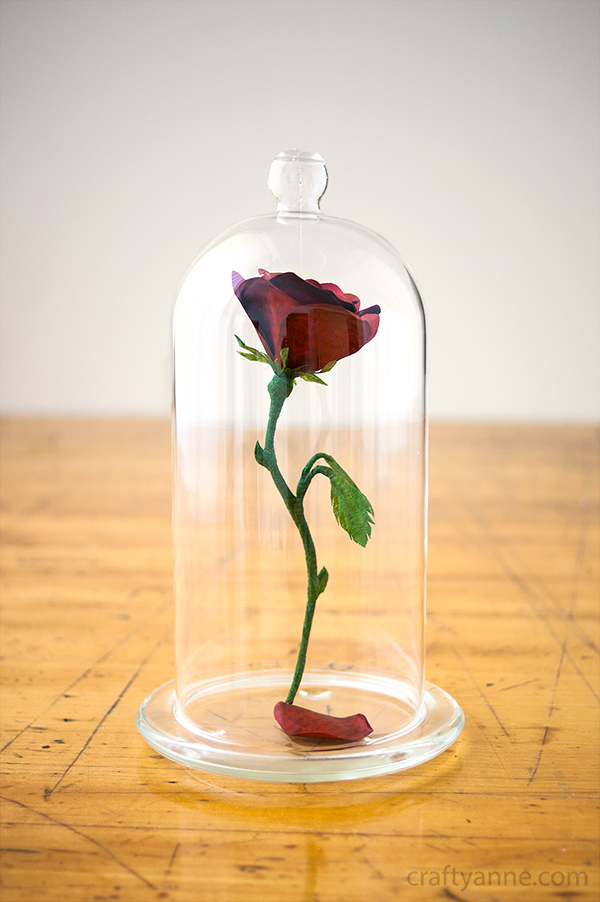
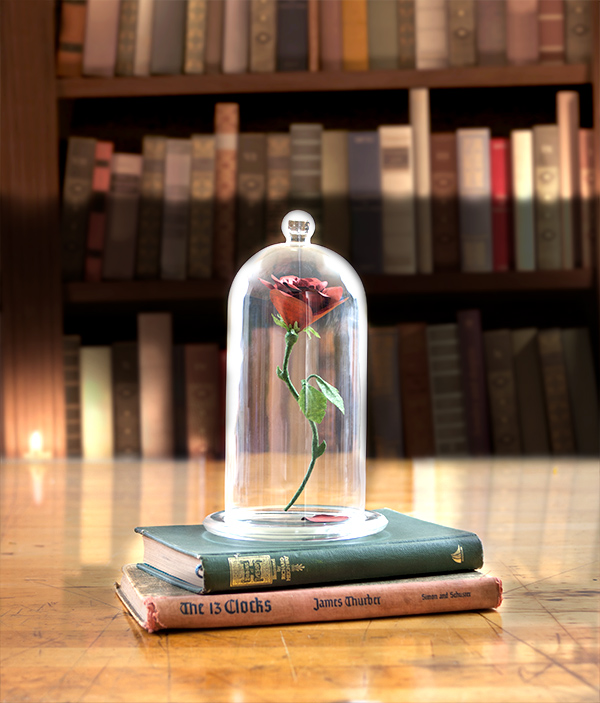
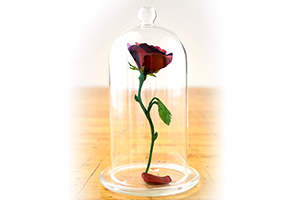
Learn how to make a “floating” Beauty and the Beast rose centerpiece or decoration in this tutorial! When I was little I loved Beauty and the Beast, and was completely transfixed with the enchanted rose.
I’m so excited for Disney’s new Beauty and the Beast movie coming out March 2017, I’m ready to see the magic!
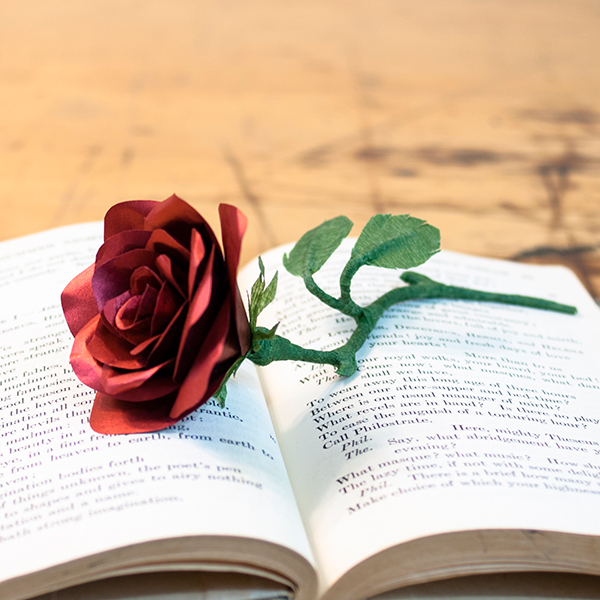
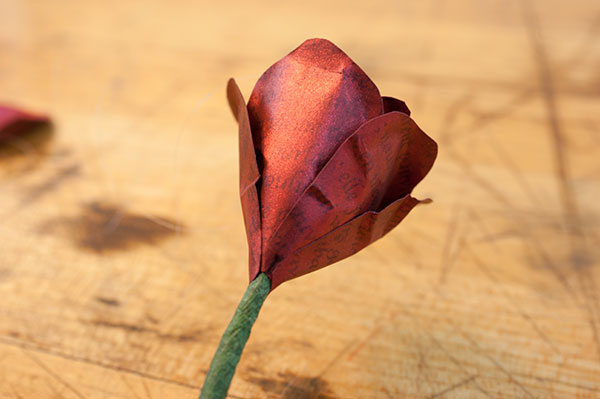
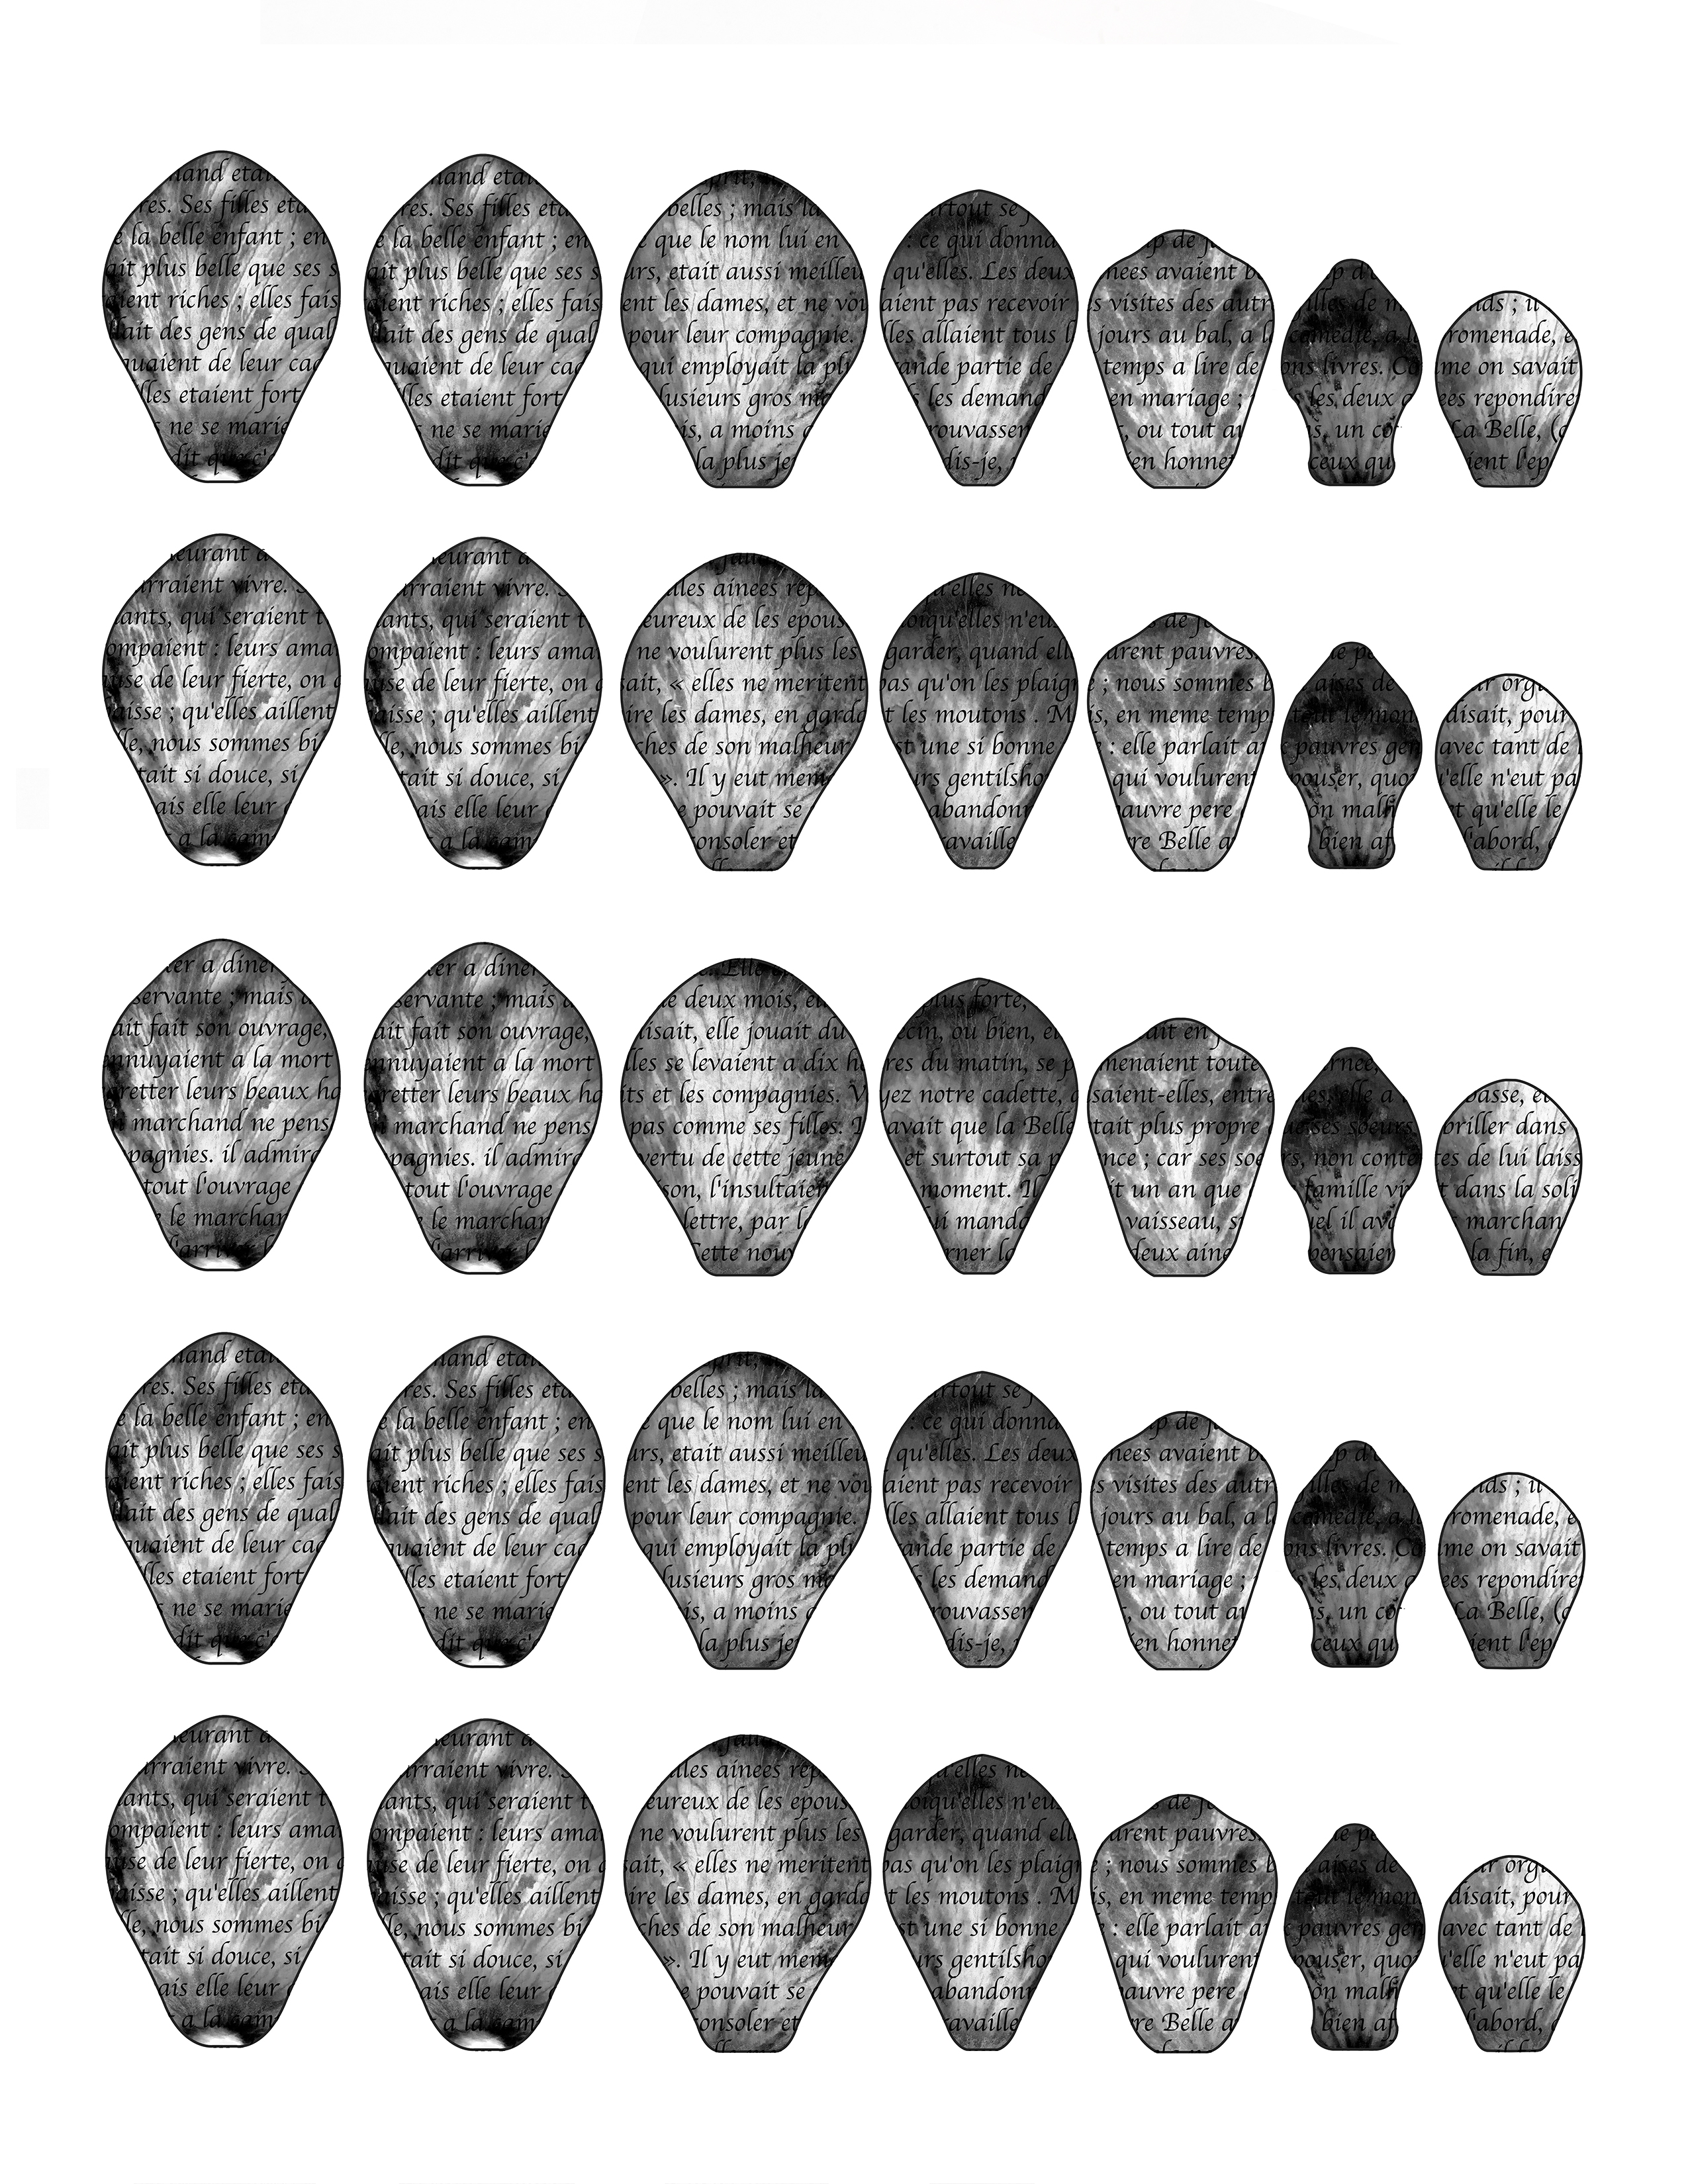
The petals are overlaid with the original French text from Gabrielle-Suzanne Barbot de Villeneuve’s original La Belle et la Bête, published in 1740. I’ve also added texture to the background using photographs of an actual rose.
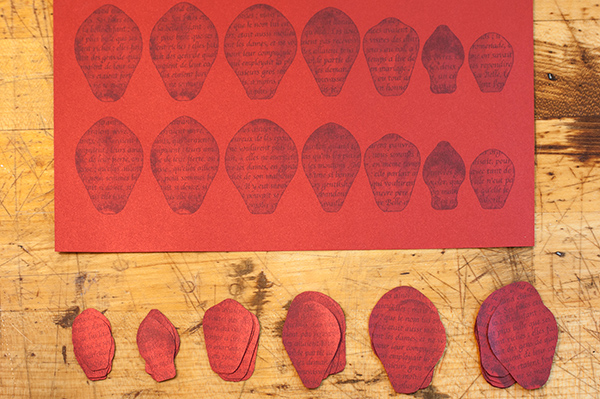
Nothing can compare to the luminescence of an actual rose. I found a shimmery paper that mimicked the natural glow. When you print out the black and gray-toned petals over the red shimmery paper you get a neat effect.
These would be perfect Beauty and the Beast wedding table centerpieces, and would look gorgeous surrounded with scattered rose petals. Affiliate links within this post. If you’re not the crafty type I’m selling the finished centerpiece in my Etsy store.
Materials
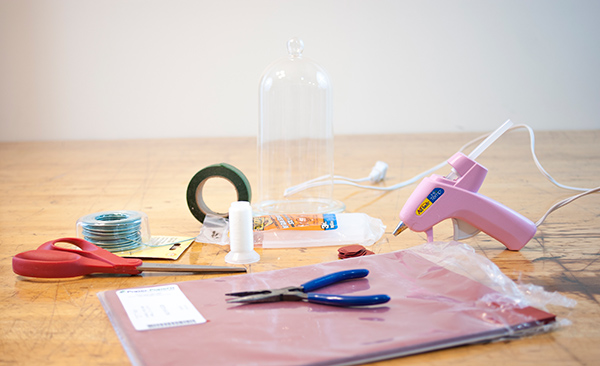
- Red paper for the rose petals. I found red shimmery printable paper on Amazon; the iridescence adds depth.

Find it here - A glass cloche or bell jar. Sometimes you can find these at thrift shops with dried flower arrangements.
- To purchase the glass cloche I use, visit here
- Scissors, a Cricut, or another cutting machine.
- Hot glue gun, preferably high-temperature mini size
- Glue sticks for hot glue gun
- Wire
- Transparent thread or fishing line
- Needle-nose pliers
- Floral tape, the skinnier kind
- E6000 glue, only a little bit so a small tube
Mini battery-powered fairy lights if you want to go the extra distance!

Files
- If you’re cutting out the petals by hand, download the file HERE <— click
- If you’re using a Cricut or Silhouette machine, you can download the free SVG flower file from my Crafty Library. The SVG file is a downloadable file that tells your cutting machine what to cut. I also have a plain template (just outlines) in my Crafty Library. To access the free SVG file, sign up for my Crafty Library and infrequent newsletter. The Crafty Library is a free resource center with downloadable files, templates, and images.
You will receive an exclusive password via email.
Instructions to Make a Beauty and the Beast Rose Centerpiece
- If you want to use the printable sheet with the text, print out the sheet of rose petals. Make sure your printer options are set to “do not scale” or “100%”. If there is a box next to something that says “scale to fit media”, make sure it is not checked. If there are any options asking if you want it centered, choose no. It’s important that your printer doesn’t change the size of the petals.If you’re using the SVG file, don’t use the printable file because it won’t align with your cutting machine.
- If you’re using the printed petals, cut out the enchanted Beauty and the Beast rose petals using scissors. I hand cut my printed petals. You can make plain petals with the free SVG file in my Crafty Library.
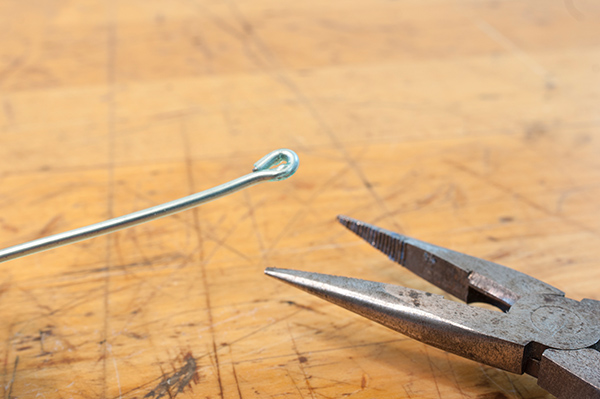
- Measure about a 12 inch section of wire and cut. Make a small loop at one end with your needle nose pliers. The wire might be a little long but it’s better to have a little extra.
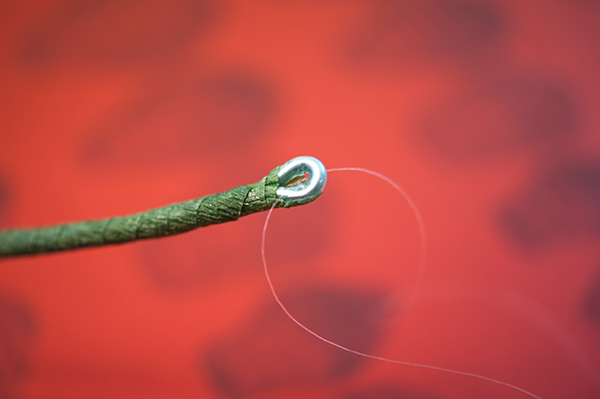
- Wrap your piece of wire with floral tape. The narrow kind of tape is easier to work with.
- Measure around 12 inches of clear thread (or fishing line) and thread it through the small loop of wire you just made in step 3. Tie a knot so the thread won’t fall off.
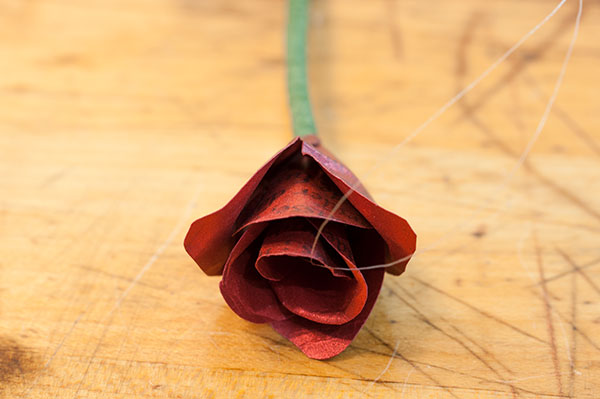
- The next few steps involve curling, folding, and shaping the petals. Smallest petals: curl the sides inward using your thumb and fingers to curl it.
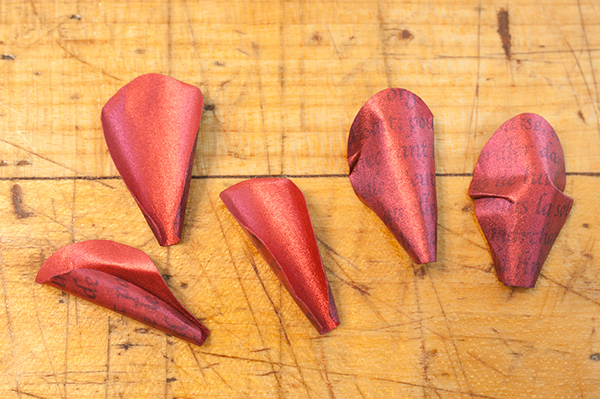
- Next smallest: Curl the petals in the same way, and add some tiny creases to the sides. I placed the creases towards the base of the petal so they be hidden when the rose was put together. The creases help add more shape to the flat paper.
- The remaining petals except for the largest ones: Curl around the top edges and sides and add some creases.

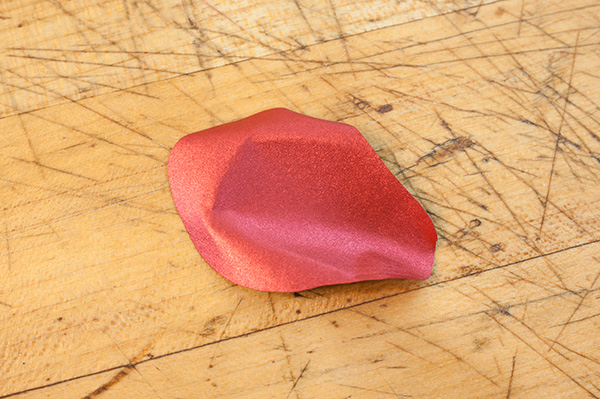
- For the largest petals, don’t do any creasing. Just curl and gently shape.

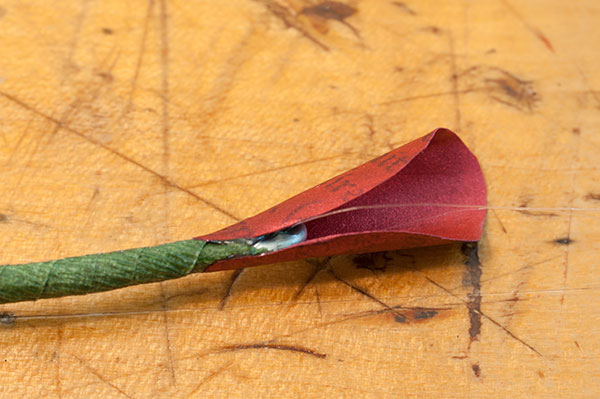
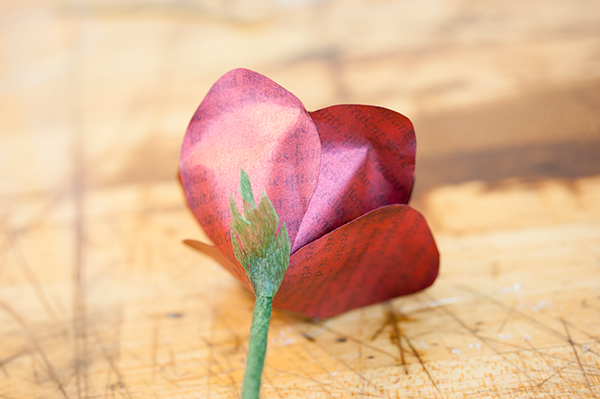
- Time to add the first petal! Dab a small amount of hot glue on the bottom of one of the tiny petals. Wrap the petal around your piece of wire. Repeat with 2-3 tiny petals.
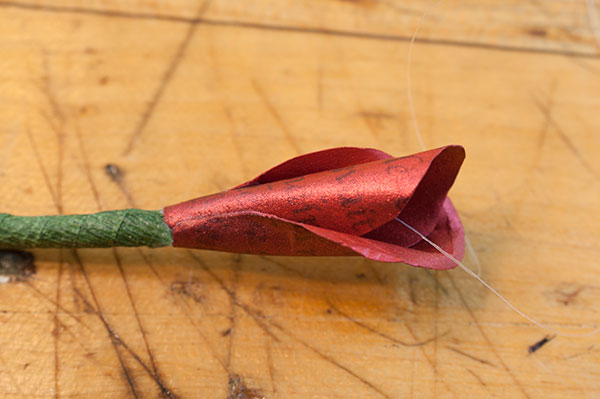
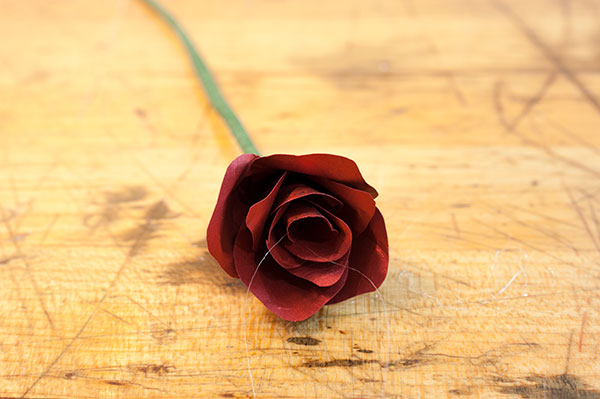
- Add 3-4 petals of the next size up. It helps to experiment with petal placement before permanently gluing them.
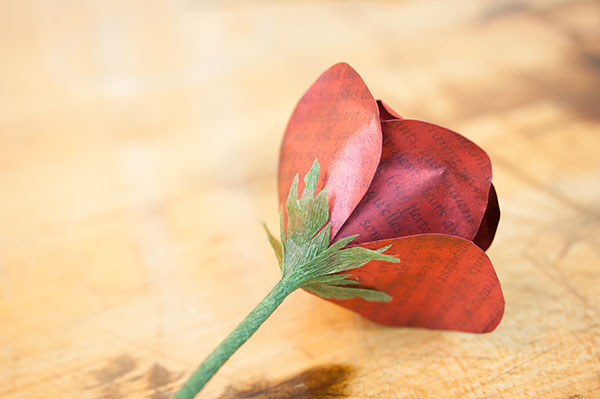
- Repeat with the next few petal sizes. Make sure you keep a few petals to scatter around the base of your bell jar.
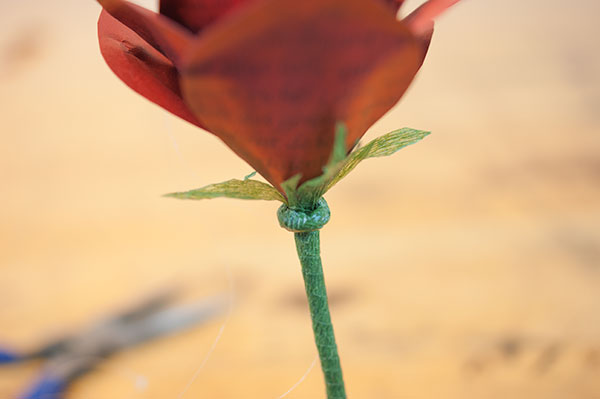
- Cut a tiny section from the bottom of your wrapped stem to make a little ring. You’ll be using this to build up the “hip” of the rose.
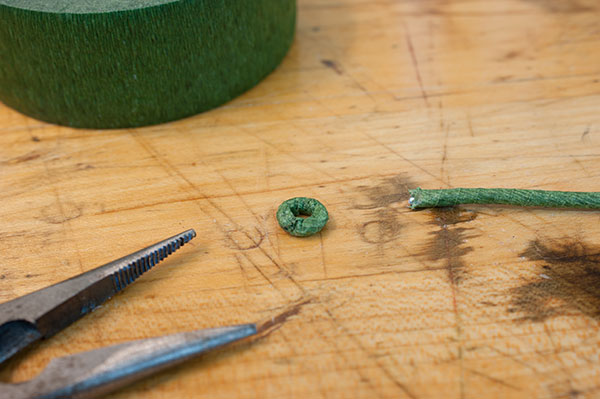
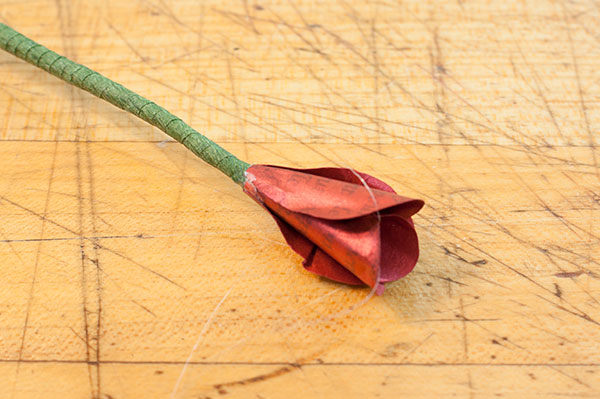
- Cut a few tiny pieces of flower tape to make the “sepals” of the rose, which are the little leafy fringes around the base of the rose. Glue them to the base of the rose.
- Slide on the ring and wrap floral tape around it until you’re satisfied with the shape.

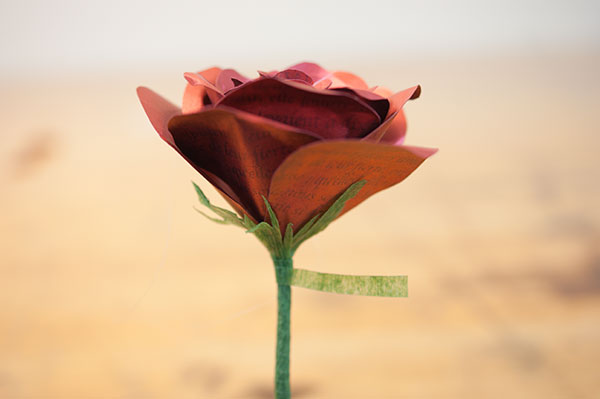
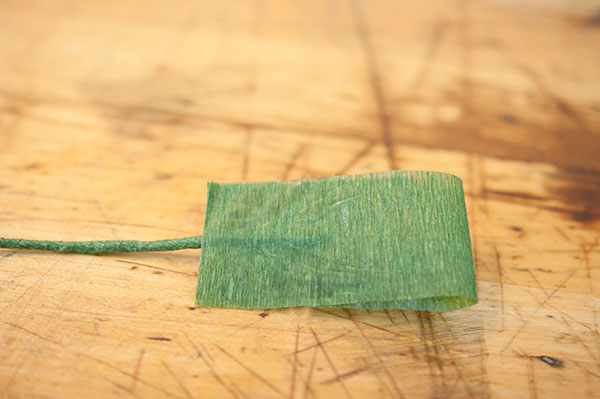
- Trim off two short pieces from the bottom of your stem to make the leaf sections.
- Fold floral tape in half and then cut a leaf shape. Repeat for the other stem.
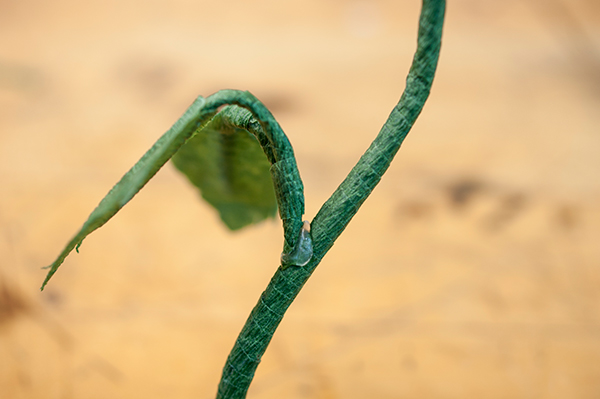
- Use a drop of glue and attach one stem to the other. The glue won’t hold it but it will keep it still long enough to secure it with flower tape.
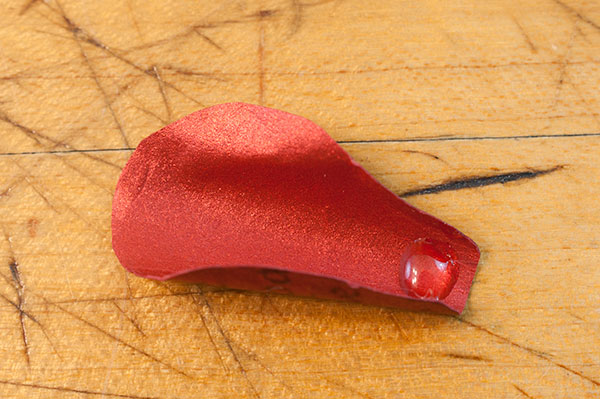
- Optional: adding thorns. I made the basic shape by making a shallow puddle of hot glue (for lack of a better description), waiting for it to cool, and then cutting out the thorn shape. Glue to the flower stem and wrap with a very thin strip of tape.
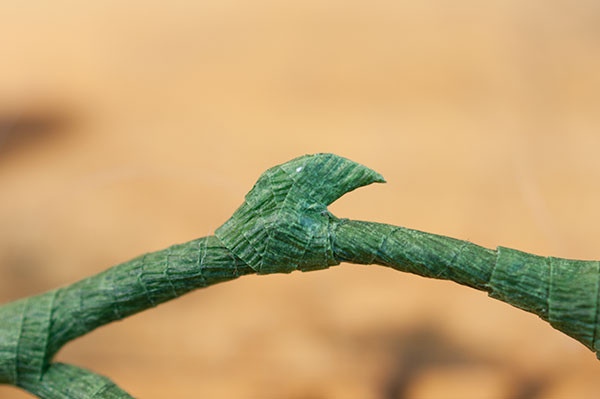
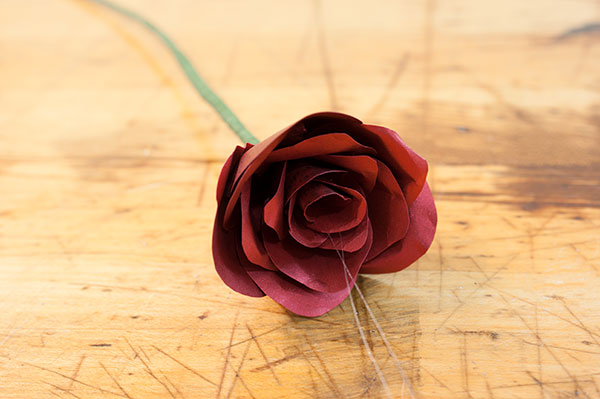
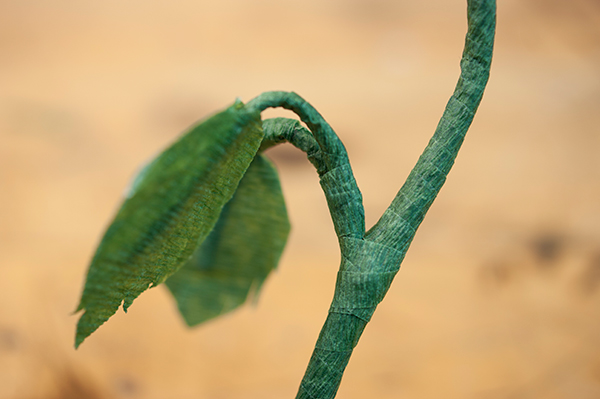
- Bend and adjust the stem to your liking.
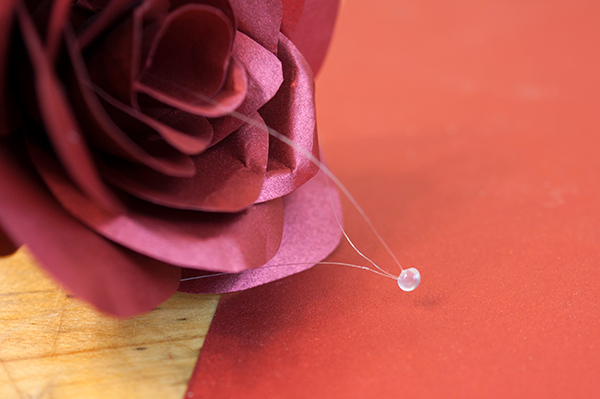
- Hold up the rose next to your glass bell jar and figure out how long you need the clear thread (to make it look like the floating Beauty and the Beast rose) needs to be. Tie a tiny loop at that length.

- Use your glue gun to make a tiny bead around the loop.
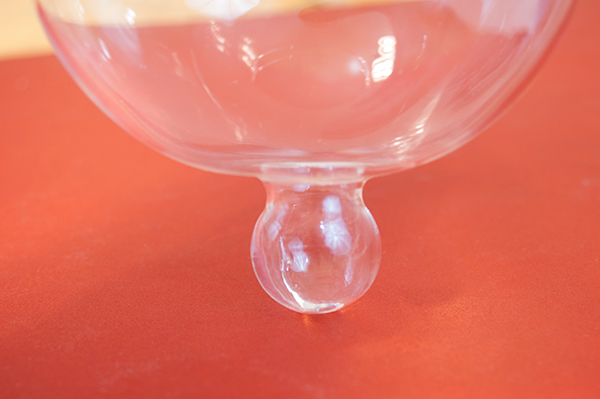
- The next part is a little tricky. Apply some e6000 glue to the inside top of your bell jar. Holding the jar upside down, slowly lower the rose inside until you see the ball of hot glue (added in step 19) make contact with the e6000 glue.
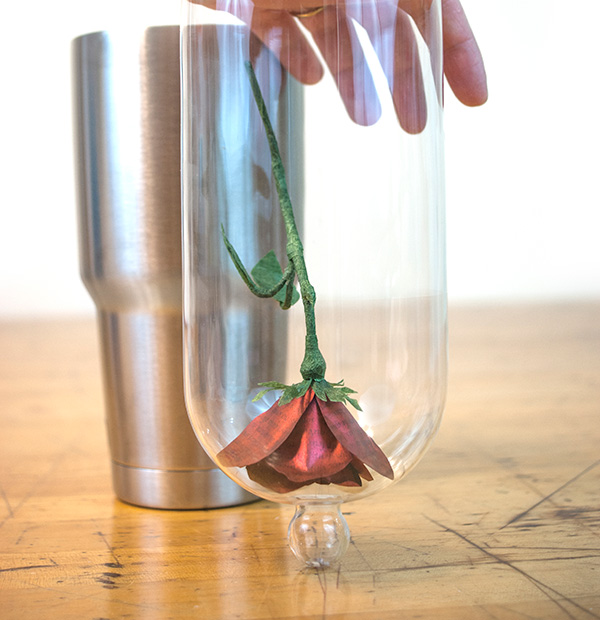
- Keep the jar upside down until the glue is fully dry. Let the glue dry in a safe place. If you have one of those stainless-steel tumblers that shall remain unnamed, they’re a good size to hold the cloche while it’s drying.
- Enjoy your fancy Beauty and the Beast rose!
