Last month I did something incredibly irresponsible and bought an amazing pair of boots. I’m not even going to try to justify the purchase. What I will admit is that I didn’t have much left in my fun money after that for all the necessary things to go along with my new boots…
This tutorial doesn’t leave any raw edges or anything that will disintegrate if washed. I’ve seen a few tutorials for sweater leg warmers but nothing that felt quite right for me so that’s why I made this one.
Choosing the right sweater:
- The knit stretches enough
- It isn’t too loosely woven
- It was NOT a gift a family member knitted for you. Do not anger the Grandma!
- Medium to heavy ribbed cotton turtlenecks and sweaters will work well too if they have enough stretch.
Tips for serging bulky sweater knit material:
- Increase differential feed. This will help your seam be less “wavy”
- Decrease presser foot pressure
- Increase stitch length
- Don’t force your serger to do anything it doesn’t want to do
- Test out your stitch on scraps from the sweater before beginning the project
What you will need:
- A sweater, for this tutorial I’m using a nice cable knit sweater for my legwarmers
- 3/8 inch elastic or slightly larger is O.K., color is not important unless it will show through the sweater
- Thread, ideally closely matching the sweater
- Serger sewing machine, using a stretch stitch. I haven’t tried making these without a serger.
- Regular sewing machine with a zig-zag stitch
If you can’t find a good sweater to use I’ve tracked down a few places to get sweater knit by the yard:
- Fabric.com has a few, their “Chalet Sweater Knit” looks nice.
Cable Knit Sweater Fabric, 13 Colors, By the Yard!
Directions
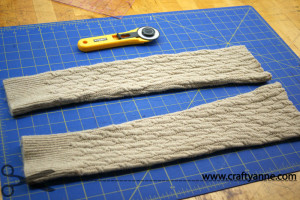
- Amputate…. er… cut off both sweater arms as shown in the picture.
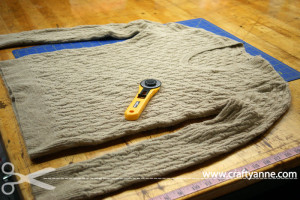
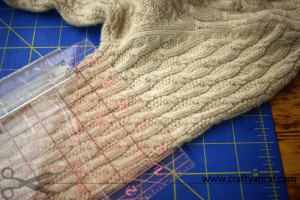
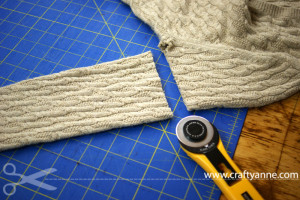
- Turn sweater sleeves inside out. Avoid stretching, especially the raw cut edge because sweaters like to unravel quickly.
- Measure around your leg where you would like the top of the leg warmer to be. Cut two pieces of elastic that exact length.
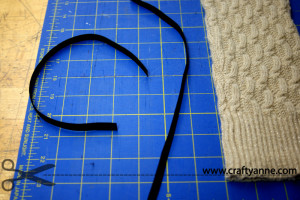
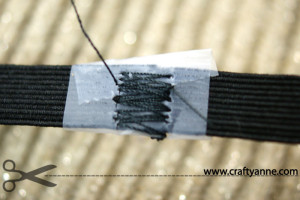
- Sew the raw ends of elastic together so you have two separate loops (don’t sew the two elastic pieces together, you’ll need two loops, one for each sweater sleeve!).I use tape to tape the ends together to make it easier to wrangle the elastic through the sewing machine. Tape is probably not good for your sewing machine but it saves my sanity.Use a wide zig-zag.
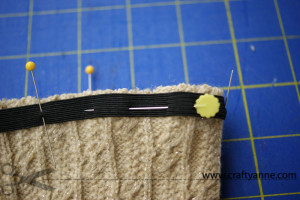
- Use one pin parallel to start out with when pinning the elastic loop to the sweater sleeve. This parallel pin makes it easier to wrangle the sleeve into position for sewing with the serger. Pin the rest of the loop to the wrong side of your sweater sleeve.
Because sweaters like to fray I leave extra at the edge so the seam will be “catching” mostly tightly knitted sweater (not the unraveled edge). The serger knife will cut off the unraveled edge.
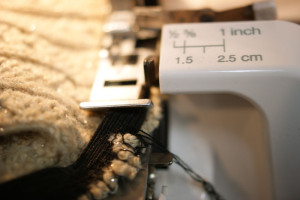
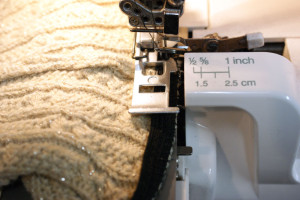
- Position sweater sleeve edge and elastic under your serger’s presser foot. This is where the parallel pin comes in handy!Continue sewing around, carefully stretching the sweater and elastic as necessary. Make sure you have the extra at the edge the serger knife is trimming off (the extra discussed in step 6).
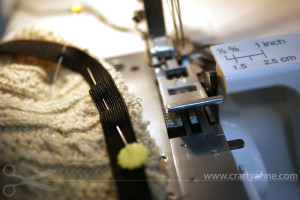
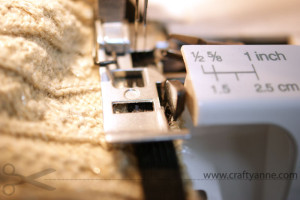
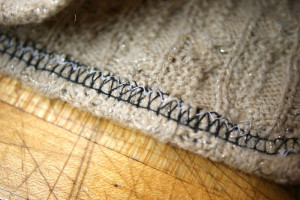
- When you get back to the beginning disengage the serger knife and keep sewing about 1/4 of the way around.
- Stop sewing, lift your presser foot and lift up the needles. Gently pull enough to the side so when the needles go down again nothing is getting sewn. Chain off.
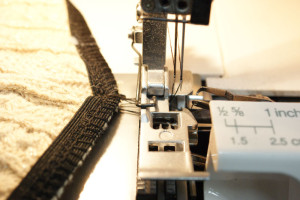
- Turn the sweater sleeve right side out. Admire your elastic edge! Turn the elastic edge to the inside (see picture). Pin. It’s ok if it looks a little stretched out. When you’re wearing them the rest stretches.
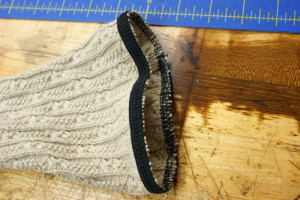
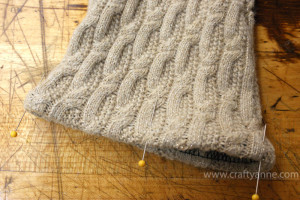
- Using your regular sewing machine, use a zig-zag stitch to sew around the edge.
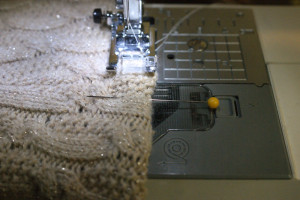
- Repeat on other sweater arm to make your other leg warmer
- Enjoy!


