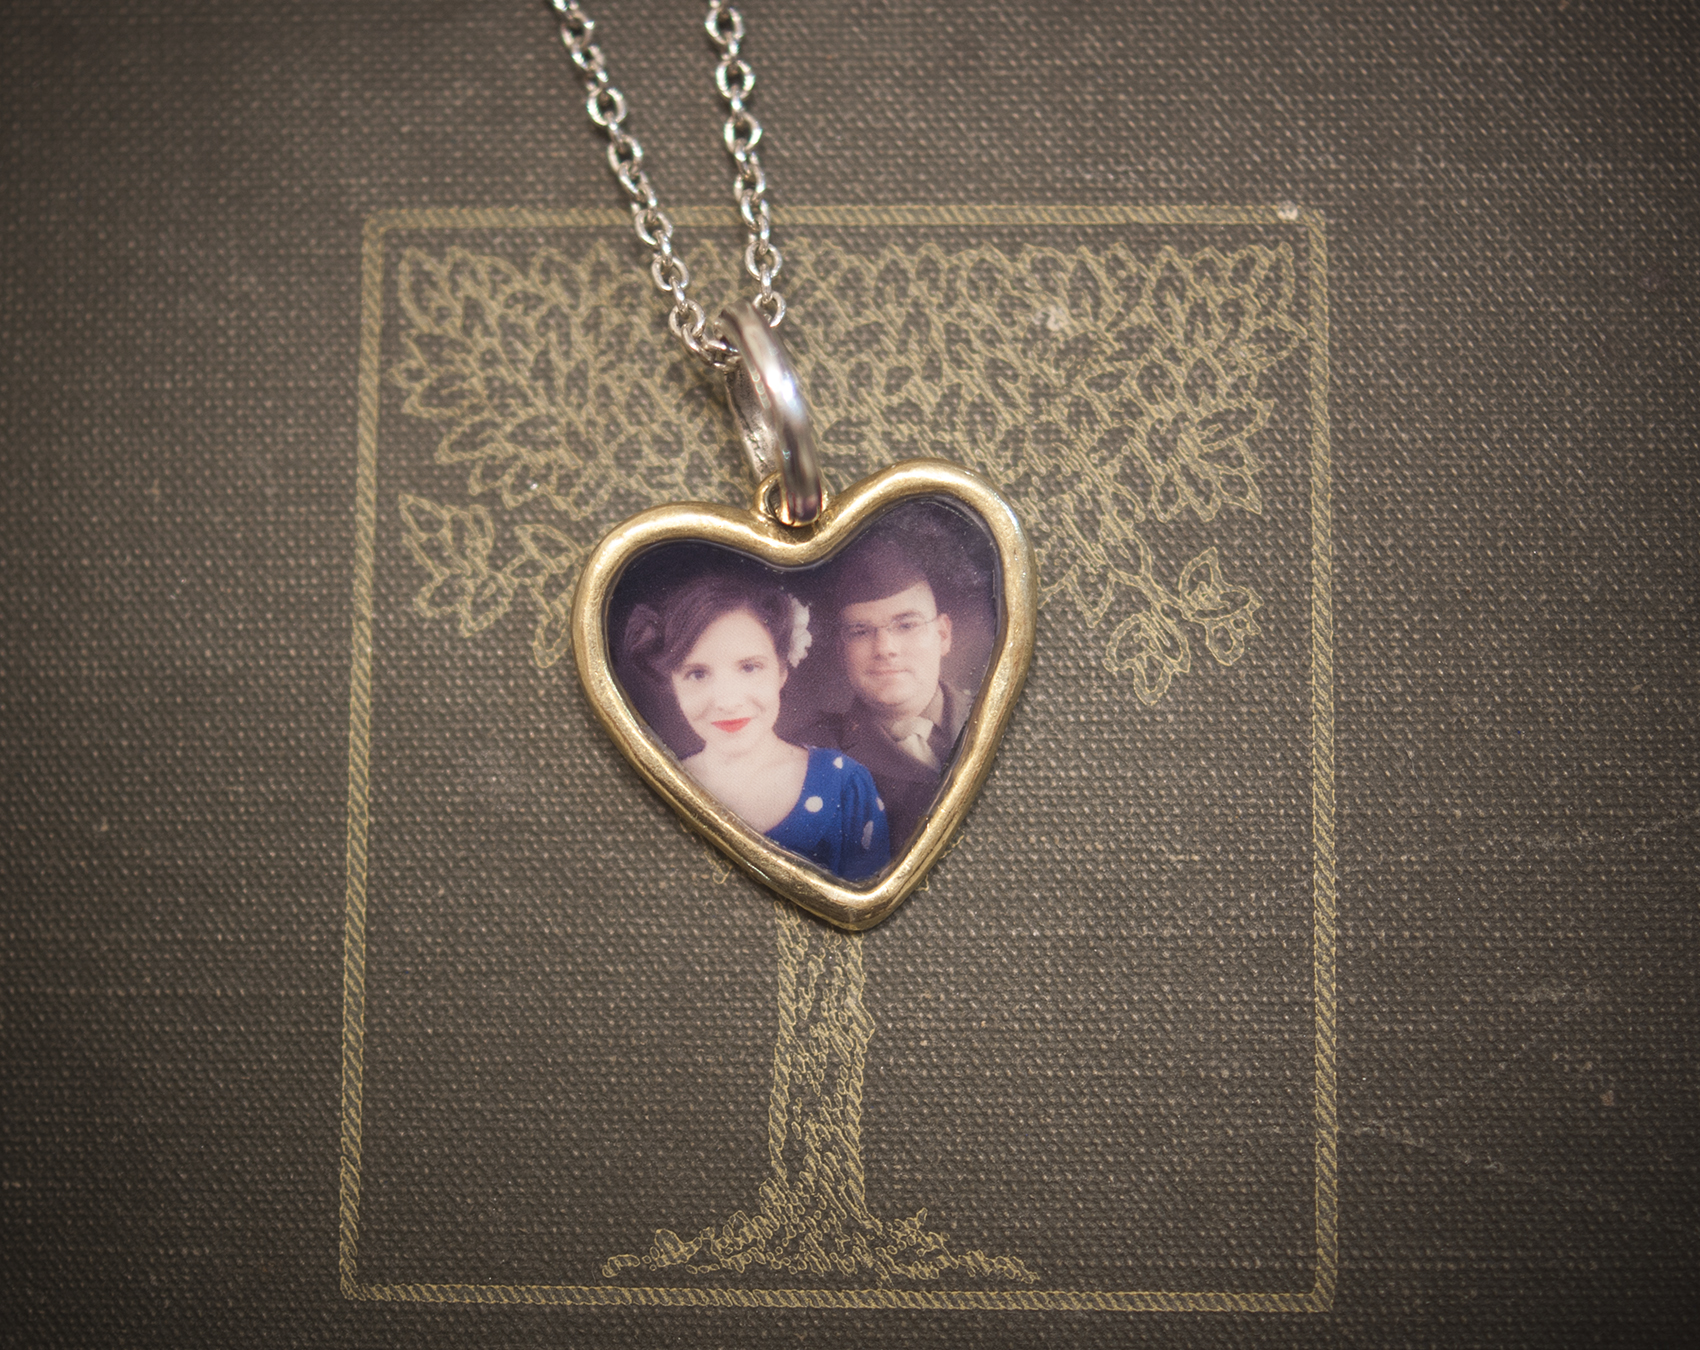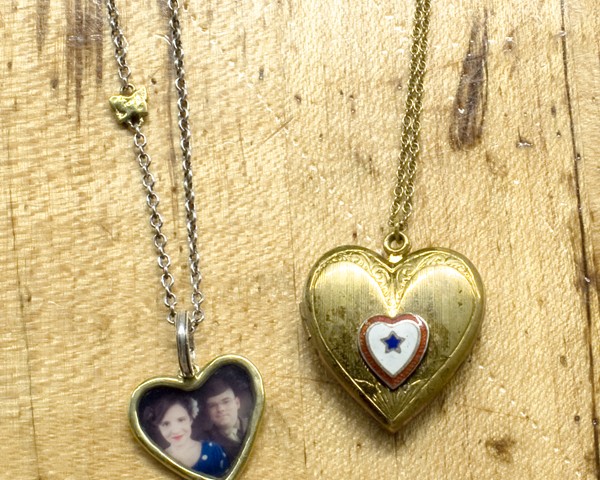
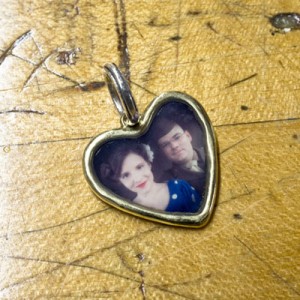
Last year my fiance gave me a beautiful WWII locket, which I save for reenactments and special occasions. I wanted to create a photo charm I could wear daily and keep close to my heart, so I made a tiny photo charm using a picture of us from a reenactment. I’ve learned a lot about sweetheart jewelry since I’ve started reenacting with my fiance.
During WWI and WWII soldiers would give their loved ones jewelry. These keepsakes would let their loved ones feel connected even if their soldier was thousands and thousands of miles away.
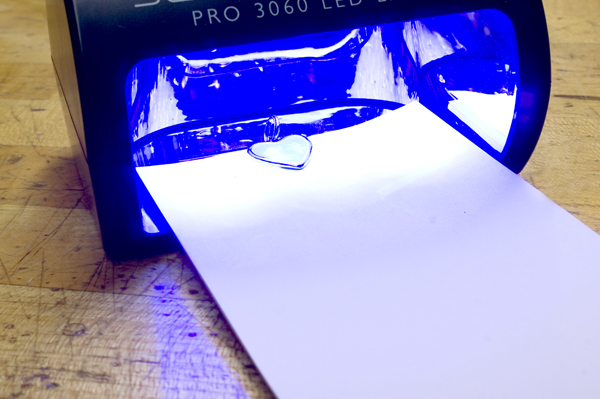
If you DIY everything (like I do) you might have a gel manicure kit. I was able to use the UV lamp from my kit. I was amazed at how durable the gel coating was! This post contains affiliate links. As always, feel free to blame me for any purchases.
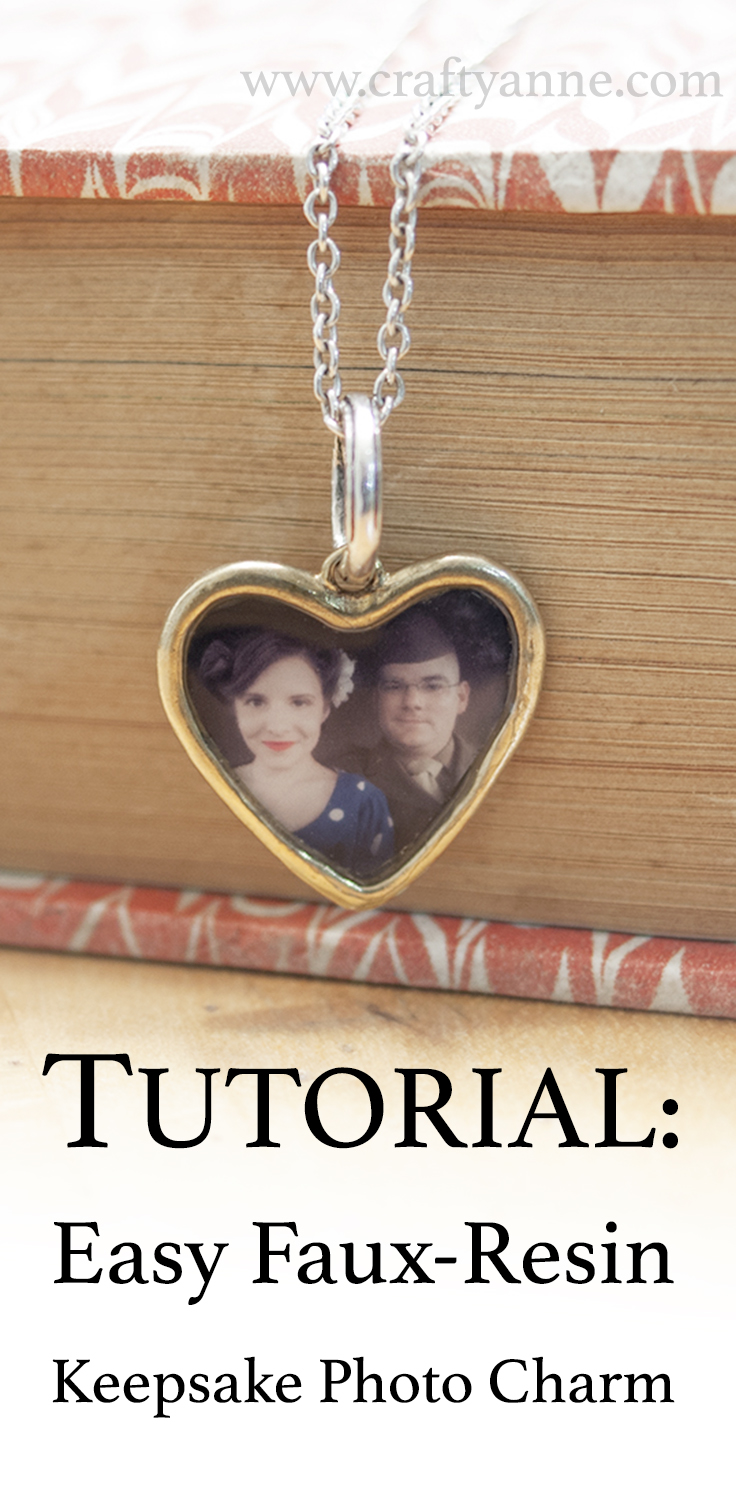
Learn how to make a photo charm or pendant using your UV gel manicure kit!
Photo Charm Materials:
- Patience
- One inch heart pendant trays
- An x-acto knife or sharp scissors
- Photo or photo printer and paper
- UV lamp and clear gel
This is the little kit I have, it’s inexpensive
- Super glue
- Pure acetone (if you need to re-do anything), I found some in the nail polish remover section at Walmart.
- Rubbing alcohol
- Clear acrylic sealer (like Krylon), preferably UV resistant
Krylon Gloss Coating, UV Resistant


Directions:
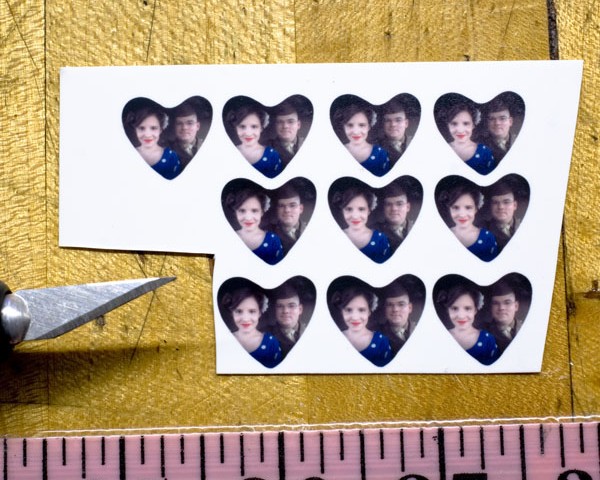
- Print out plenty of copies of your photo. It took me a few tries to get it cut out just right. I used a quick coat of Krylon gloss coating to make sure the photo wouldn’t smear when the gel coat was applied. If you don’t apply a clear coat the image can smear or get fuzzy when your gel is applied.
- Clean your charm with rubbing alcohol to remove any oil.
- Make a small dot of super glue in the middle of your charm. Keep a paper towel nearby in case the drop ends up being too big. If you use too much glue it will seep around the edges of the photo.
- Carefully position your photo on the charm and wait for the superglue to dry.
- Take a close look and make sure your charm and photo are both free of dust and debris.
- Use a fairly thick layer of gel and apply. Cure your photo charm with your UV lamp.
- Using your rubbing alcohol and a paper towel, gently remove the moisture layer that has formed on top of your charm.
- Do another thick coat of gel and cure, then remove the moisture layer again. Repeat until you feel that your charm is finished.
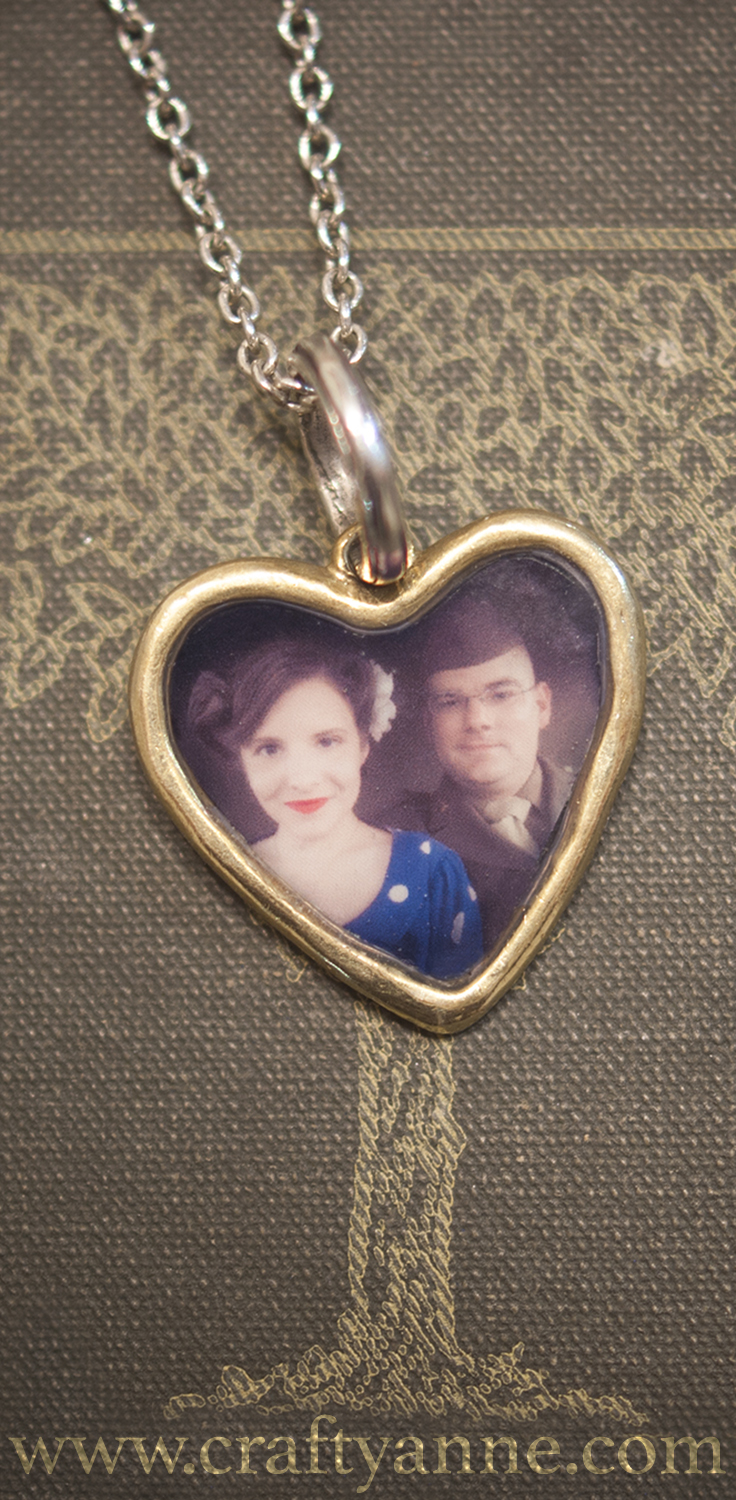
- Enjoy your keepsake photo charm!