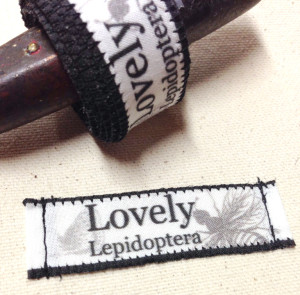
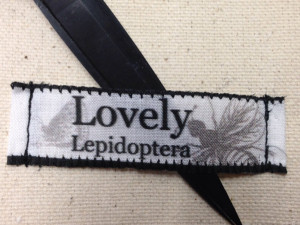
When I was little I haaaaated labels. Hated them. Not a single label existed in my little person wardrobe. I became an expert on picking or cutting them out. Now that I’m older I’m able to mostly ignore clothing tags. Now I’ve become the enemy: the sadistic label installer >:)
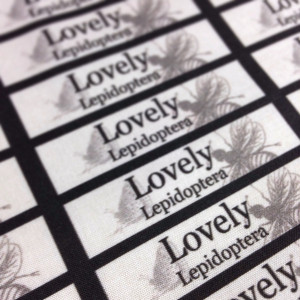
I designed my fabric labels in Photoshop and had them custom printed on fabric by the awesome fabric printing website Spoonflower.
When I designed the labels I thought a lot about my particular needs, what did I need them to show, where were they going to be put, what would be the best size for where they are being attached, would they serve any other purpose?
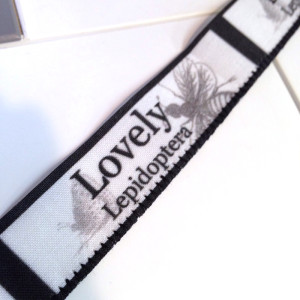
One thing I thought about: where are my customers going to store their costume butterfly wings when they aren’t in use? I ended up designing them so they would be able to double as a loop to hang them from. Either the hook from a hanger could be threaded through or they could be carefully hung from a nail.
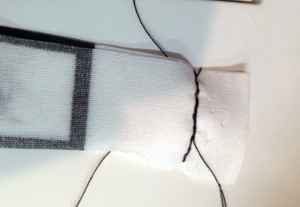
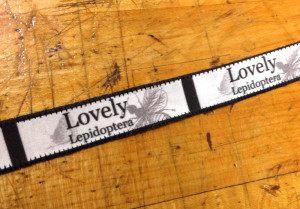
I cut them horizontally with a rotary cutter and ruler to ensure straight (ish) lines, then sewed the strips together as shown below. Sewing the strips together allows you to make your clothing tags in a large batch, no pausing to sew strip after strip.
If you have a serger you could use a narrow rolled hem for the edge. If you don’t have a serger (or have your serger threaded and balanced perfectly for another stitch and don’t want to disturb it) you can use a zig-zag stitch on your regular machine.
I used the zig zag…
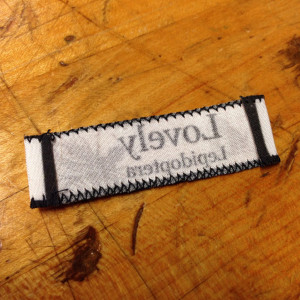
Next I cut apart a few labels and ironed the side edges over. Another thing I wanted to avoid was having to do a lot of precision ironing. This only required me to press the two edges.
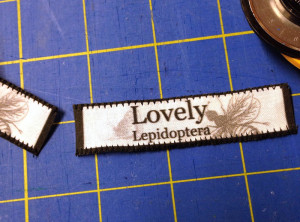
If you’re worried about the unsewn ends fraying use a little fray check. Make sure you’re careful though, fray check is flammable when wet!
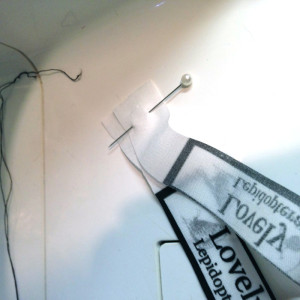
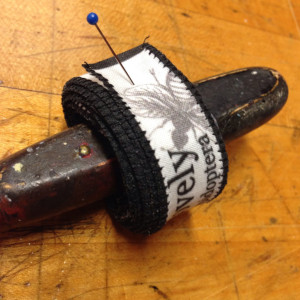
For storage, since I sewed the label tape together I can roll my super awesome custom printed labels up and dispense as necessary. A small pin at the end helps the label ribbon from coming undone.
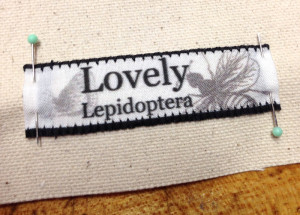
Pin at either end. Sew. Enjoy your label!

