
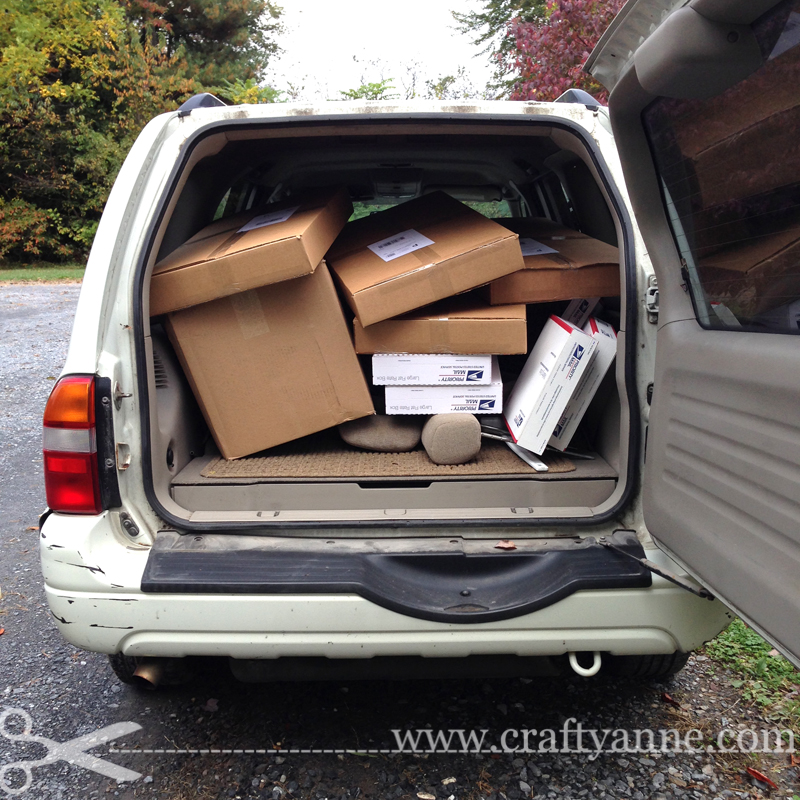
Bumper damage not my fault!!
I’ve shipped many packages. MANY, MANY packages. In my Etsy shop over the past few years I’ve shipped a little over 3,500 items. That number doesn’t include the 800 million (exaggeration) things I’ve sold on eBay. Needless to say I’m a fixture at the local post office, although less frequently now because of being able to schedule pickups.
Recycled Boxes
Recycling packaging material and repurposing other things for shipping is a wonderful thing. However, there are a few things you do not want to use for packaging for cosmetic and safety concerns.
I do not recommend using food boxes for shipping. This goes for both the thin cardboard boxes (i.e. cereal boxes, etc) and the brown corrugated boxes used to ship foods to the grocery store. The thin boxes used to package food are not strong enough to withstand the postal journey, even if properly taped. If you use any sort of food box, you are running the risk of it coming in contact with someone who may have an allergic reaction to an ingredient. For some people, even trace amounts of an ingredient can cause a potentially life-threatening reaction.
Personally, I just find it a little icky feeling receiving something packaged in a food or other thin-type box. I recently read in an Etsy forum of a customer that received their order in a tampon box. Some people would not mind this, but most would be horrified.
Food-related boxes are a lot more likely to carry insect eggs, specifically cockroach eggs. Using food boxes will definitely increase the likelihood of an insect infestation in your house.
Where to Find Second-Hand Boxes
One of the best ways to get second-hand boxes is to contact (non-grocery store/ definitely not restaurants!!!) local businesses and ask when their shipment comes in and if you can have some boxes. Let them know that you are a local (very small) independent business trying to reduce your carbon footprint. Some of the best places to find good boxes are clothing and electronics stores.
Craigslist is also another good place to find used boxes. Search for “boxes”, “moving boxes”.
There are generally two sorts of dumpsters that stores will use, a trash-exclusive and a recycle-only one. Boxes from the trash ones have been contaminated. Boxes from the recycling bin are a lot less likely to be contaminated, depending on what sort of businesses are recycling. There should not be any grocery or restaurants using it. Don’t take boxes from bins because it is generally illegal.
There is always a risk of insect or other problems when you purchase or scavenge second-hand boxes.
Finding Second-Hand Packing Materials
Local non-food businesses are also another good place to find bubble wrap, foam sheeting, and packing peanuts. Electronics, furniture, knick-knack and china stores often have bubble wrap. To get an idea of places that will have packing materials, think of places that receive fragile merchandise.
What Materials to Buy
The anatomy of a package:
- Box / outer envelope
- Padding
- Thin presentation wrapping
- Object
How Things Break
To get a good understanding of how to pack things, you must first must analyze how things are broken in transit. When things are shipped, there is no guarantee of gentle treatment regardless of whether or not there is a “fragile” or “do not stack” sticker.
I once dated a gentleman that worked at a sorting facility for a large national shipping company and often heard about “package football” and other abuse some packages went through. I know that this is not a reflection of all the people who work at such places but it’s good to play it safe.
There are several types of damage that can occur to a package. A few types include: Smashing, dropping, ripping, piercing, theft, rain, snow and heat. Make your package boring. If you’re shipping a macbook don’t use the original box (same goes for other high-value items)… shelling out a few dollars to get a new blank box is worth it in the long run to prevent it from going MIA. Make your package boring.
Purchasing New Packing Materials
If you are only shipping a few things, the most reasonable thing to do is to go to your local store (Walmart, Target, etc…) and get what you need. Generally they carry bubble wrap, a few sizes of boxes, bubble mailers and packing tape.
If you are packing more than a few things, the best place to look for supplies is online. Although shipping can sometimes be expensive due to the large or irregular sized materials, if you are a buying enough the savings justify the shipping cost.
Buying in Bulk
If you are going to be mailing ten or more parcels a month, I would recommend looking into buying supplies in bulk. Boxes, envelopes and padded mailers are significantly cheaper when purchased in bulk. A padded bubble mailer that may retail for one to two dollars (sometimes more!) in a grocery store will cost around $0.25 to $0.75 when purchased in bulk online.
Tape is another very expensive thing to purchase in a store.
Shipping Carriers
There are a few different shipping carriers that you have to choose from. USPS (United States Postal Service), UPS (United Parcel Service) and FEDEX (Federal Express).
Flat Rate Boxes
USPS has a very large variety of flat rate boxes for both domestic and international shipping. Currently, UPS has a few sizes of flat rate boxes (Large: 18″ x 13″ x 3″, Medium: 16″ x 11″ x 3″, Small: 13″ x 11″ x 2″, and a tube: 38″ x 6″ x 6″), and FEDEX has a few too.
Packing Photos and Flat Artwork
The biggest hazard a photo or other flat piece of art has when traveling through the mail is being folded, dented, punctured or otherwise misshapen. There is only so much that a “DO NOT BEND” sticker can ensure.
- Put the photo in a protective plastic cellophane sleeve or wrap it in tissue paper. This initial layer of protection will help discourage surface scratches or fingerprints. If it is a special image buy an acid and lignin free envelope to put it in. I have seen packages with very nice pictures inside of them get damaged from the rain, so it wouldn’t hurt to put the piece inside a Ziploc bag also.
- Find a box with thick corrugated cardboard and cut two to three pieces from it the size of your photo. For the best results, leave about 2 to 3 inches of extra space on each edge of the cardboard you cut. For example, if you had an 8×10 photo, 10×12 or 11×13 pieces of cardboard (or other material) would be best to use.
You can use one piece on each side of the photo, but the more that you use the better chance that your photo will come unharmed through the mail. For expensive art prints I would recommend using at least 5 pieces of cardboard on each side. That may seem excessive, but there is no harm in being too careful.
Corrugated cardboard isn’t the only thing that you can use to keep your photo flat. You can use book covers from an old hardback book (providing that you don’t mind tearing the covers off), or use half inch plywood cut to size. If you use plywood, a protective layer of small bubble wrap and either a sturdy bubble envelope or a shallow box would be best.
- Once you have decided what you are going to use to keep your photo flat, place your photo (in either the cellophane sleeve or wrapped in tissue paper) in the center of your pieces and use some tape to secure it in the middle. Put the other pieces on top so your photo is now sandwiched in between the cardboard.
- Using packing tape, tape the cardboard together at each edge.
- There are a few ways you can package the photo after it has been reinforced with cardboard. Sturdy bubble envelopes, manila envelopes (if the item is not valuable), or shallow boxes.
Time Vs. Money
It is good to save money. In fact, it is better than good to save money. However, sometimes cost-saving efforts can take more time than they are worth.
For example, if you were selling small pocket mirrors and your procedure might be: organza gift bag, bubble wrap around mirror, ribbon and then envelope. Take a step back and try to think of any steps that could be combined or eliminated. Even better, find material that can multi-task. Cutting bubble wrap to size and taping takes more time than simply slipping the product into an envelope lined with thicker bubble wrap.
If you are frequently shipping art prints, it would be advisable to buy stay flat mailers and cardboard panels (to be sure the envelope will stay flat). This will save you hours of cutting out cardboard and taping.
Unfortunately I have seen some people using cut up pieces of cardboard and then wrapping with brown kraft paper. Knowing the volume of material that these people are sending out, they would save lot of time would be saved if they invested in packing materials. It is great if you can get these materials for free, but in the end you are paying more with your time.
Another time waster is writing out addresses by hand. If possible, weigh your item at home and print out a label with your printer. You can receive discounts printing your postage online, and tracking is free for priority mail packages.
If you are shipping internationally frequently, filling out customs forms by hand can get old pretty quick. You can print Priority Mail and Express Mail international postage from Paypal, but not for First Class Parcel International.
Expensive and High-Value Items
Always do your research and never rush to ship a high-value item. If you are shipping jewelry, be sure to get an appraisal so you have documentation of the value in case you need to file an insurance claim with your chosen service. Make sure you have proof of the cost of your item, i.e. a purchase receipt or appraisal from a qualified person.
One method of shipping high value items is using an option from the USPS called registered mail. Registered mail is an option which is added on either First Class or Priority Mail. Make sure to also add insurance and signature confirmation to your package. Signature confirmation is very important.
If you are shipping a small item, such as a ring or necklace, package it in a larger box to help reduce the risk of it getting lost. A good size is a square box measuring about 1 foot on each edge. Although it might seem a bit wasteful packaging a small item in a big box, it is worth a little waste to help your diamond ring arrive safe and sound. Be sure to add some fill to the larger box (bubble wrap or newspaper) so the little box won’t rattle around and get damaged.